This update is years in the future from the post about carpet.
We enjoyed so many fond memories in the Fairview house. Several holidays with friends and family, massive snowstorms that halted the city for days and constant home improvements.
Once, a raccoon moved in under the deck.
The house went from a cold dead hollow sad space to a warm home, filled with love.
The time had come to move on to the next project, to give another family the comforts and personality of Fairview.
We listed her for sale in the autumn of 2012.
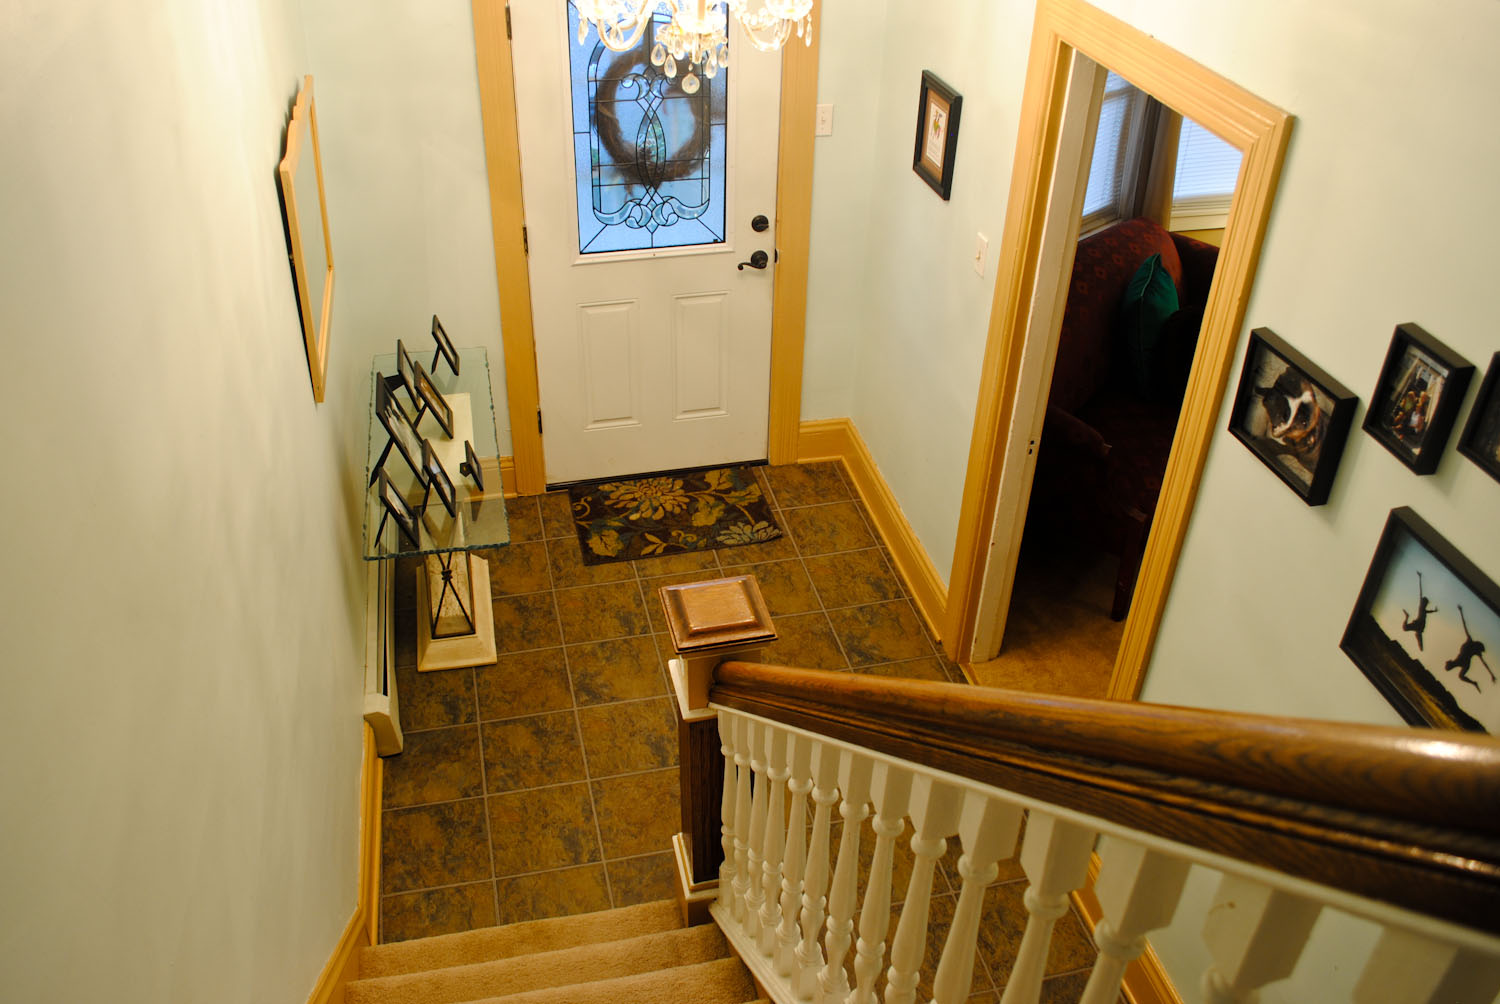
Here are the photos we took for the listing:
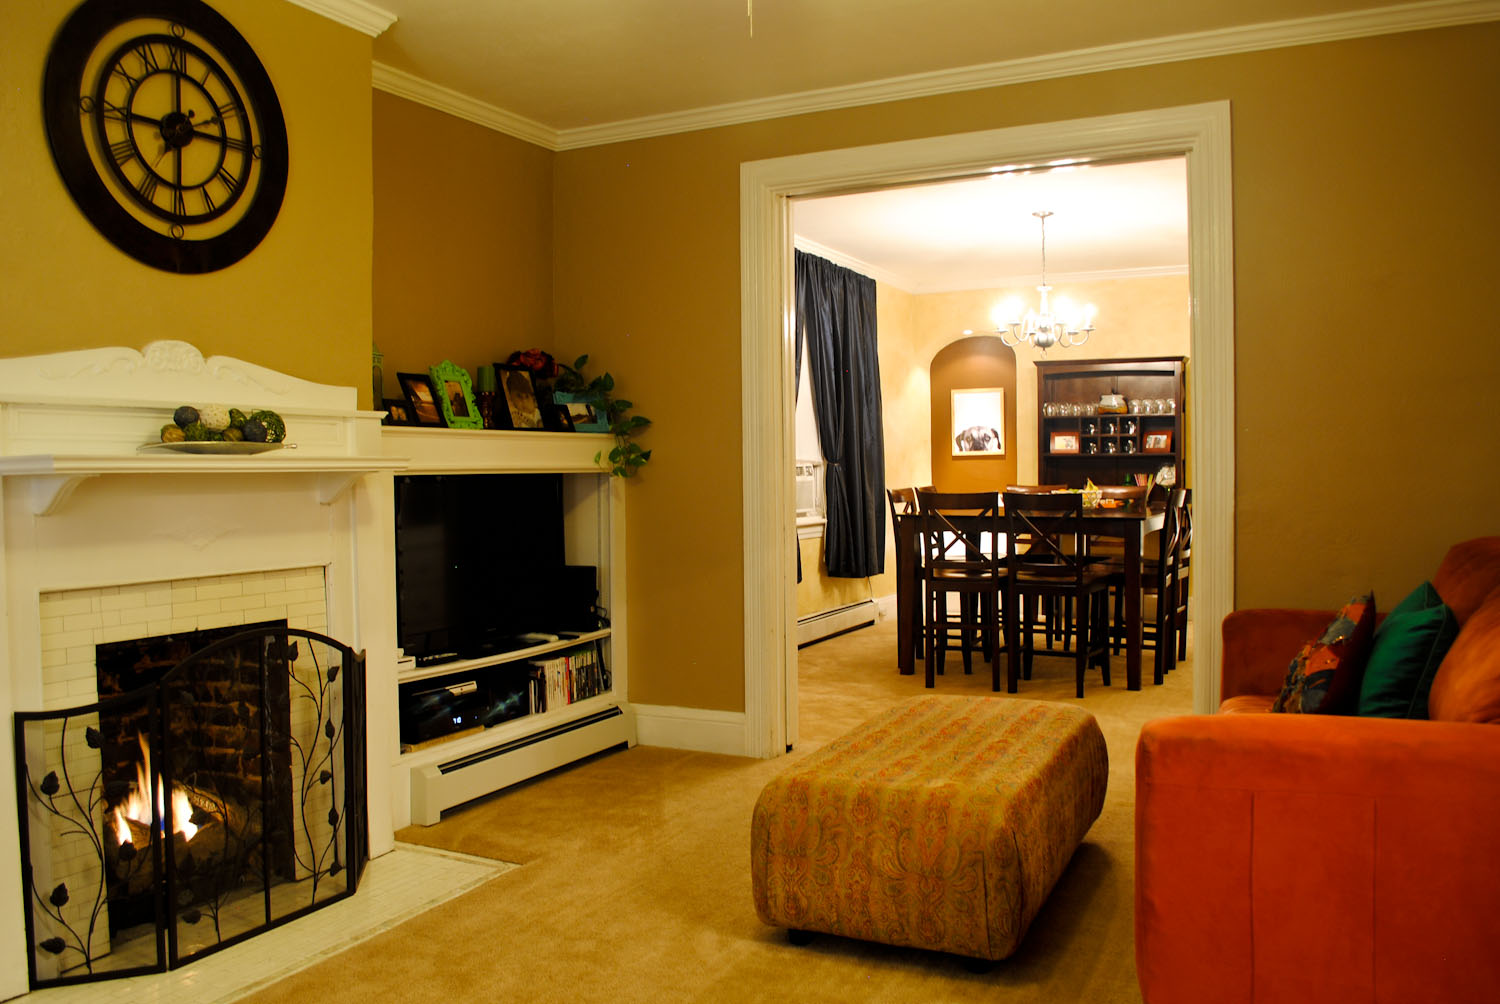
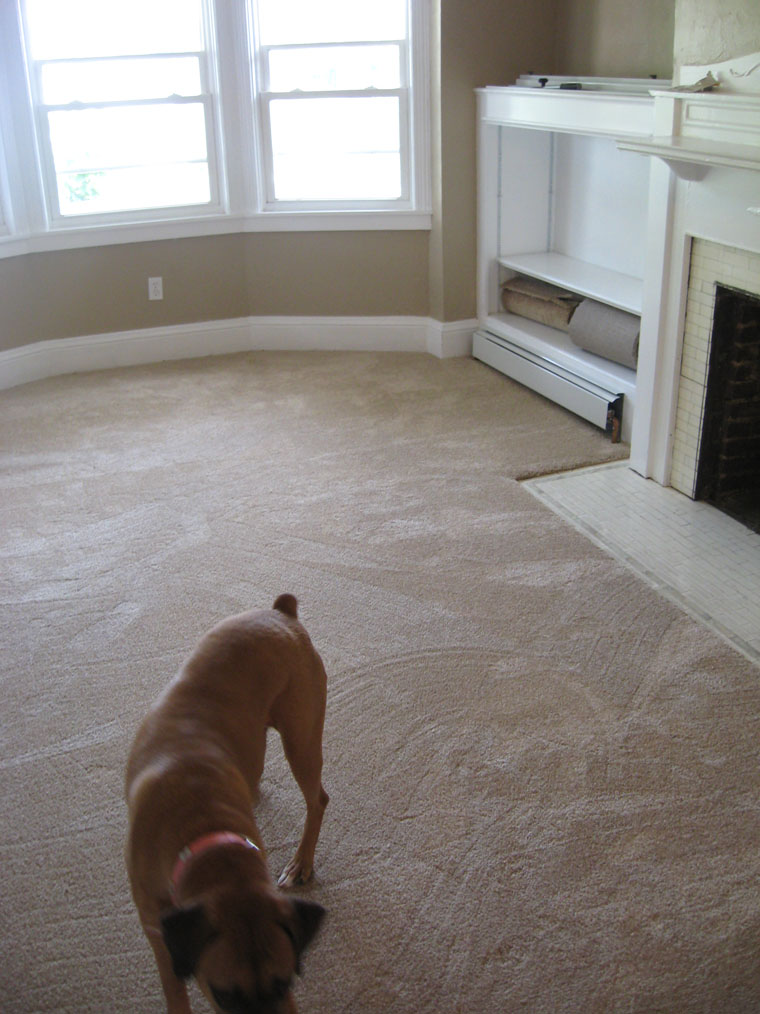
Living room.
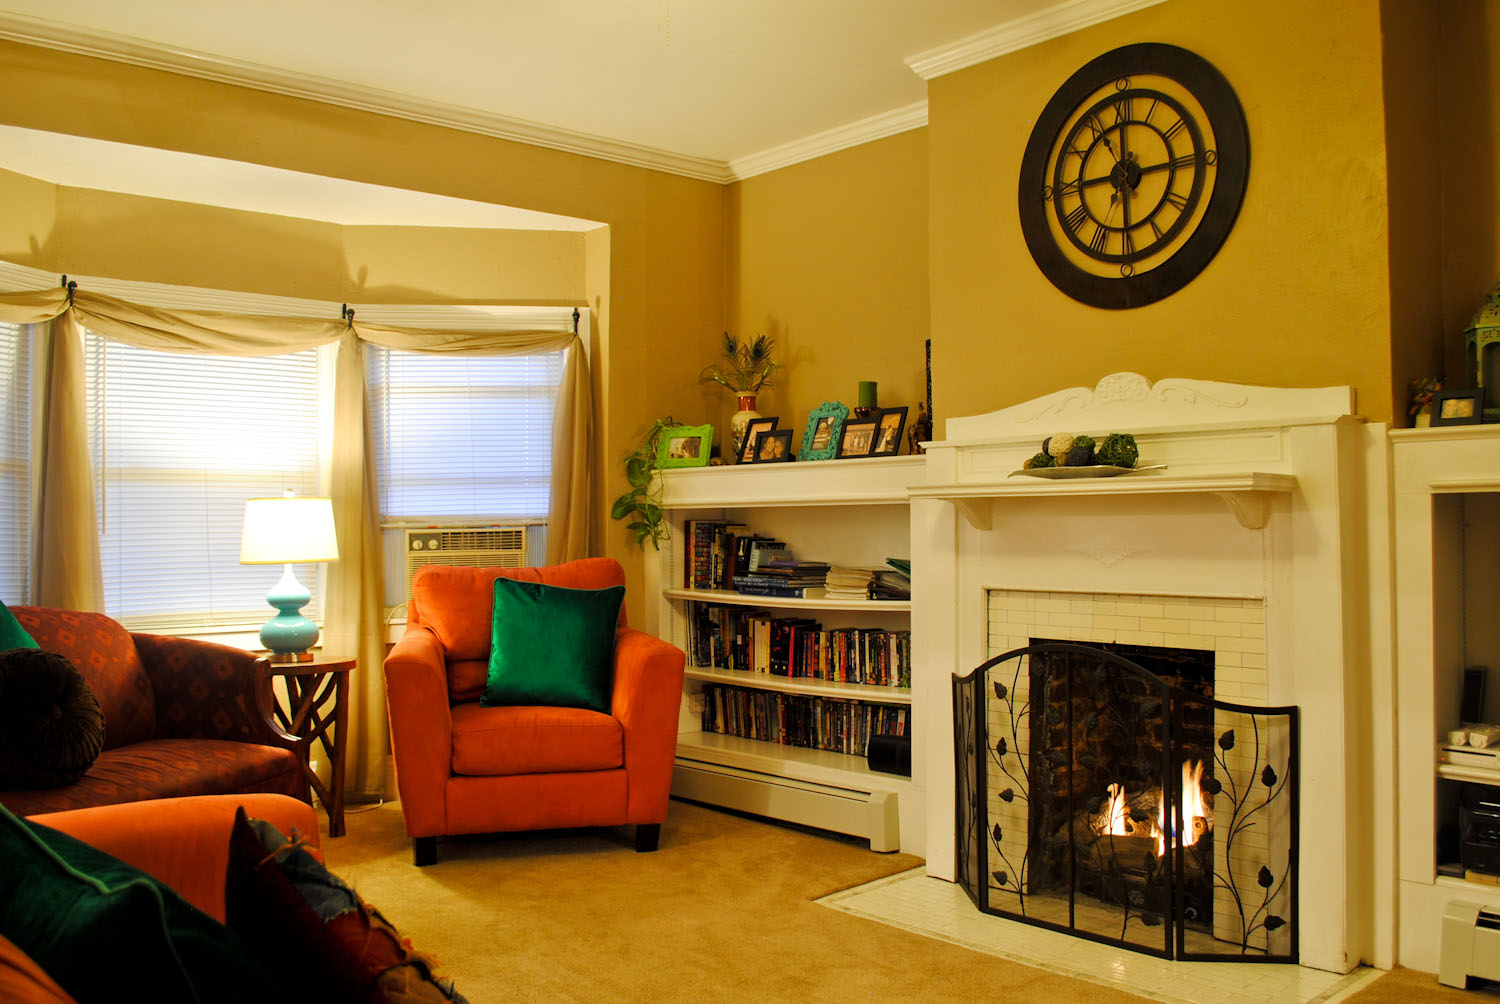
Living room facing the bay window.
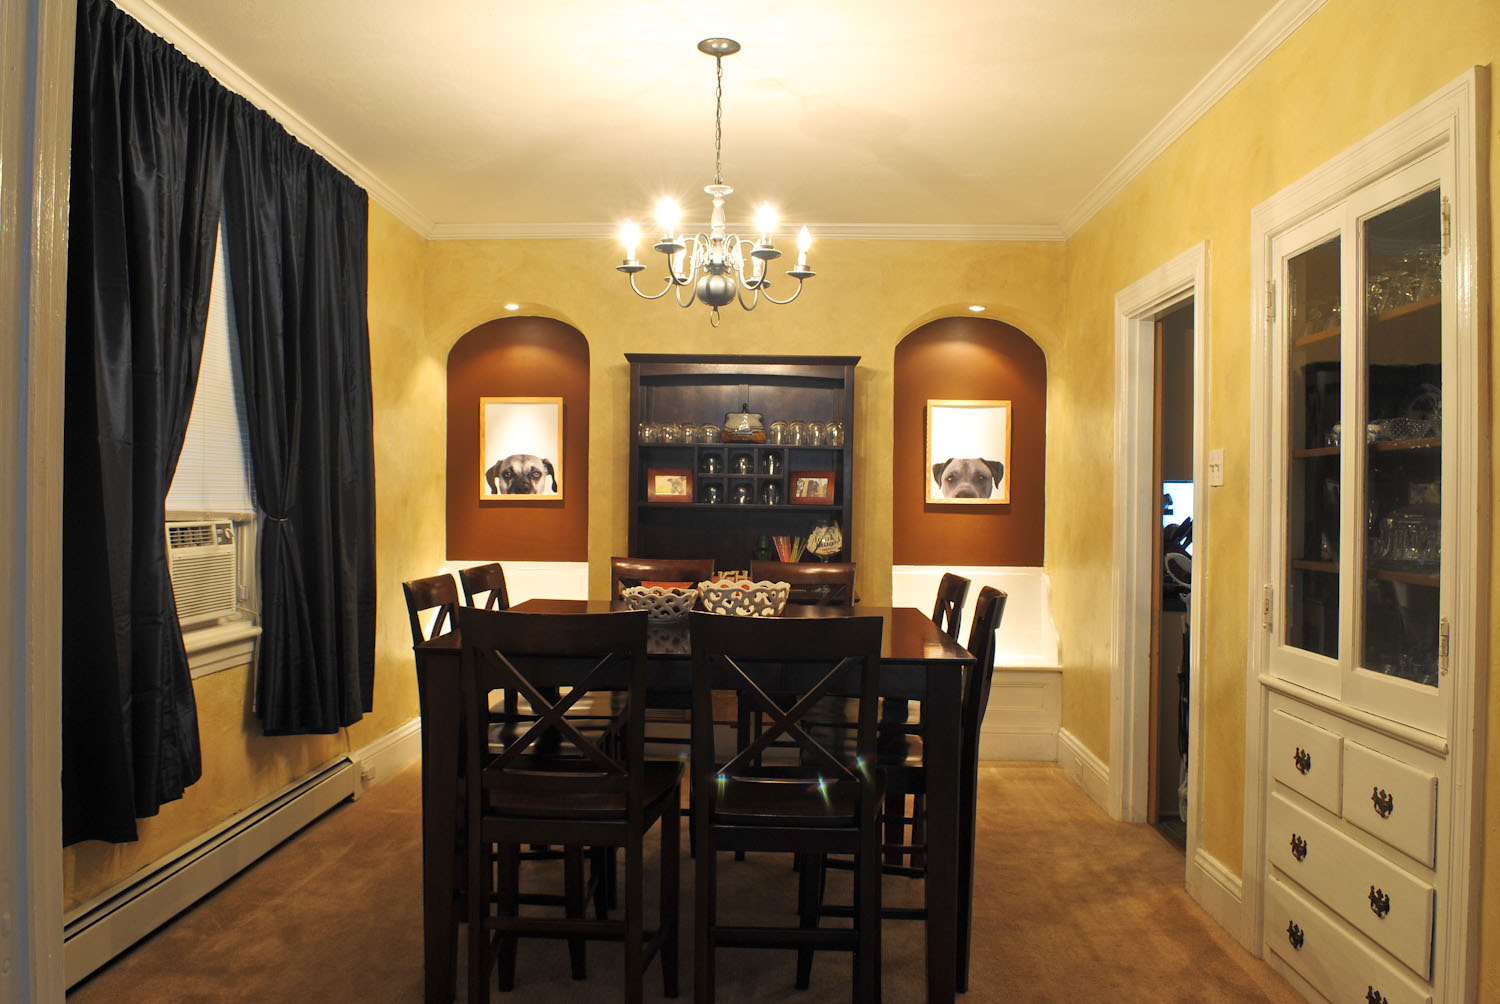
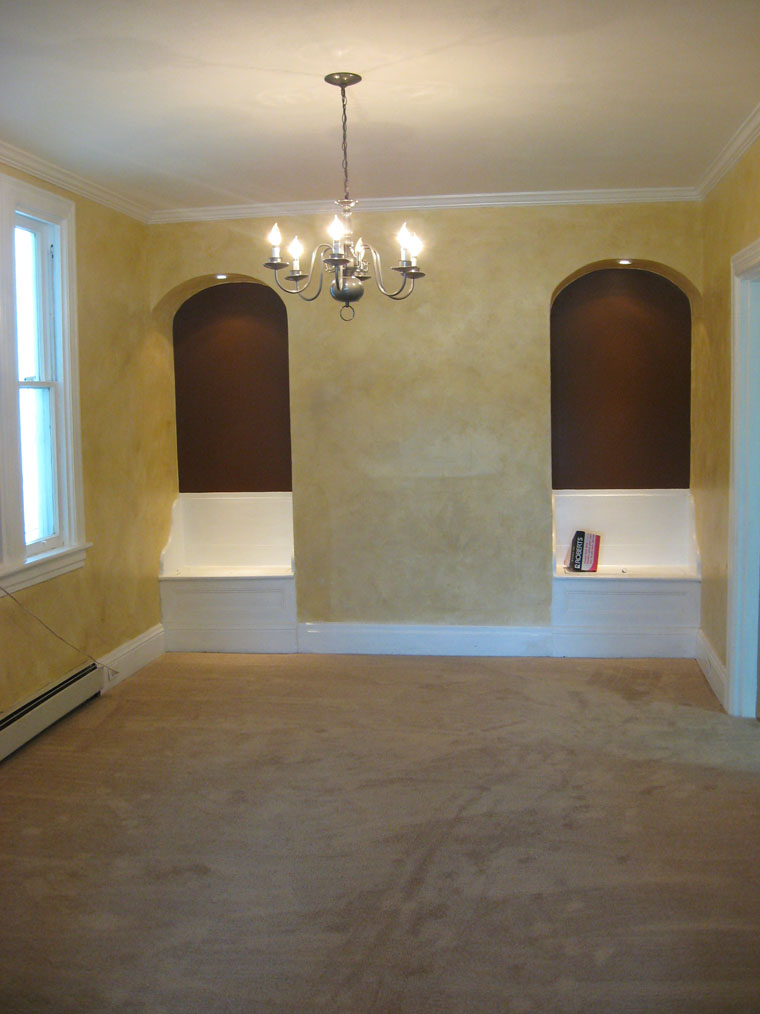
Dining room.
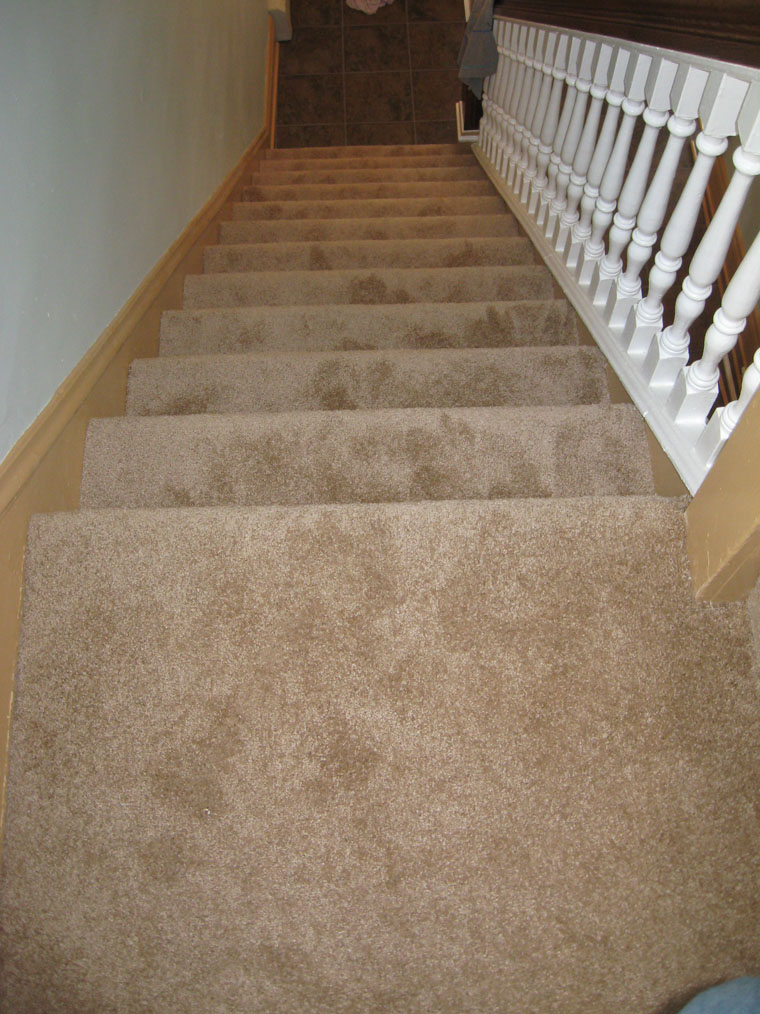
Entry foyer.
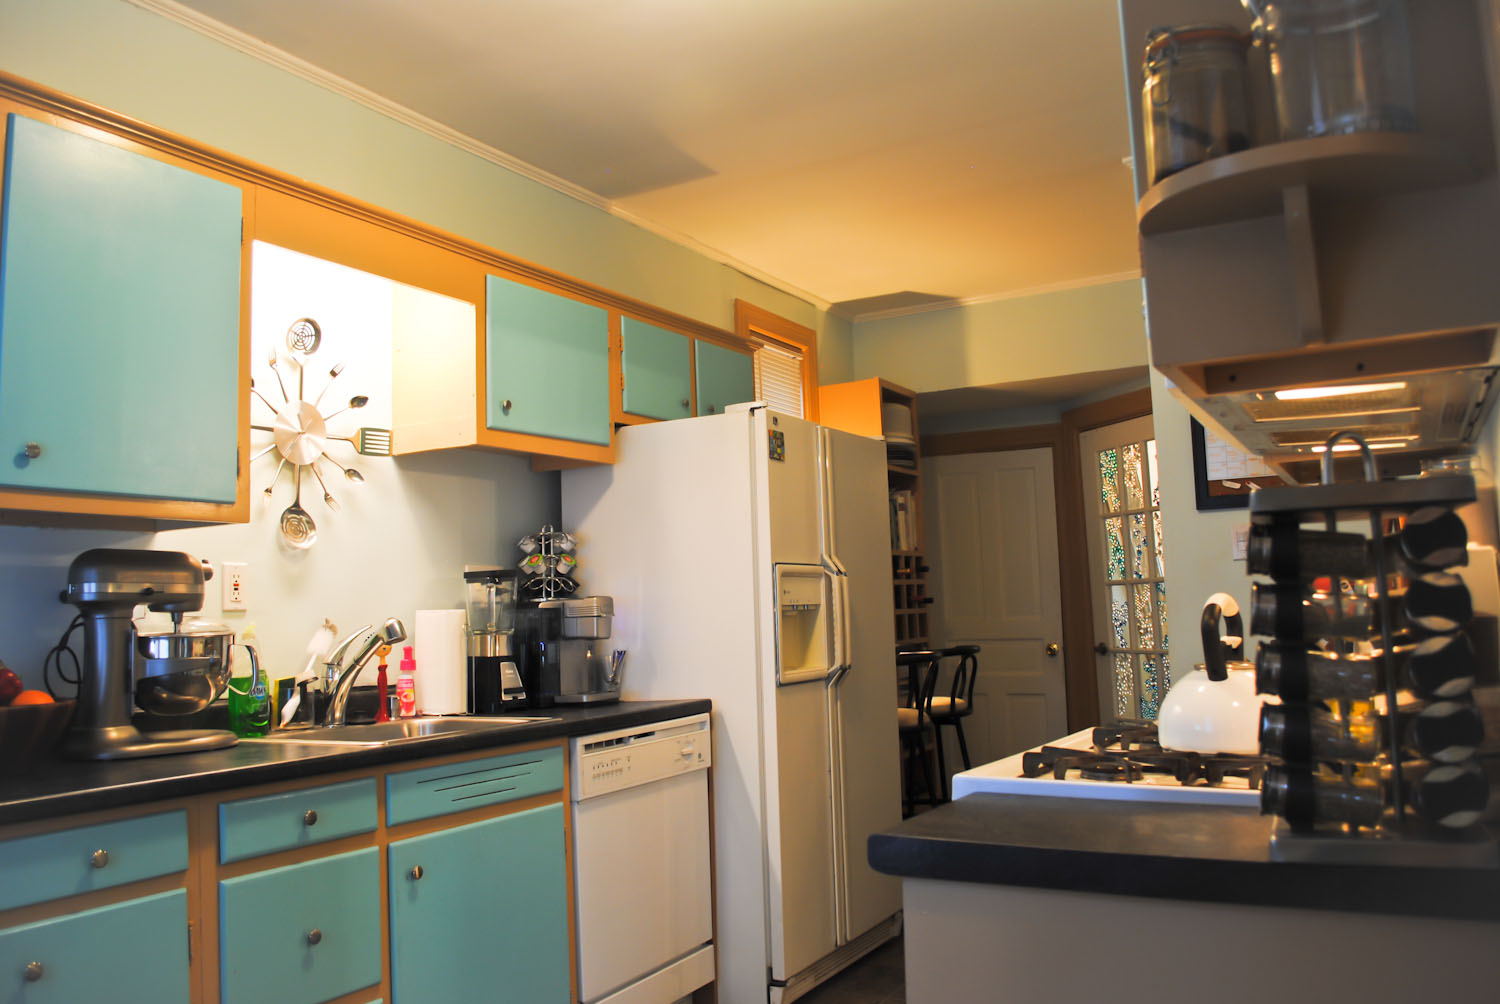
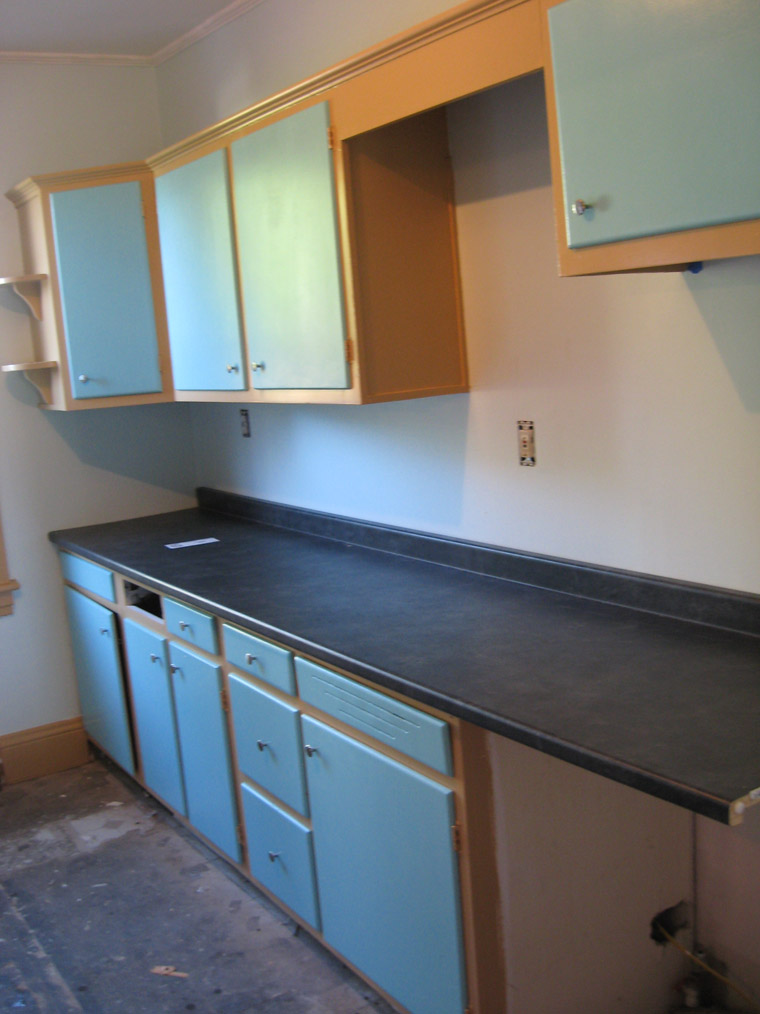
Kitchen towards front.
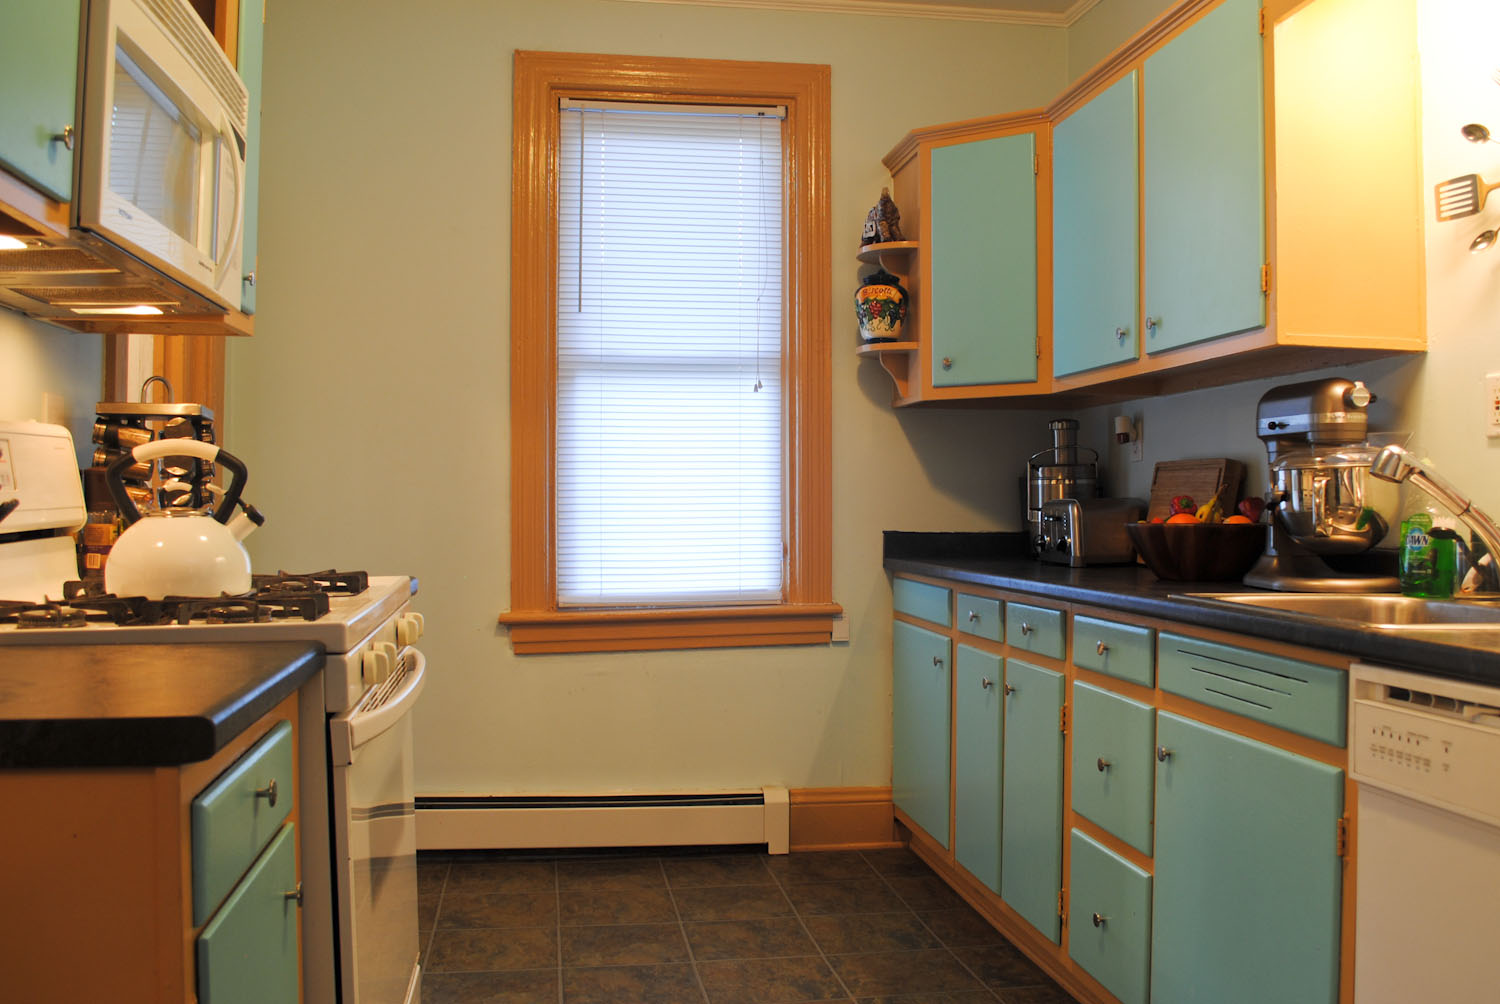
Kitchen towards rear.
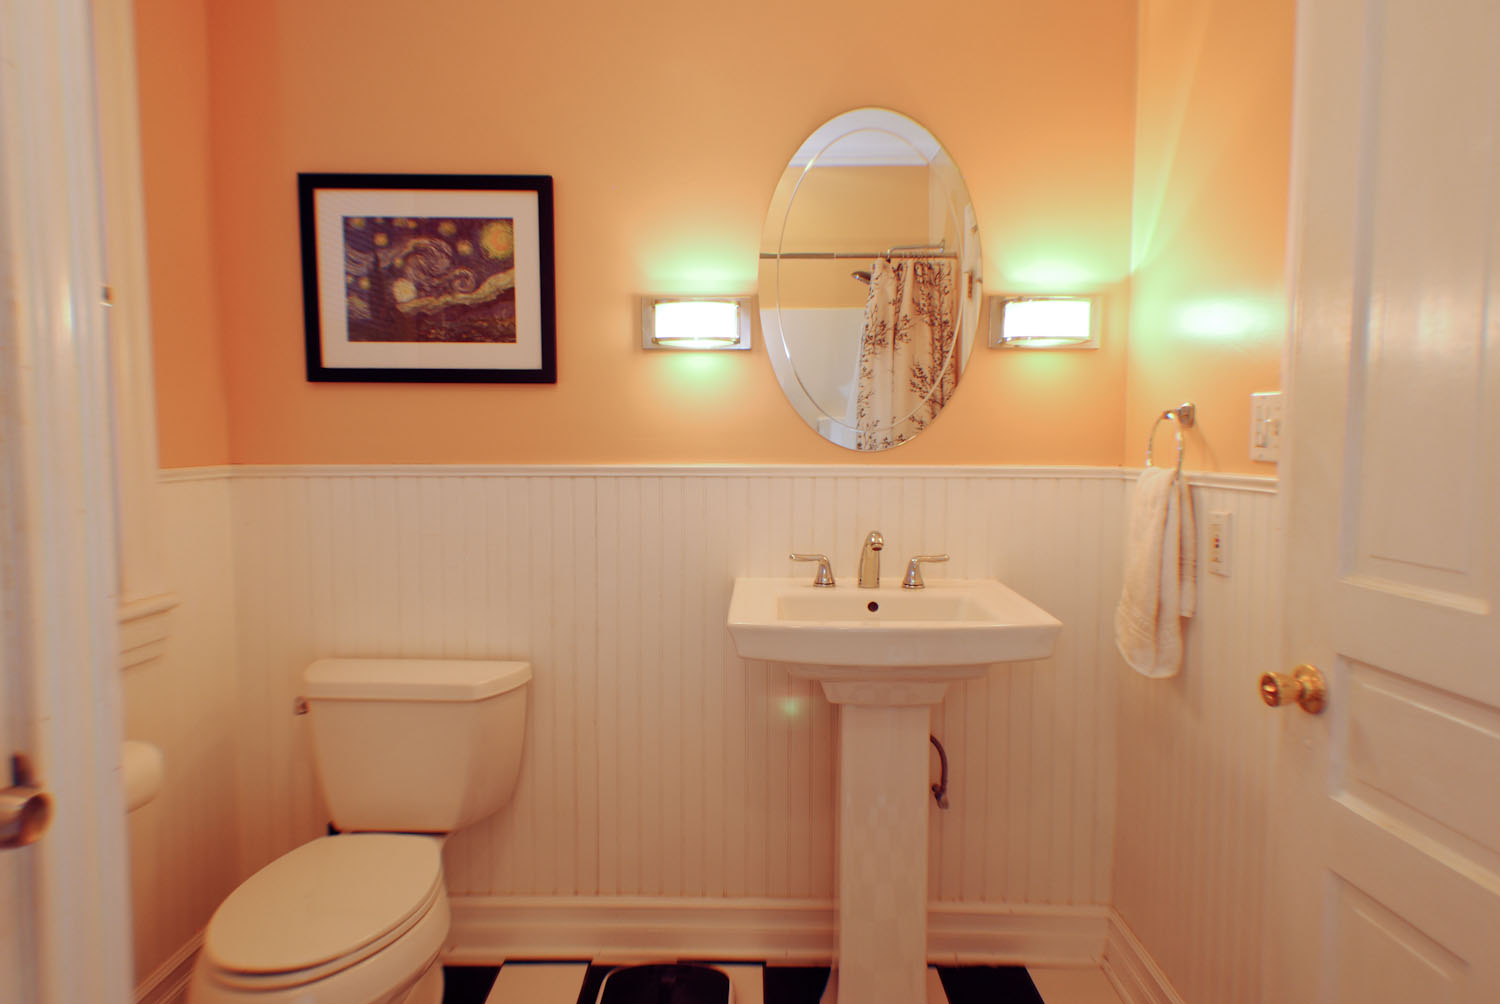
Second bathroom added off kitchen-side mudroom (not shown).
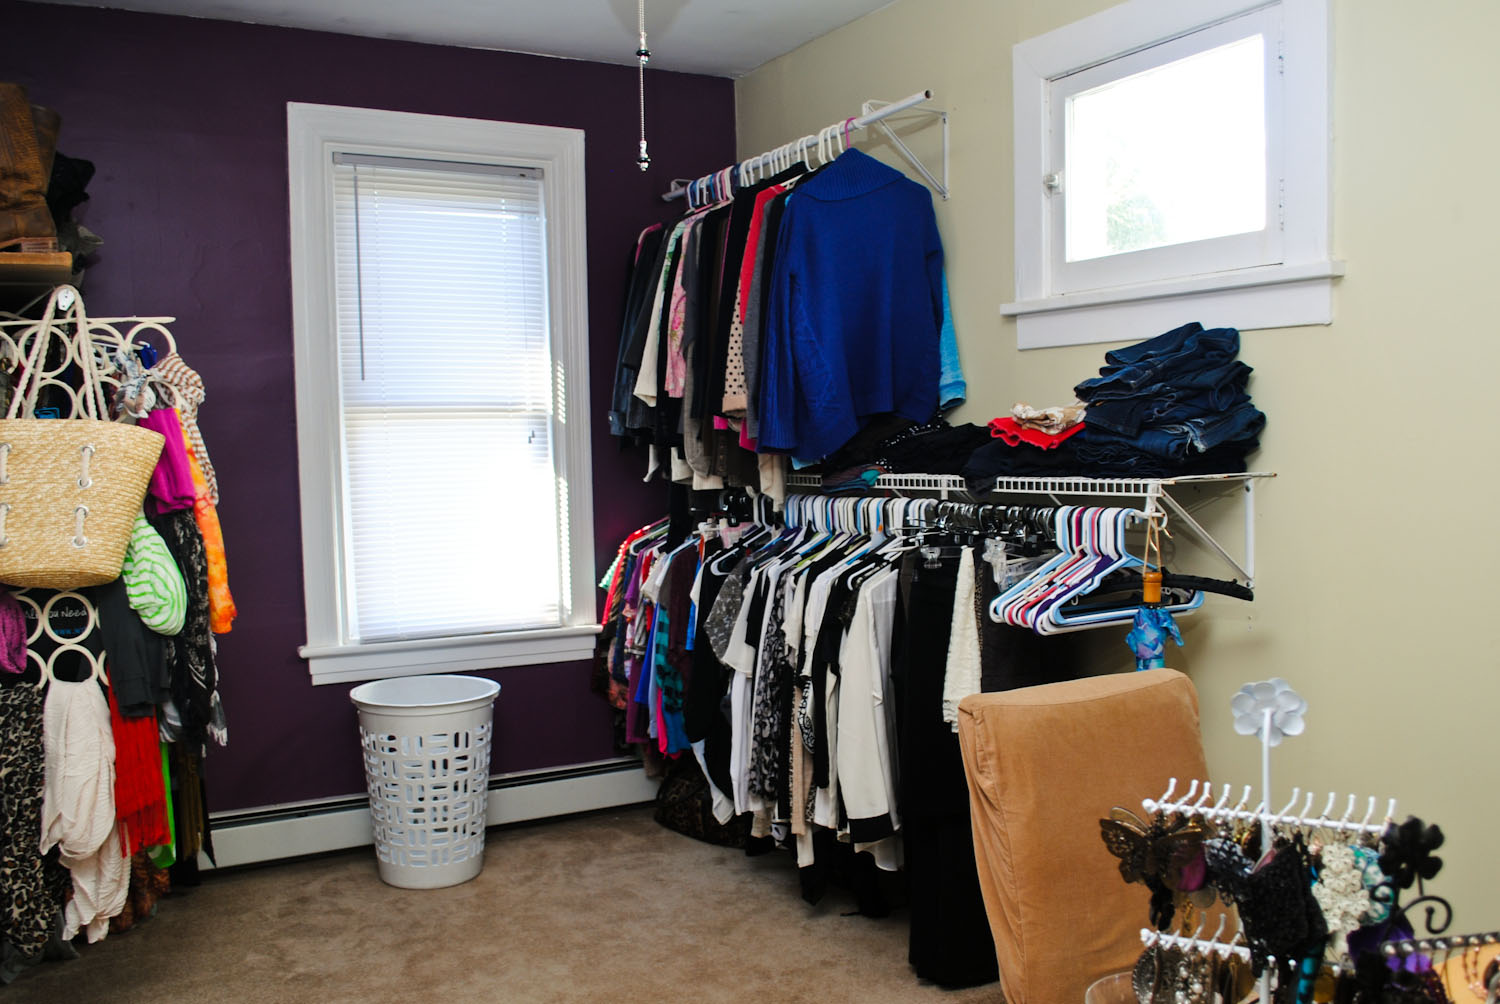
Dressing room.
Shoe closet in dressing room.
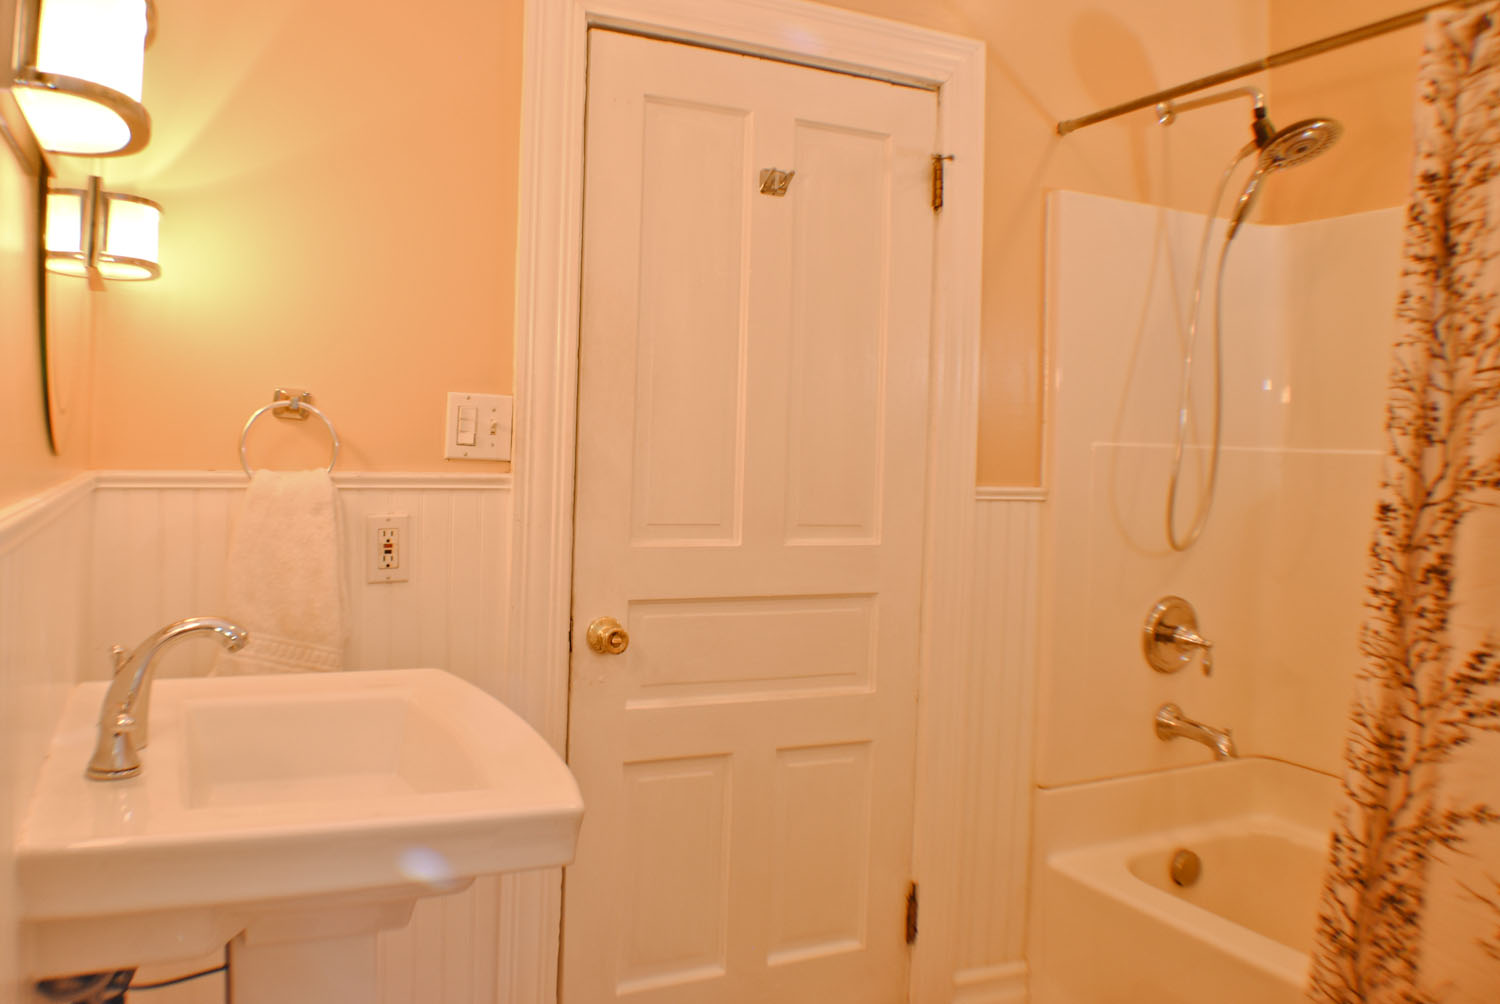
Master bathroom
Master bathroom from shower.
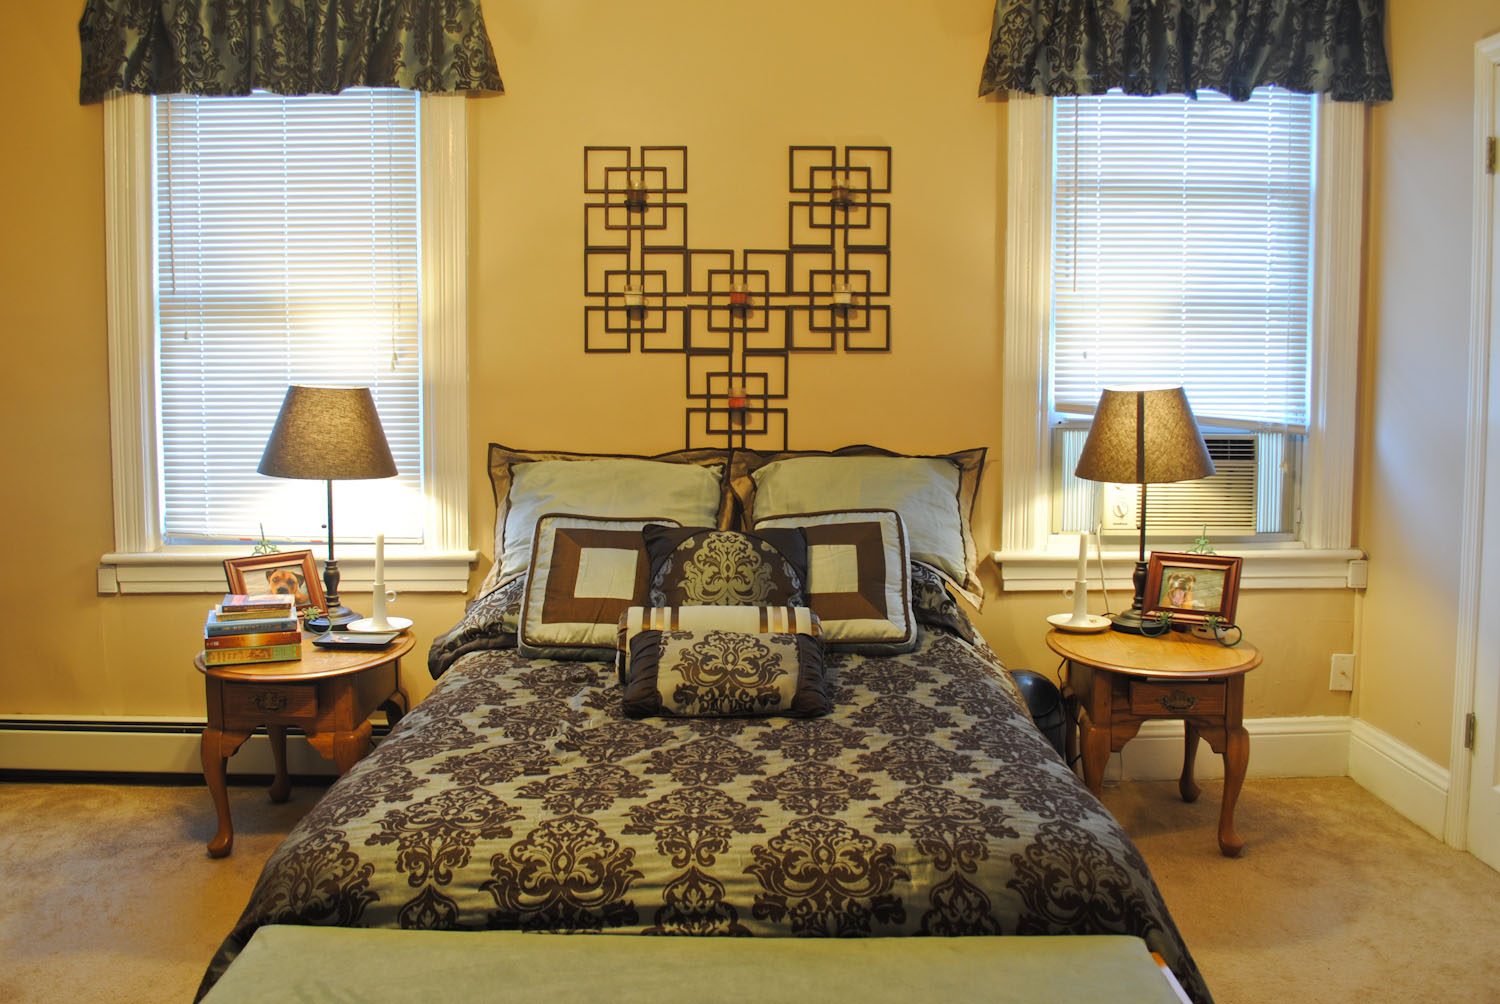
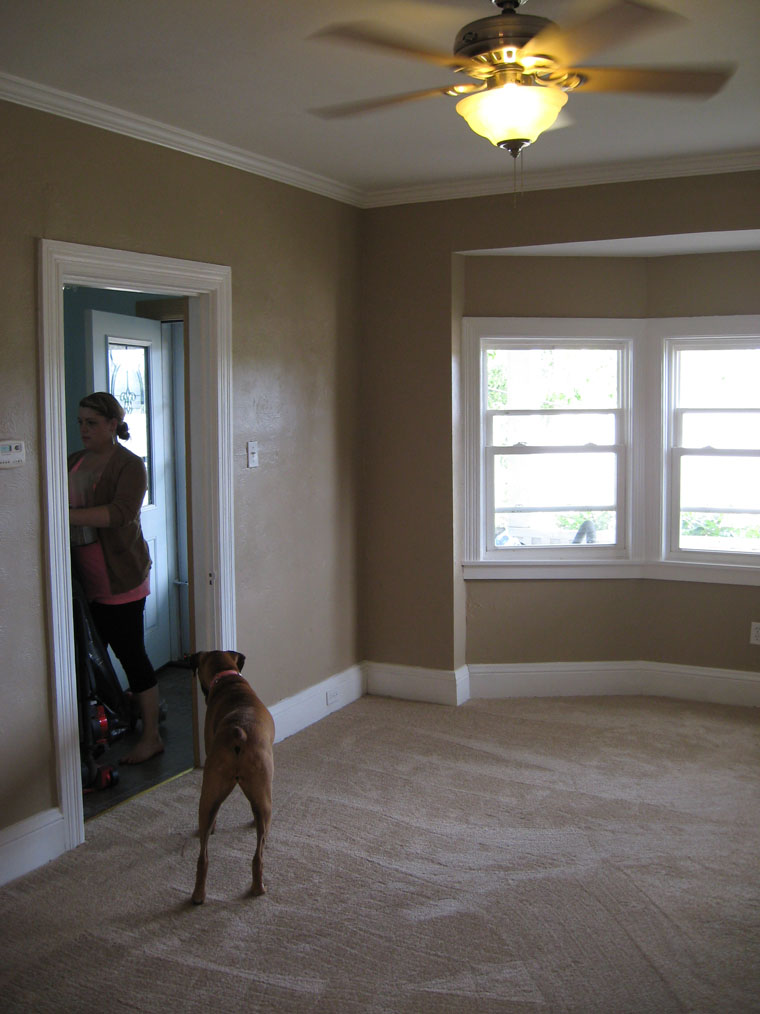
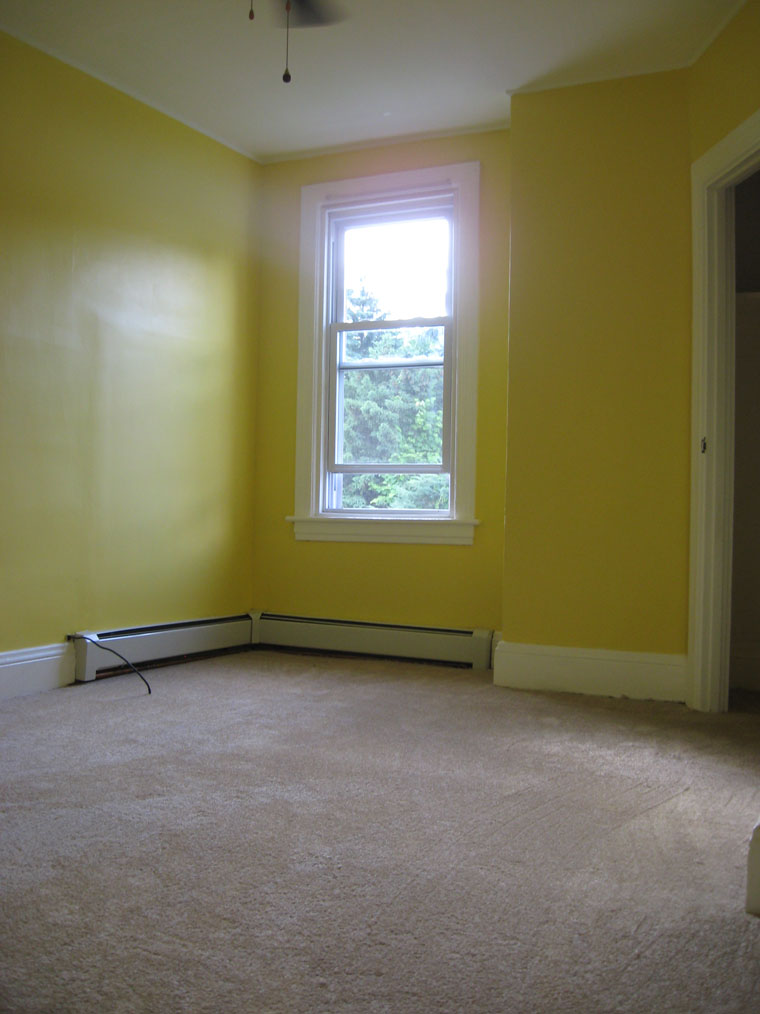
Master Bedroom
Master bedroom closets.
We’ll definitely miss the house. We got our start as a family here. But now it’s someone else’s turn.
Final Total:
We purchased the house as a foreclosure for $25,000
Total cost of renovations were approximately $36,000
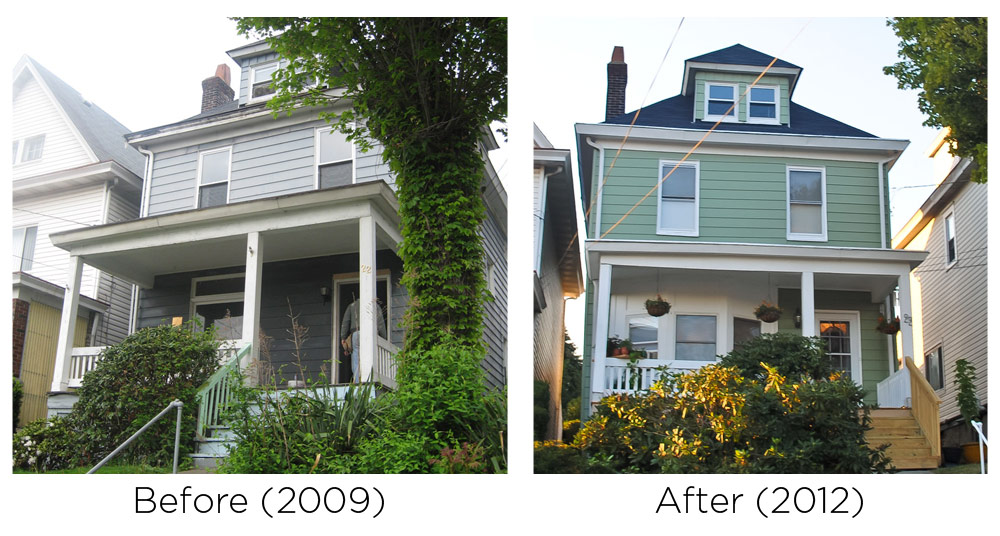
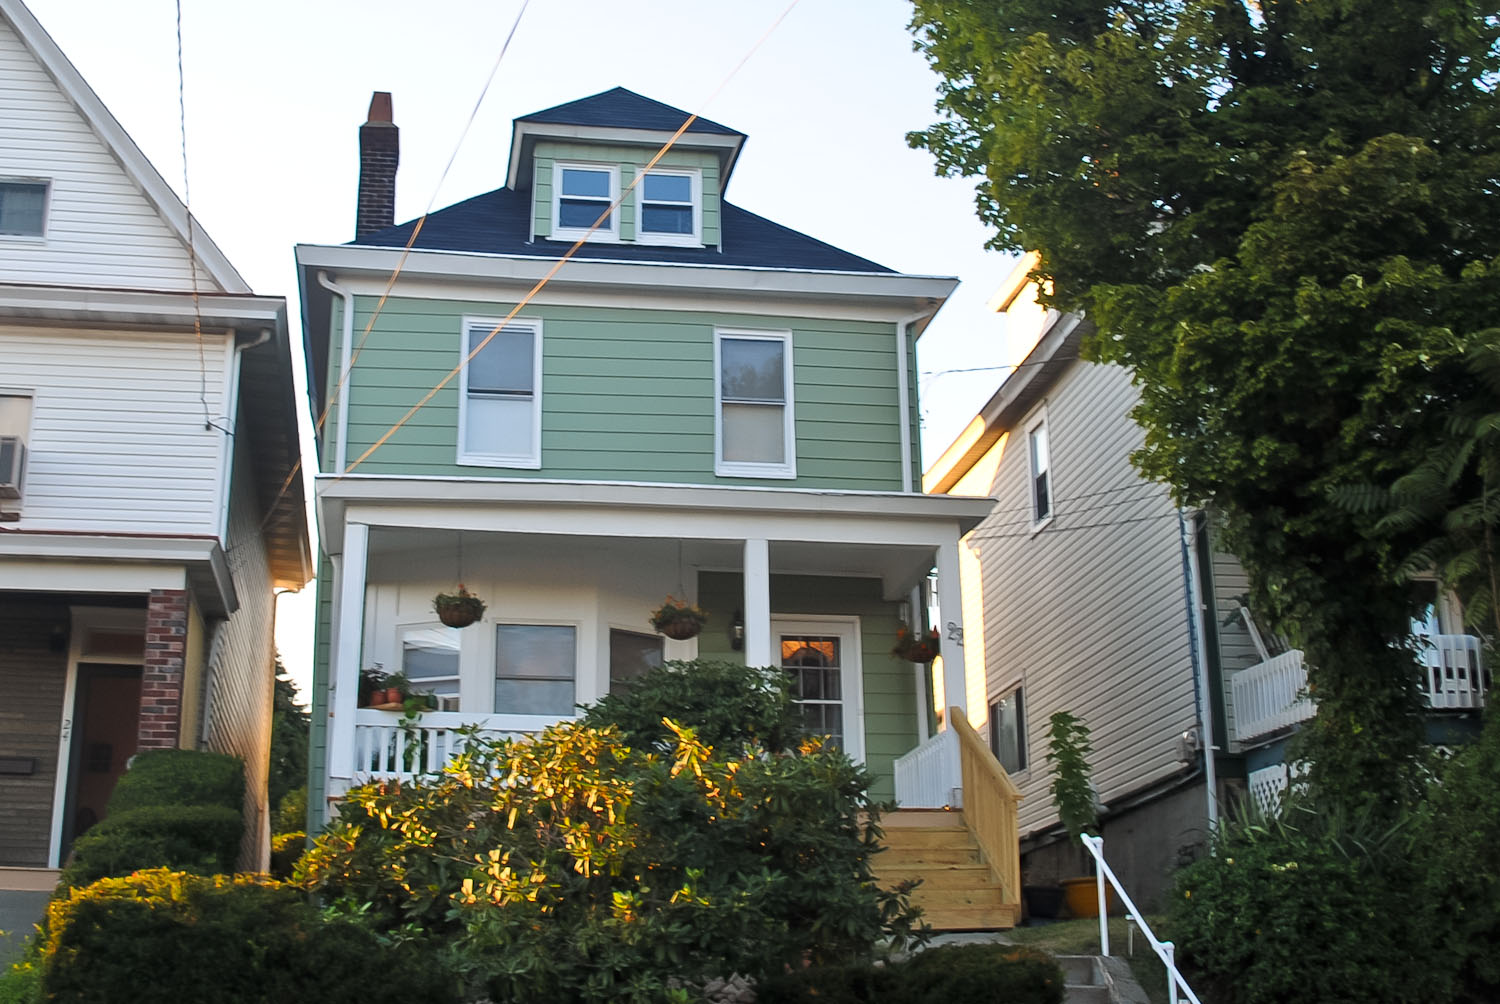
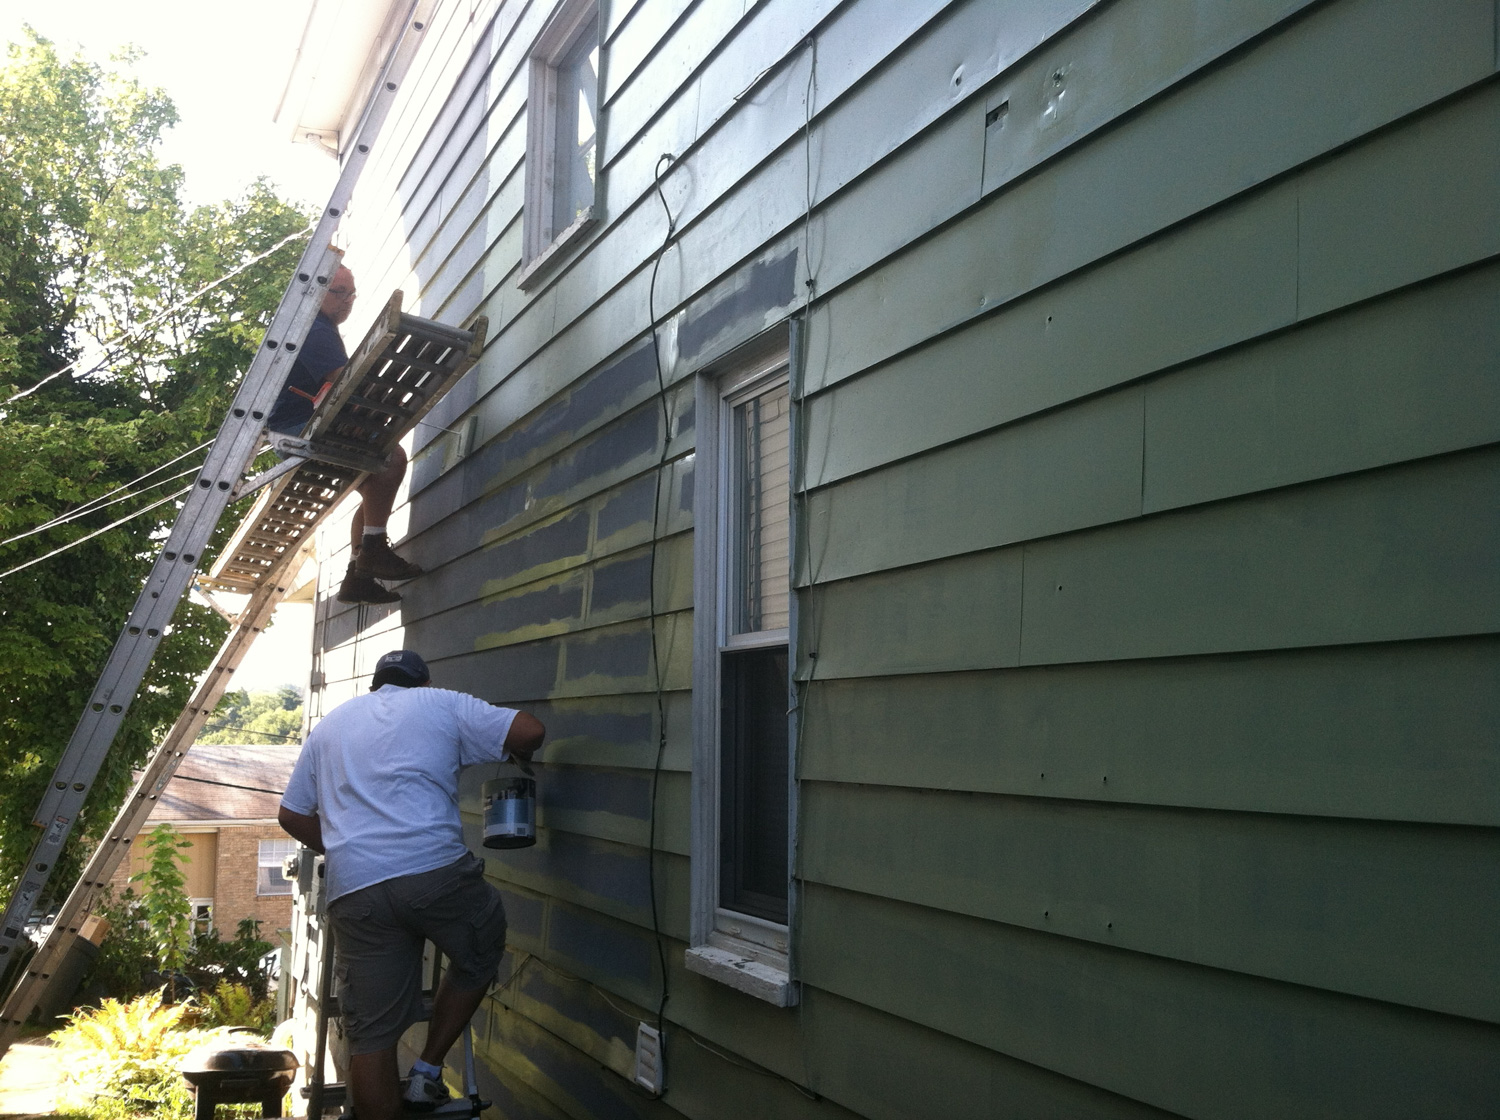
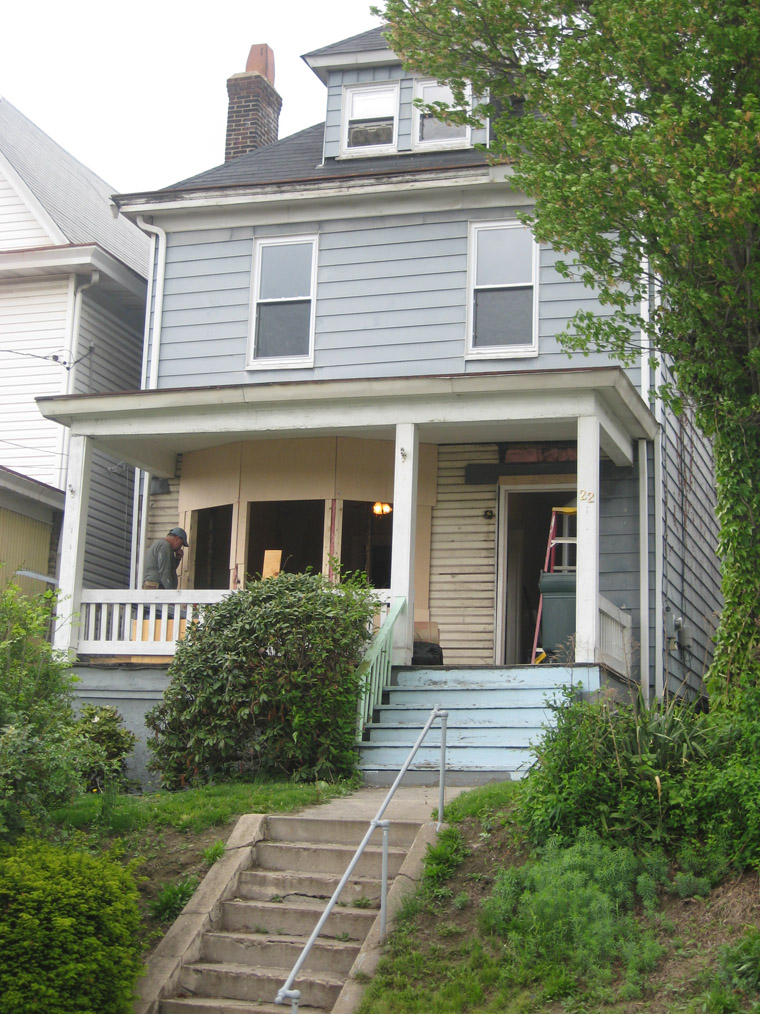
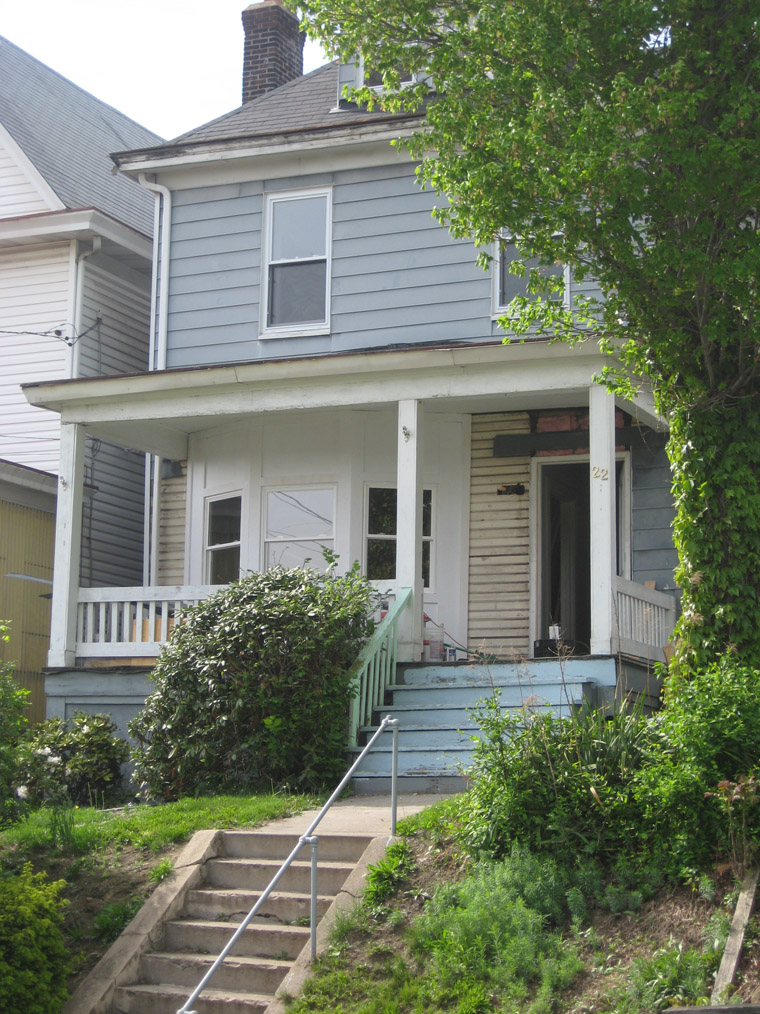
It’s been a while since the last update, we’re finally pushing to wrap up the outside of the house.
It’s springtime in Pittsburgh, meaning it’s time to get to work outside!
We acid-washed the old Alcoa aluminum siding and used some great sage colored paint for the siding, with white trim.
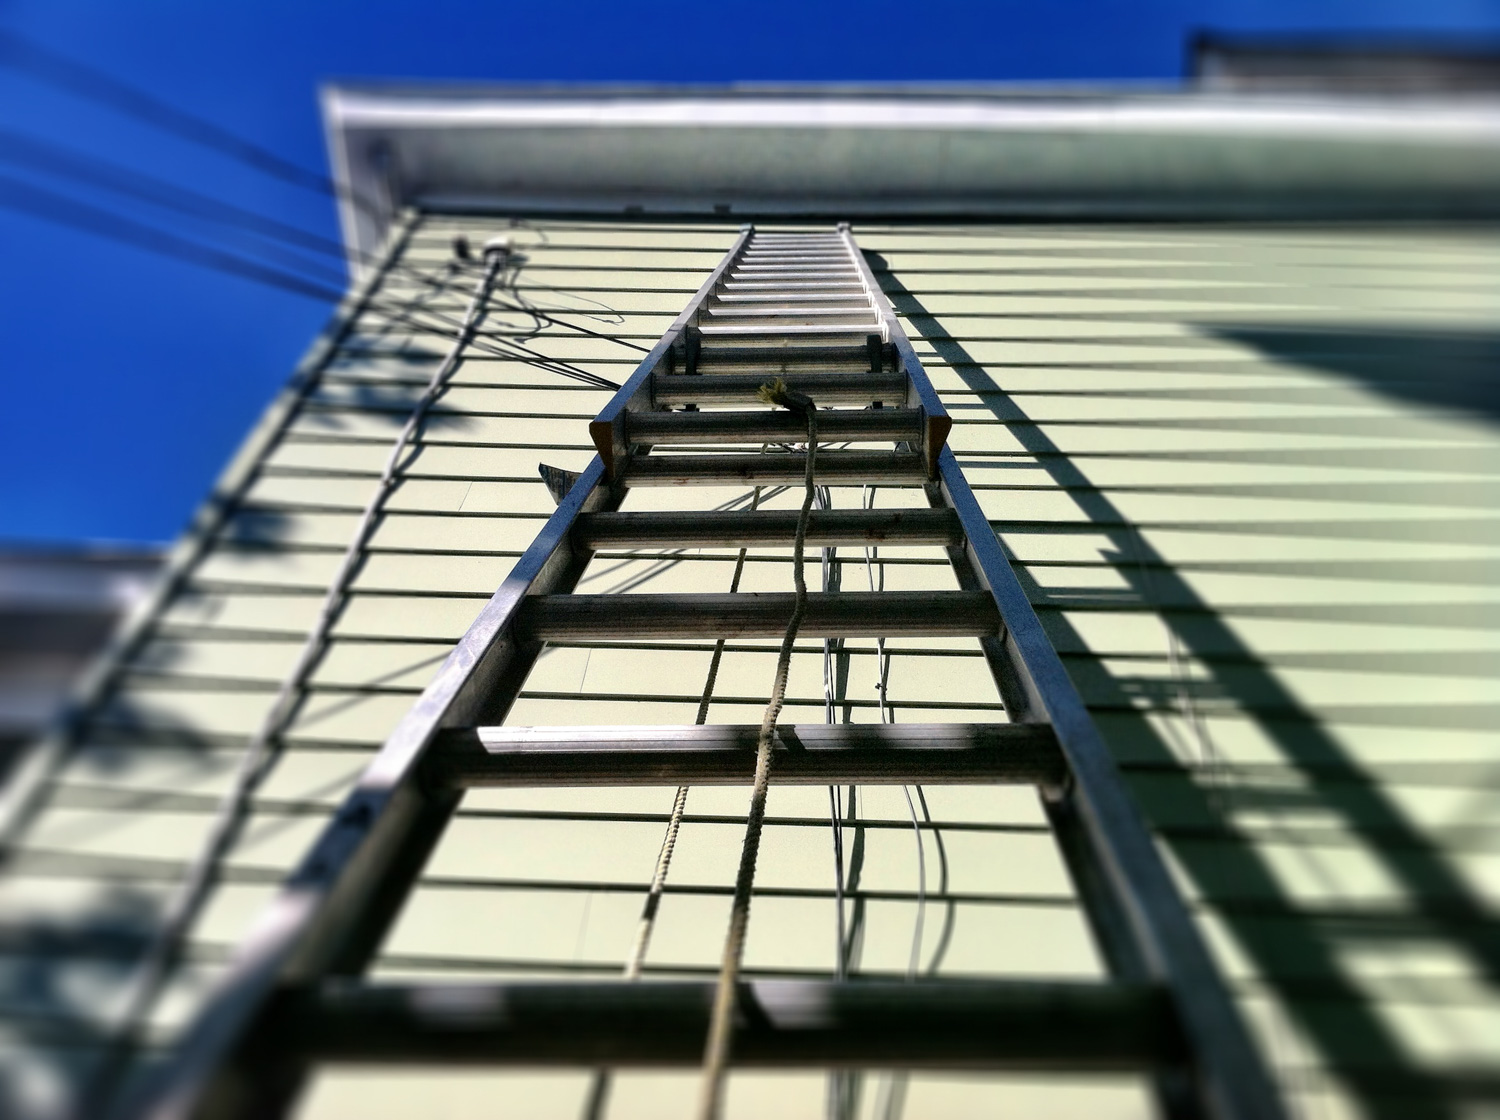
Man, do I hate ladders.
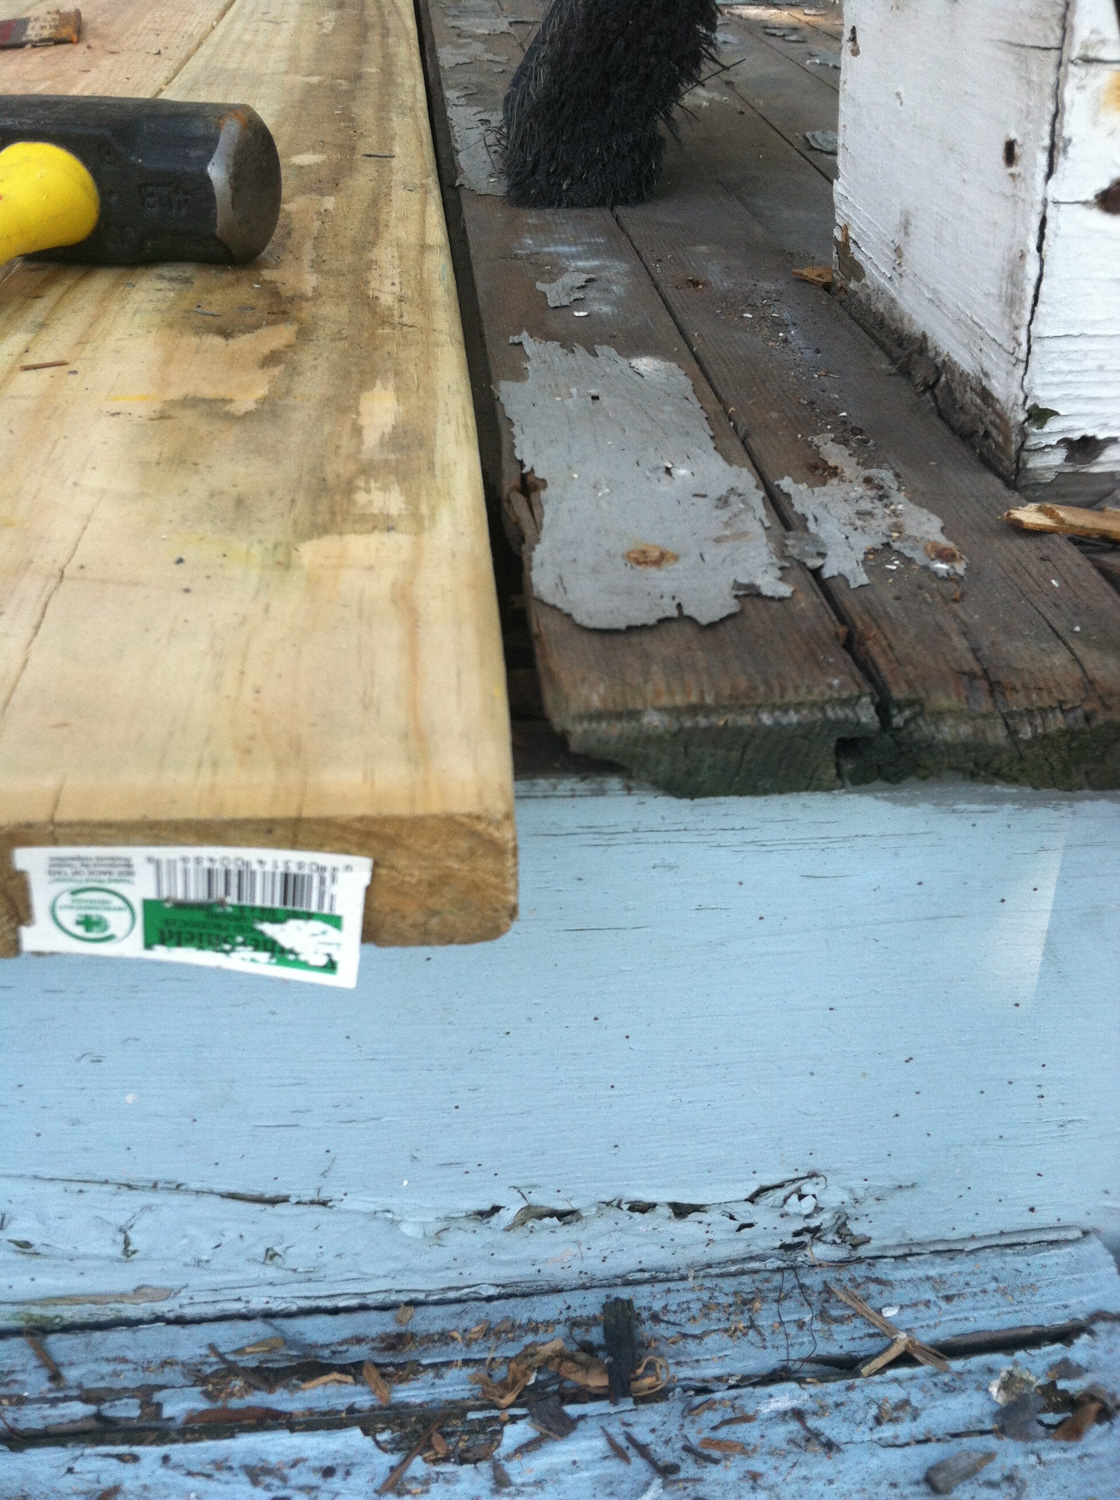
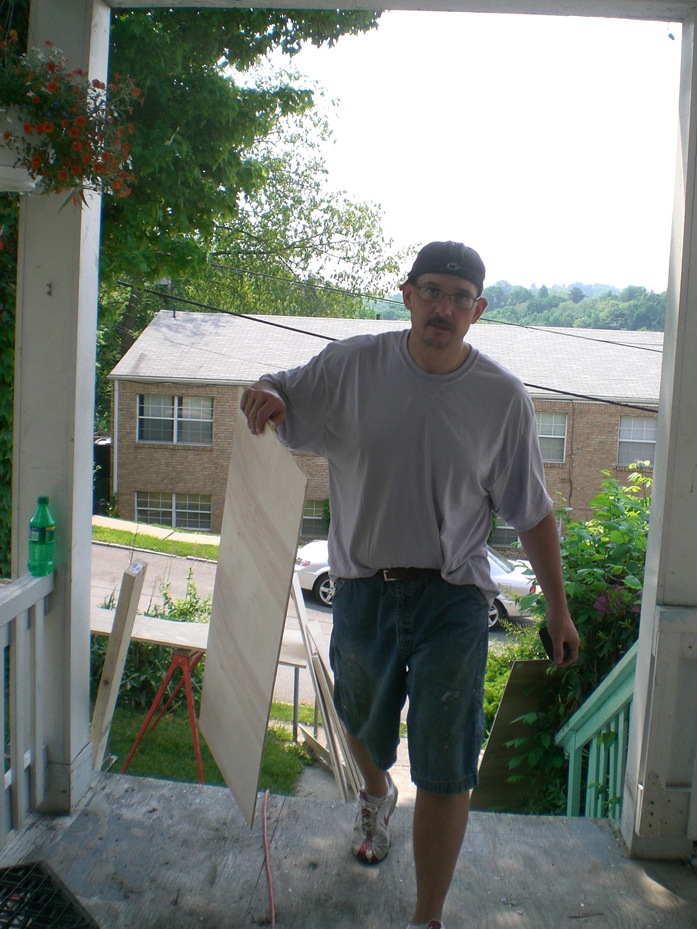
We rebuilt the structure and supports under the front porch with new wood for stability, then we removed the rotten old boards and replaced with new treated lumber decking.
New railings, new posts and new staircase are coming next.
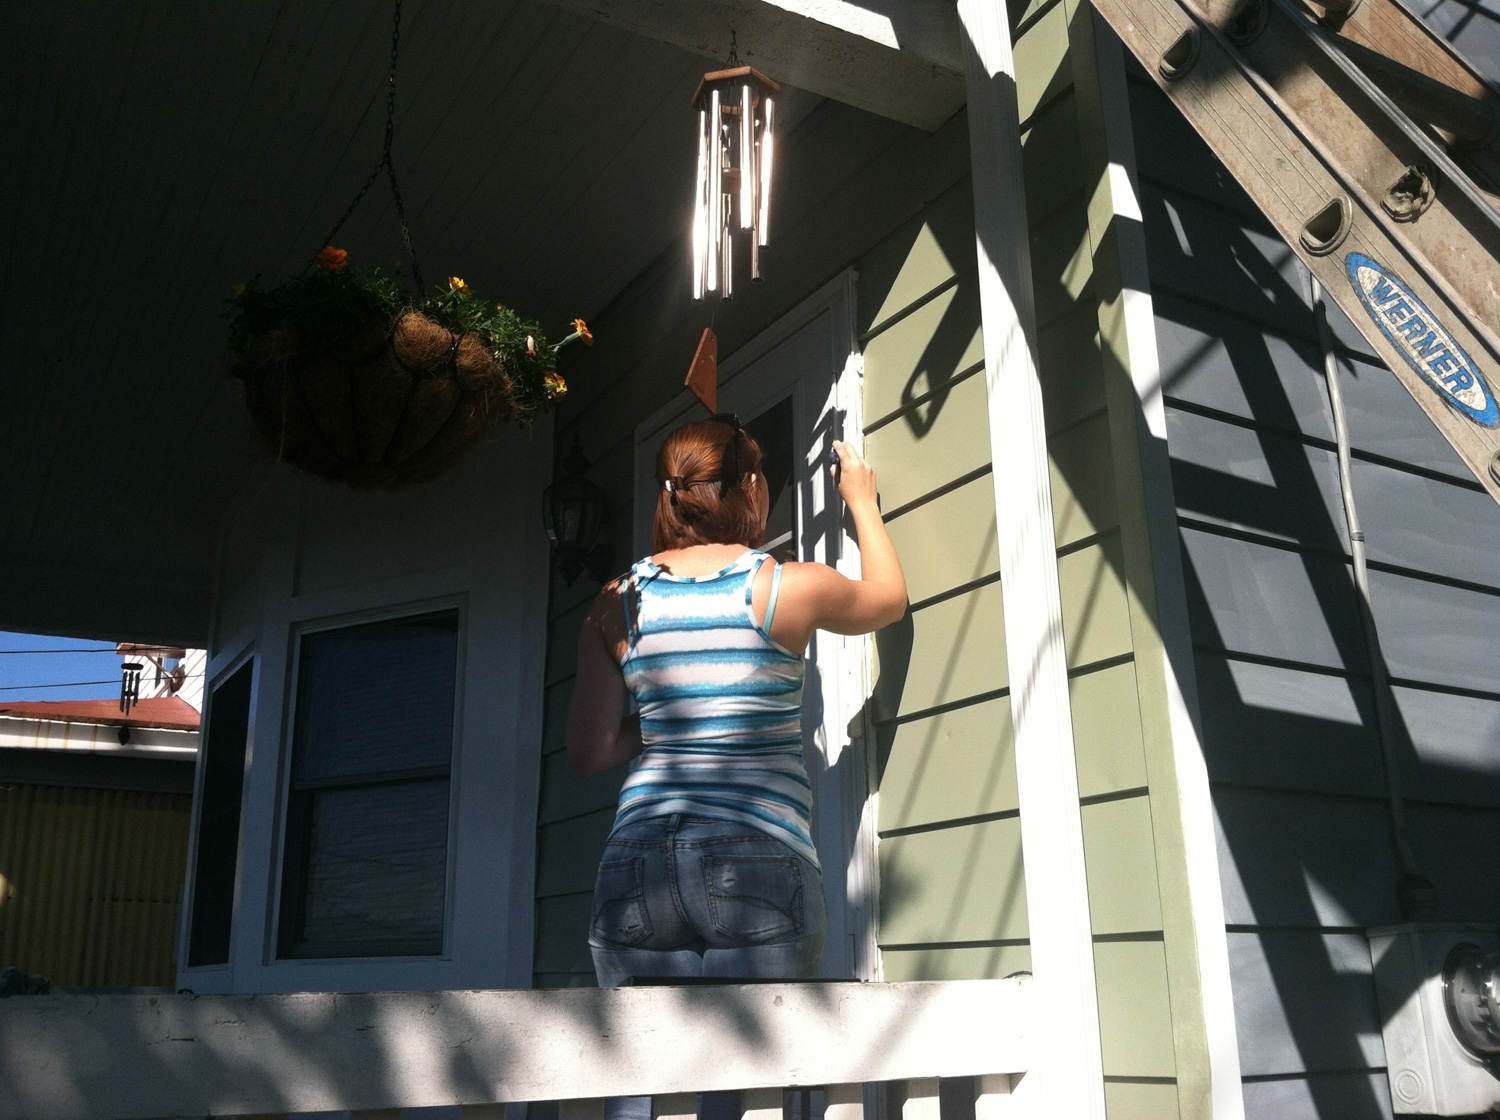
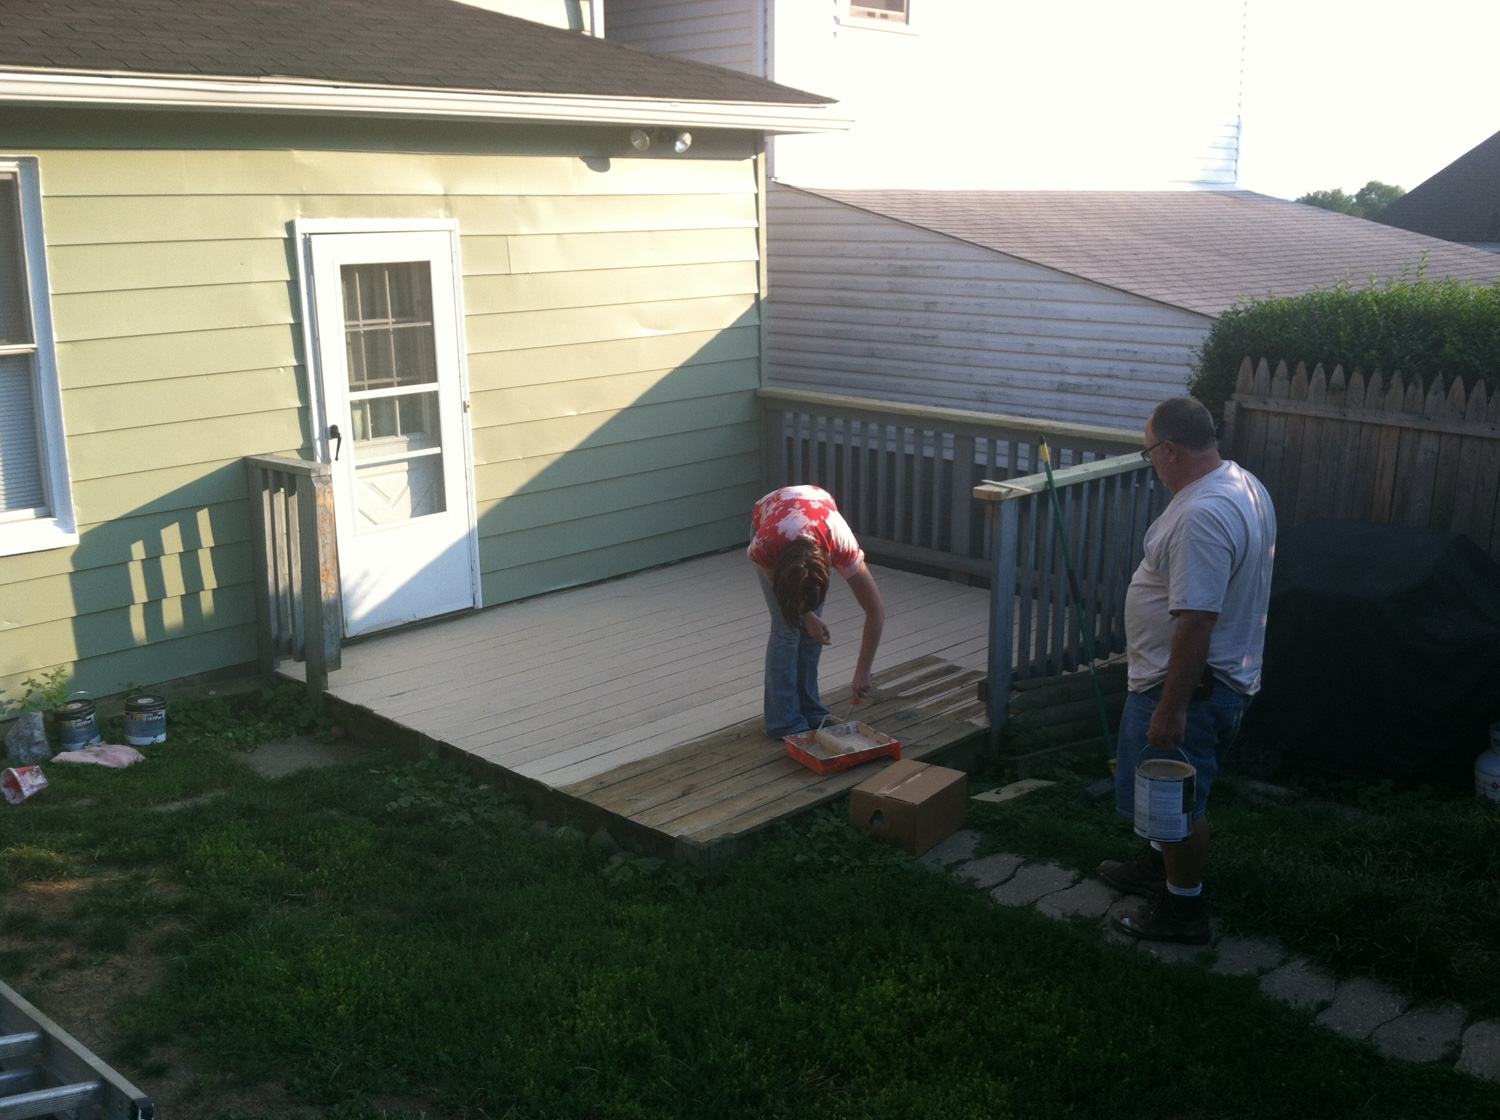
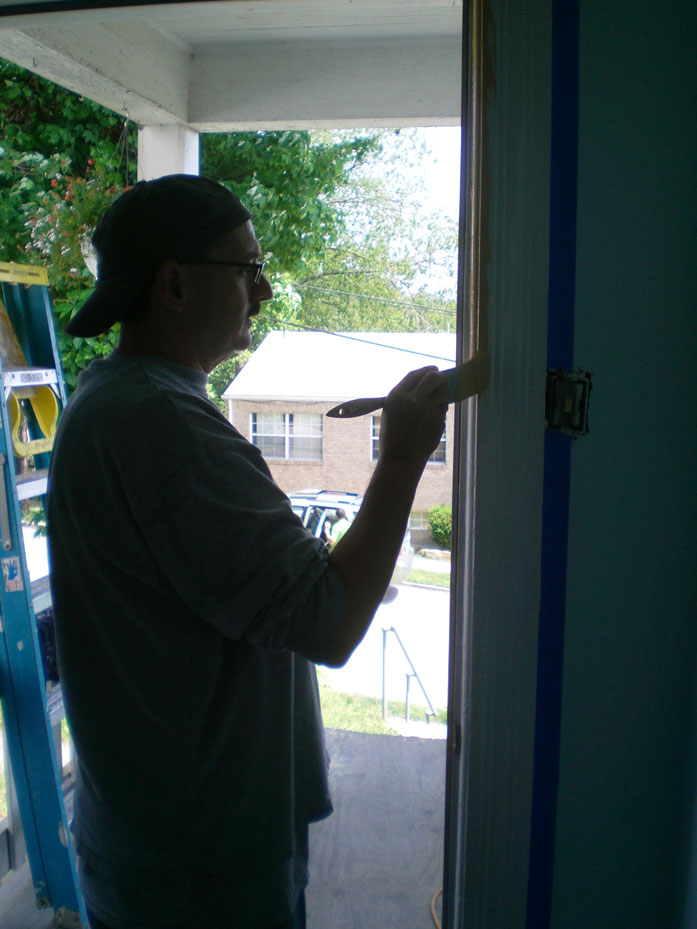
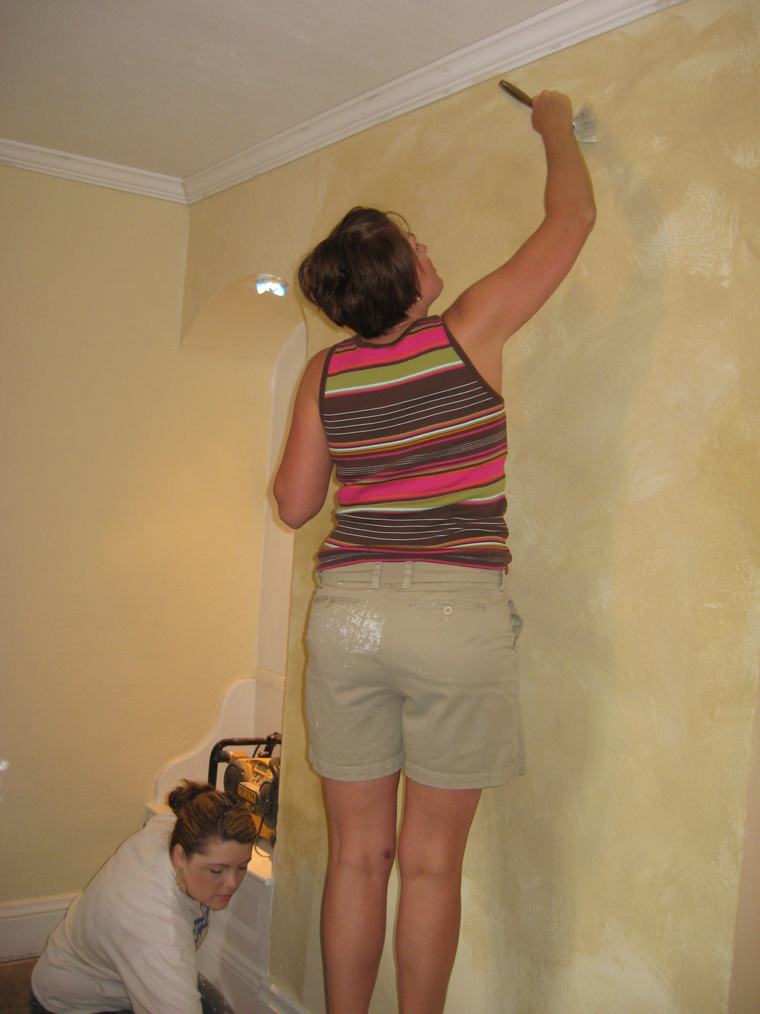
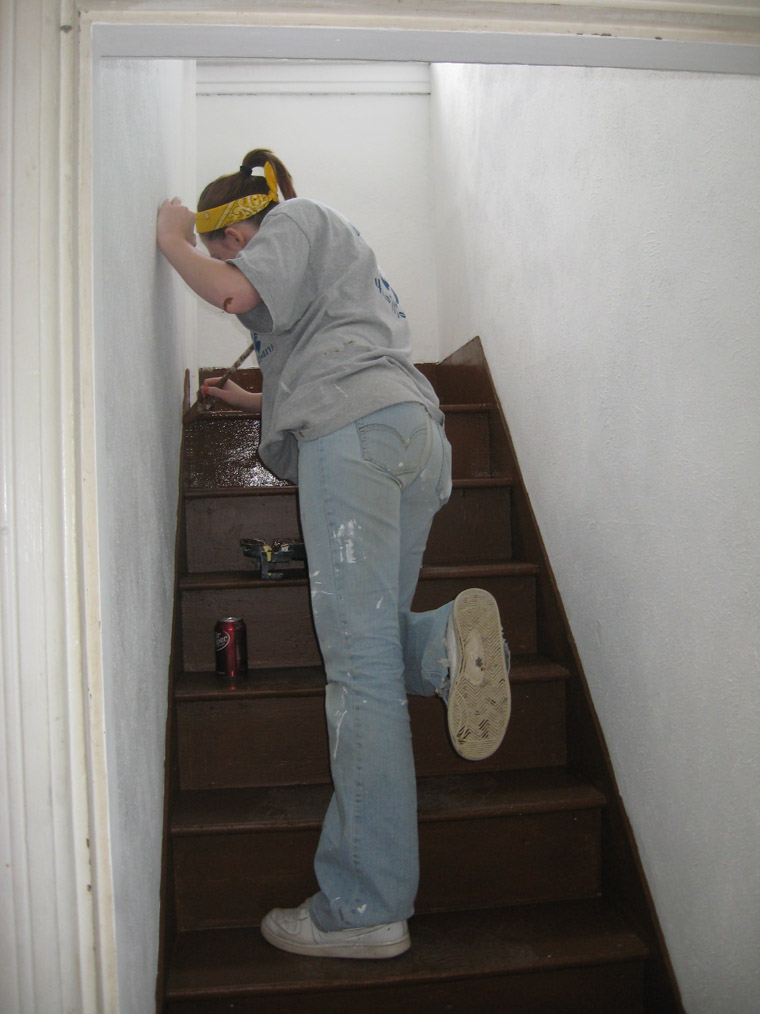
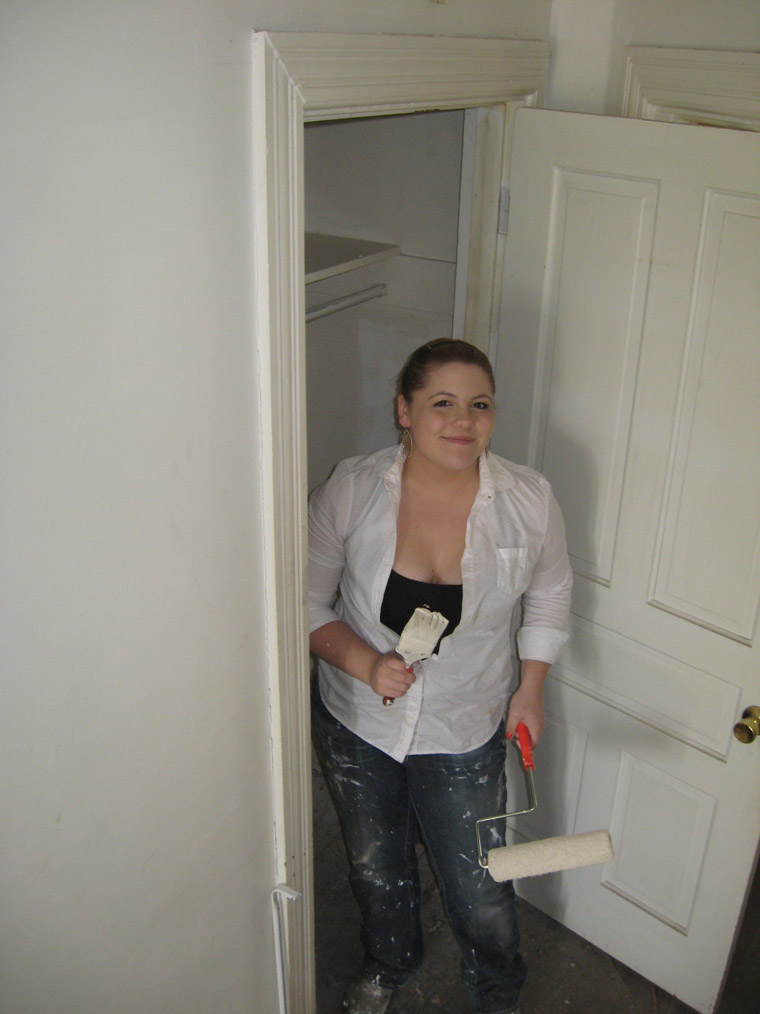
Rachel uses a steady hand to paint the trim.
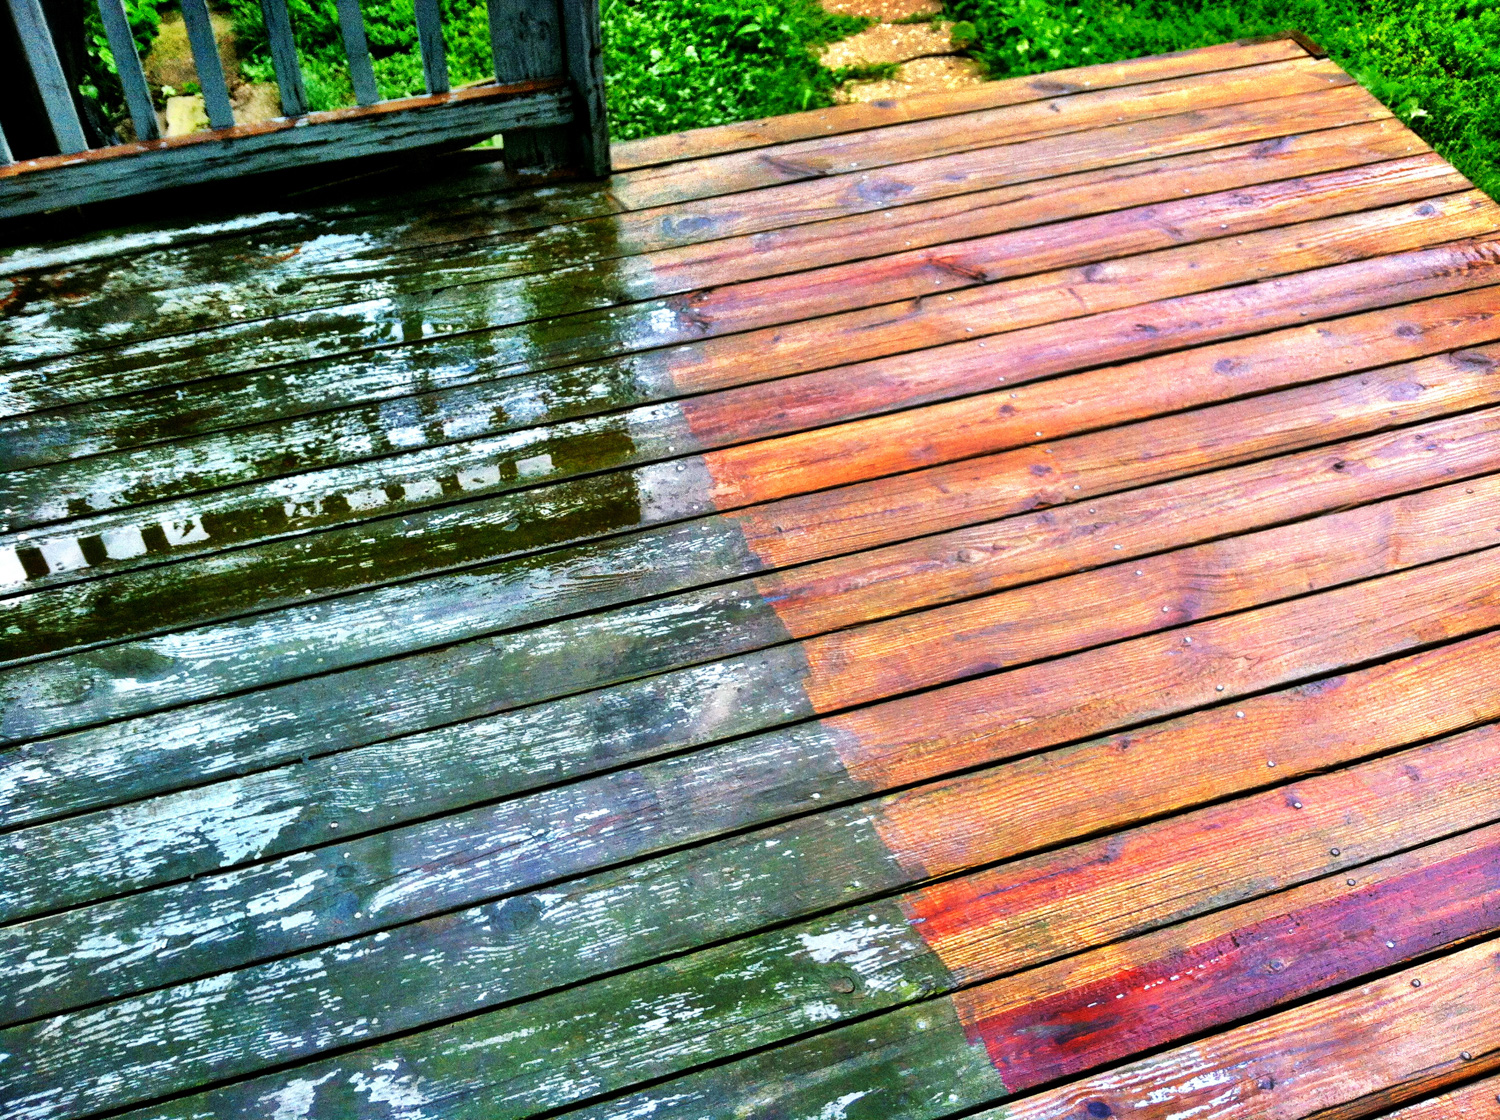
Structurally the back deck was sturdy, just power washing it before painting made it look SO much better.
New sealing paint will shine this up nicely. We also put in a 6ft privacy fence around the back yard for the dogs.
Removing the front 1/3 of the railing opened the deck up into the yard and made things feel bigger.
This weekend marks the final weekend before the flooring deadline. We need to be completely done with painting/construction by this Thursday!
This week had a lot of other events too… Collin’s birthday and graduation party was last Friday, Valerie and family came to visit, the Penguins won the Stanley Cup, and I got a minor sunburn on Sunday watchin’ the Buccos trounce the Detroit Tigers.
The counter tops are in, this is just set in place, the dishwasher and sink need to be installed.
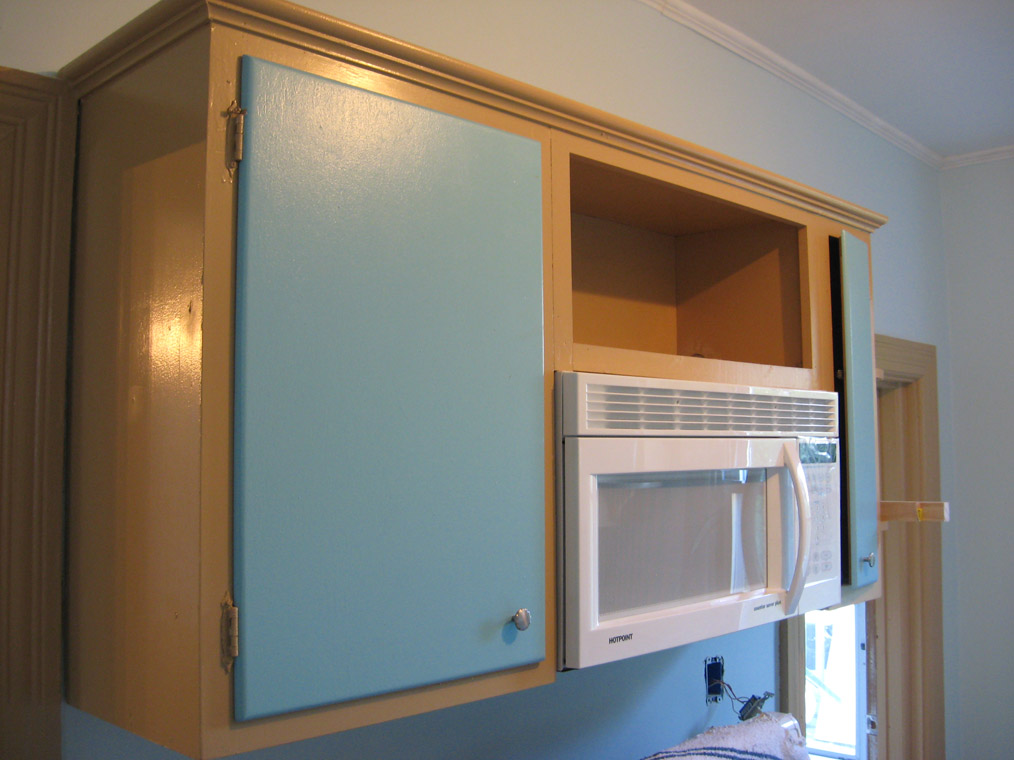
Ron and I set up the range hood microwave, I’ve still gotta finish running power to it tonight when I get back to the house.
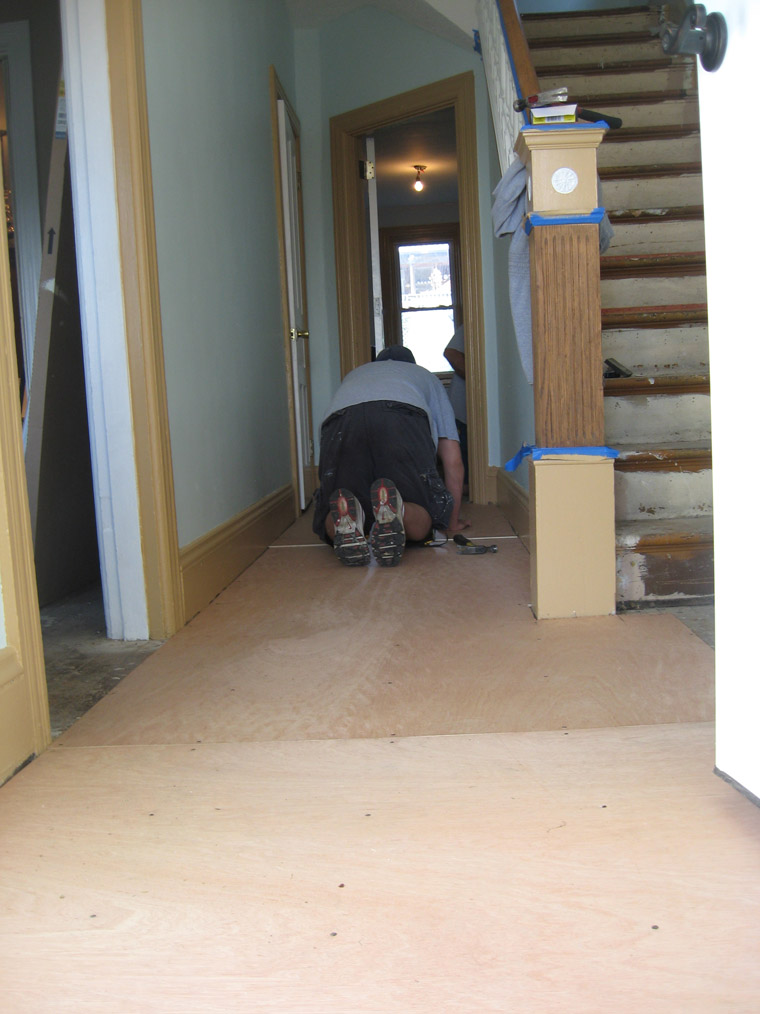
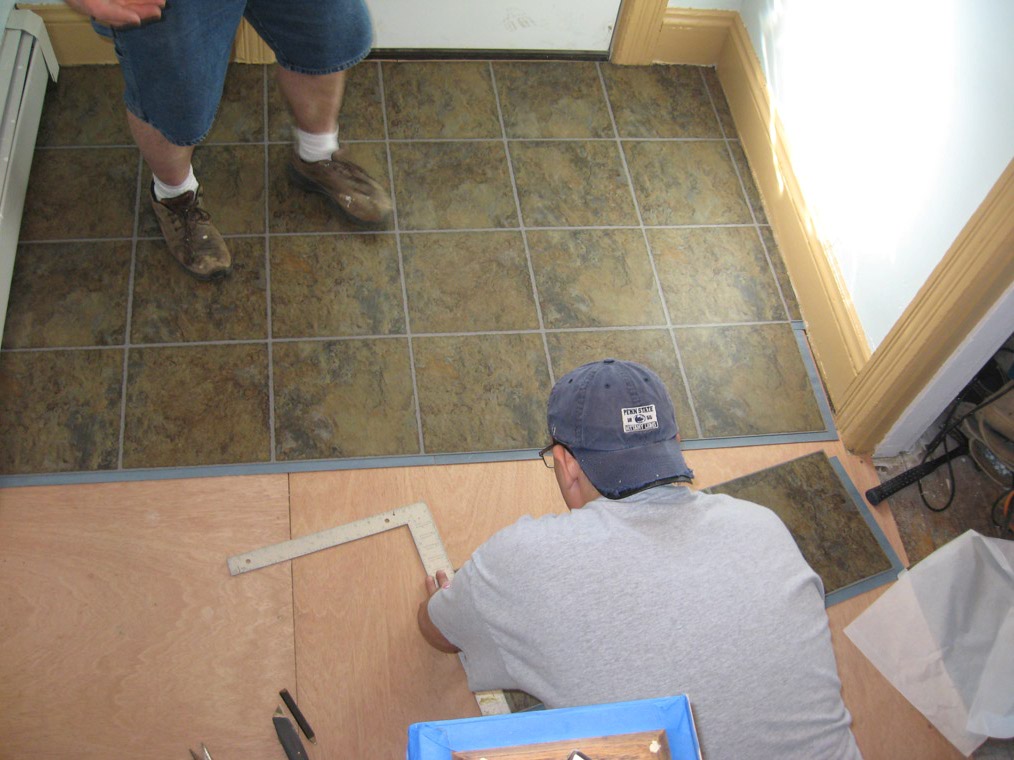
The old hardwood was so uneven we had to get sub-floor for the slate laminate to go down.
The kitchen only needed patches made for sub-floor.
Mike, Ron and I laid the tile down starting at the front door.
Here’s proof that at least the back of my sister Valerie’s head visited from Georgia.
We had to special order this tile, and of course, because of the odd shape, had to order more to finish a spot in the kitchen, to be continued…
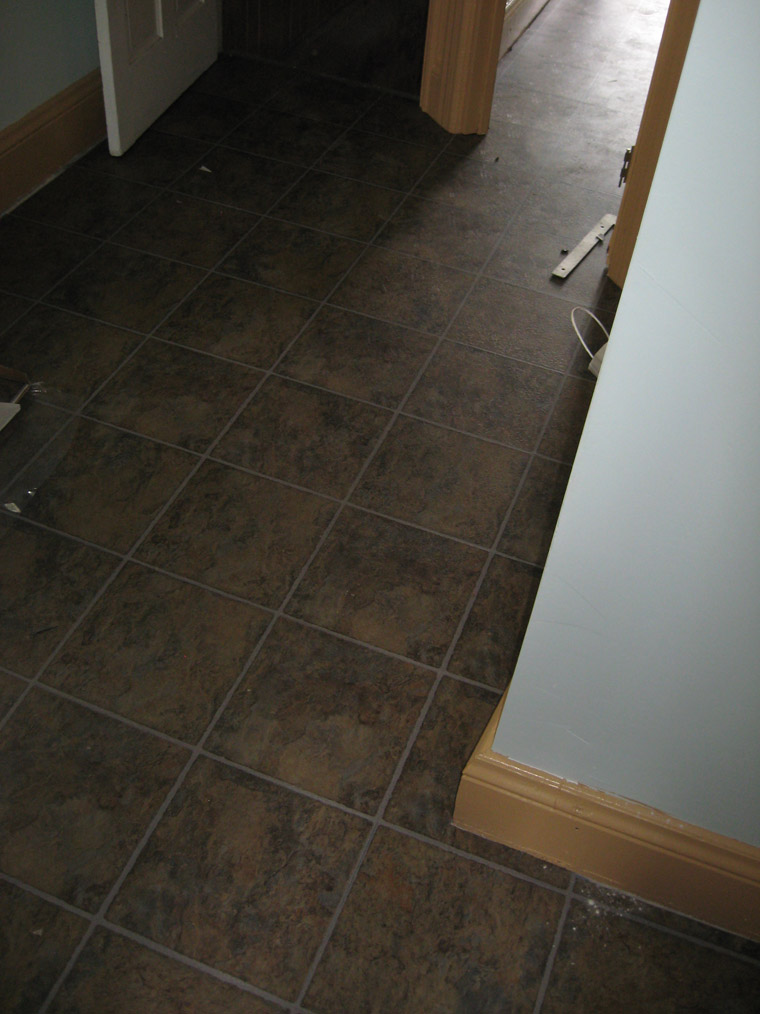
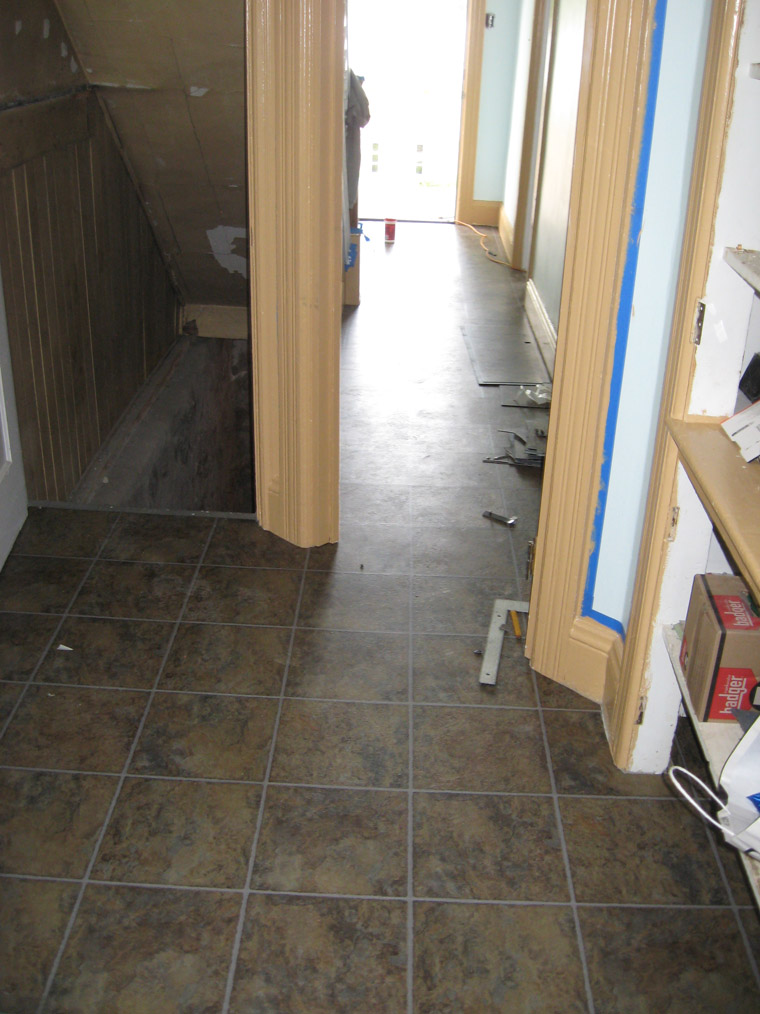
Here’s how it looks before the edges are finished.
Seamless out to the front hallway, I think it looks snazzy.
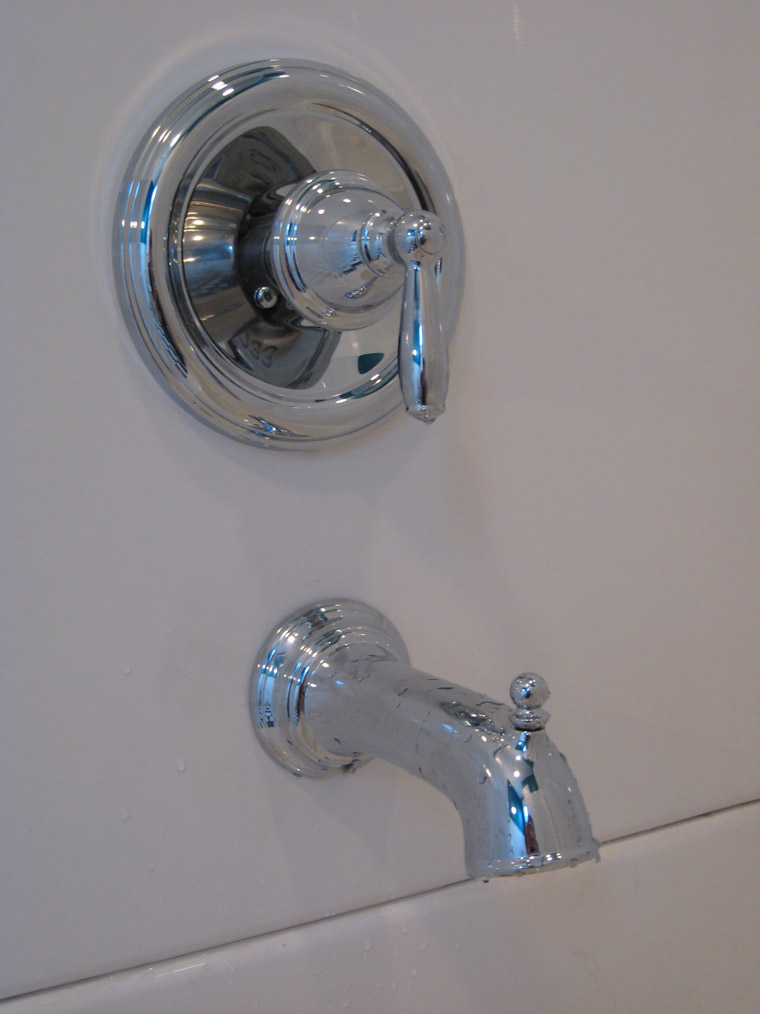
The shower is installed. Here are the faucet and spout.
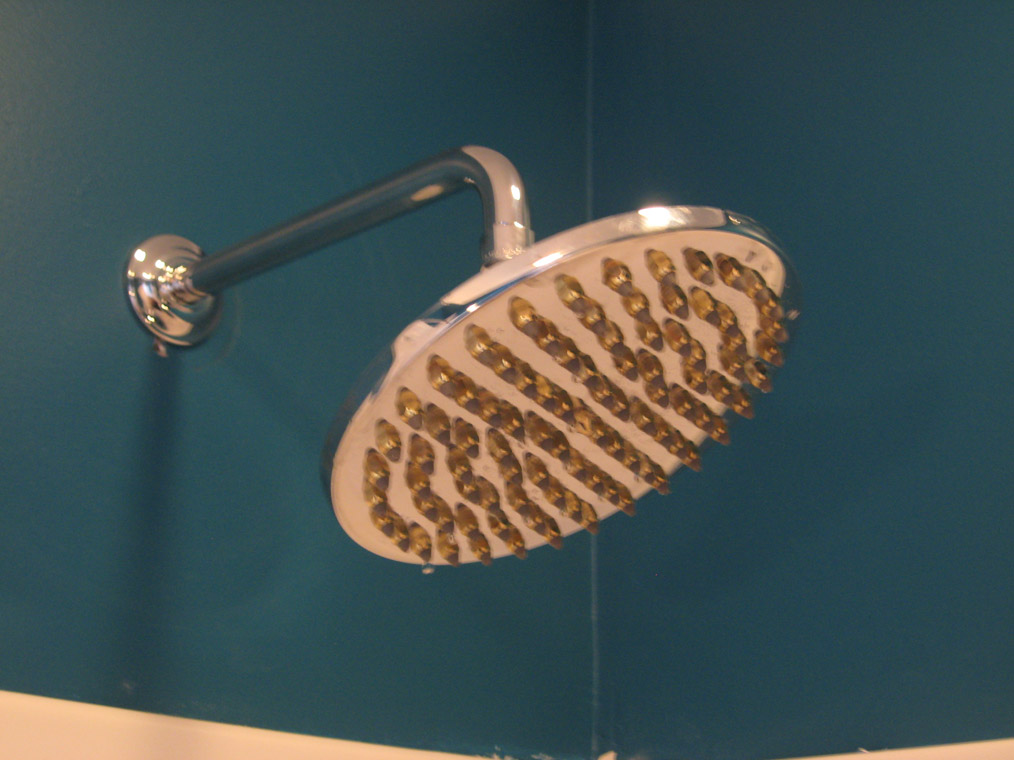
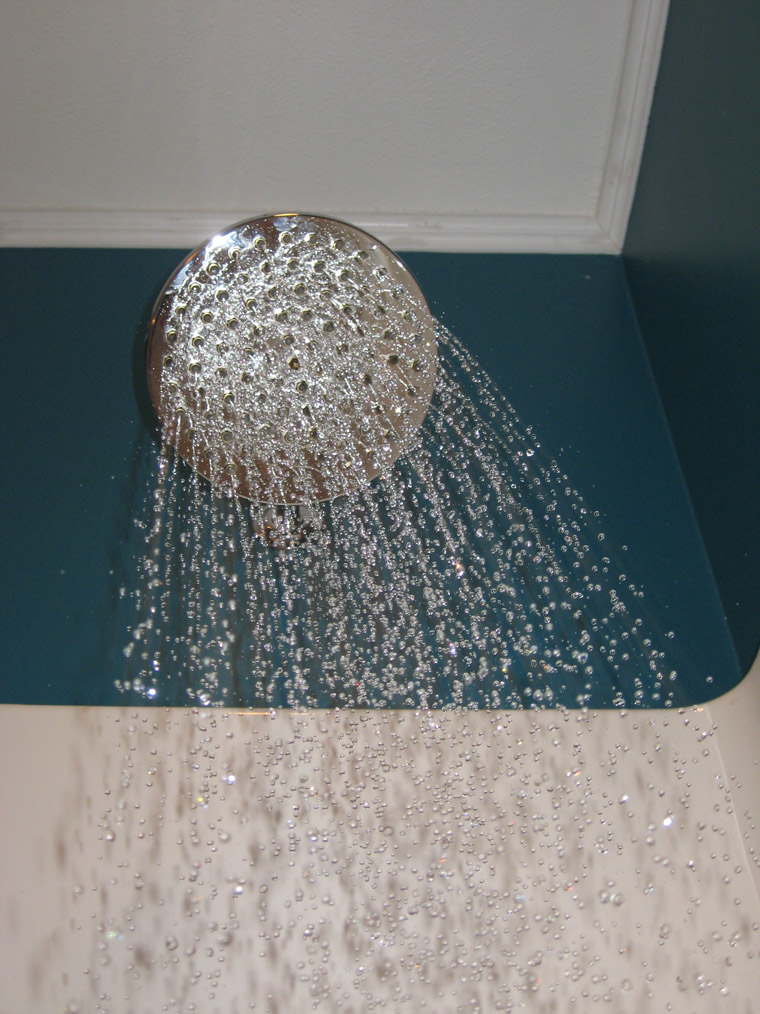
We acquired this super nice giant rain shower head.
It’s like our own personal instant monsoon season.
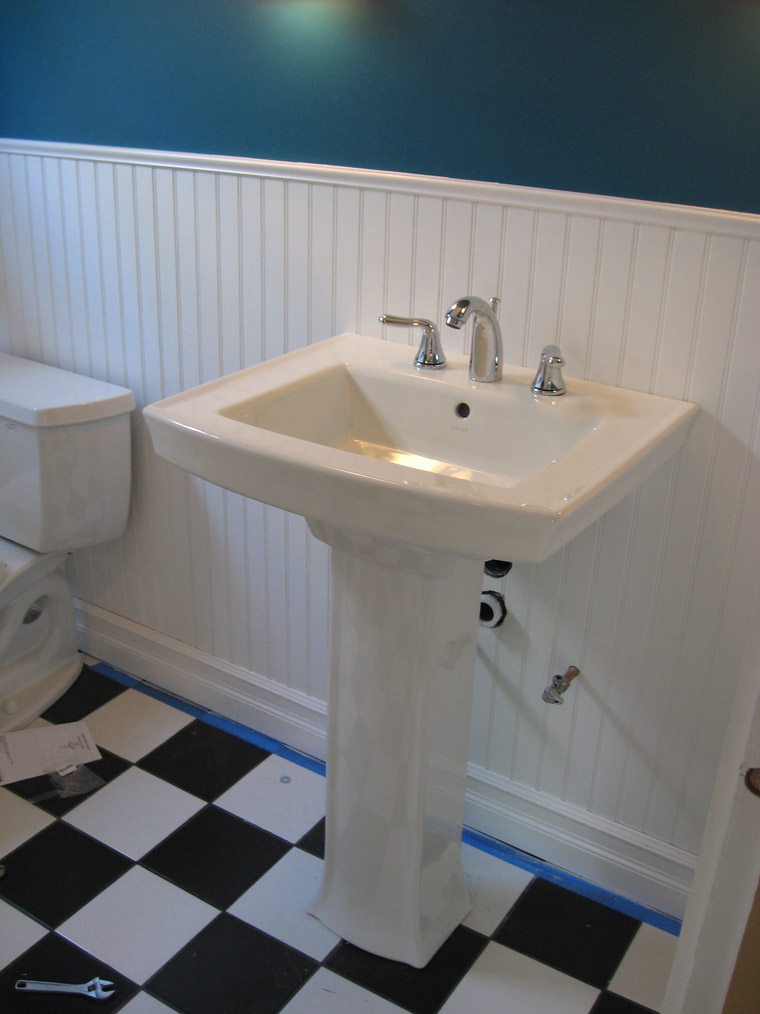
Ron and I installed the bathroom sink.
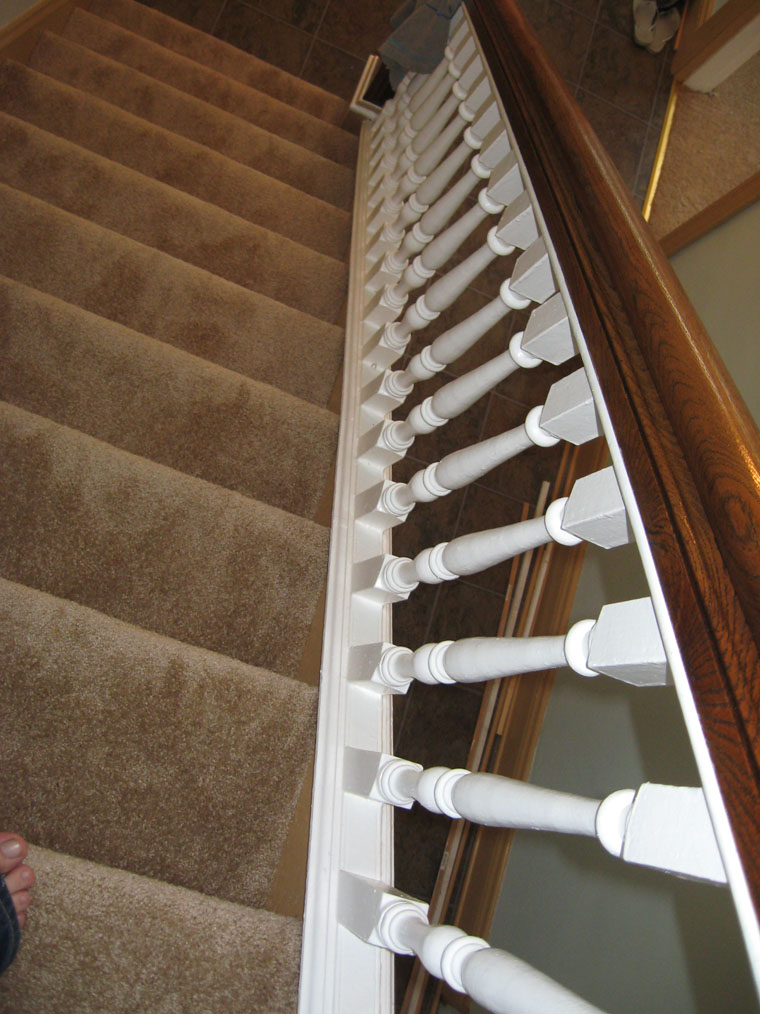
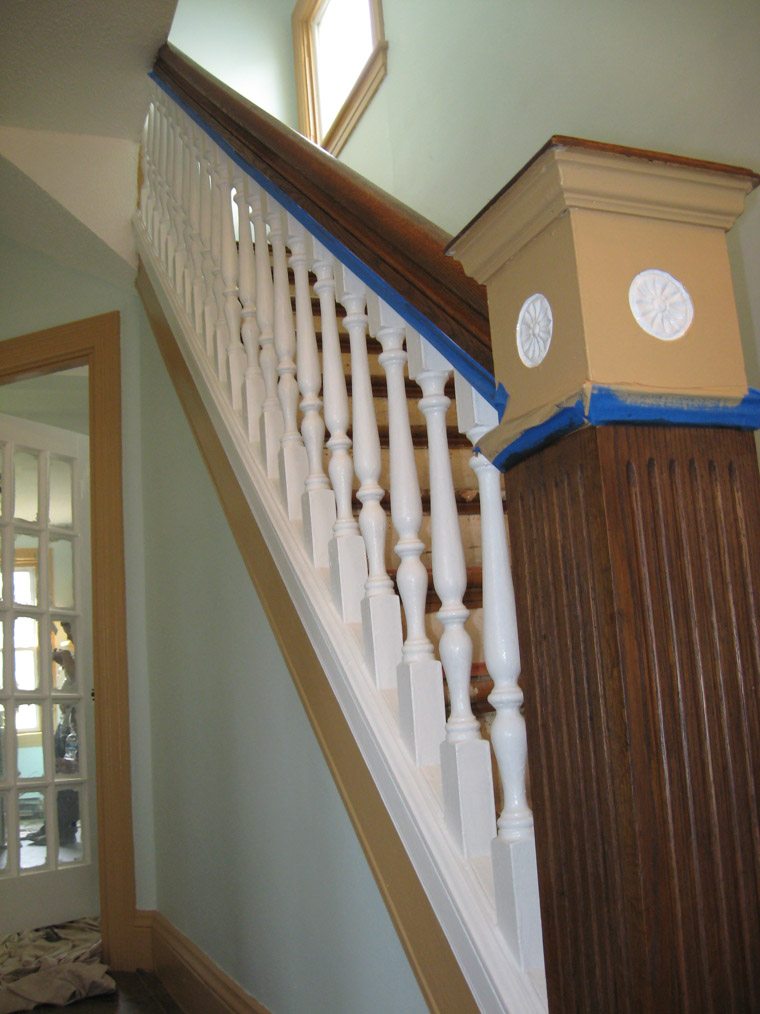
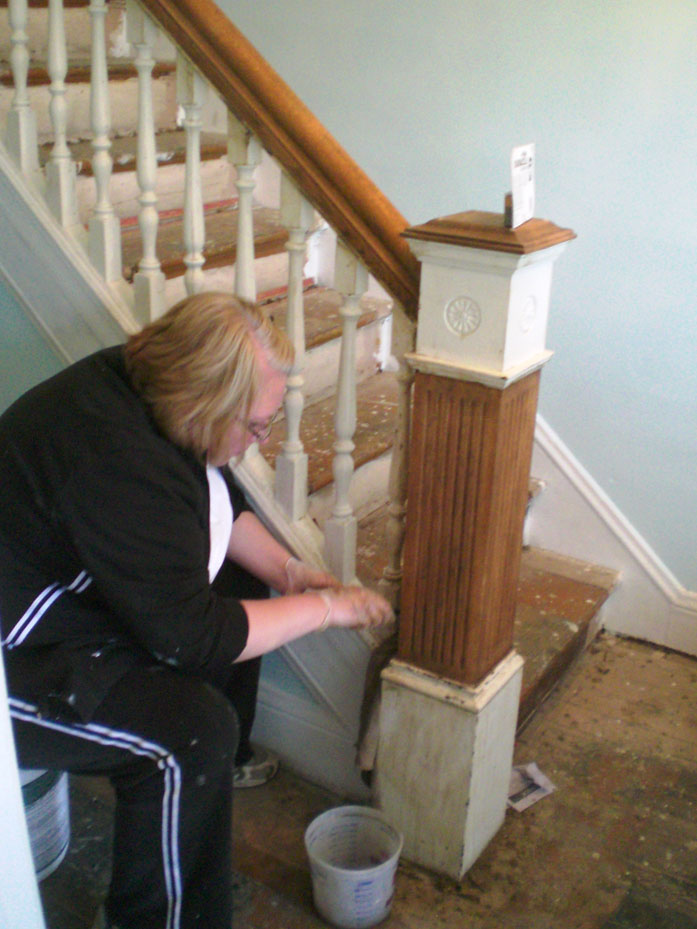
The girls put a coat of stain on the wood on the bannister. Only one more to go, with a little bit more detail painting on the newel post.
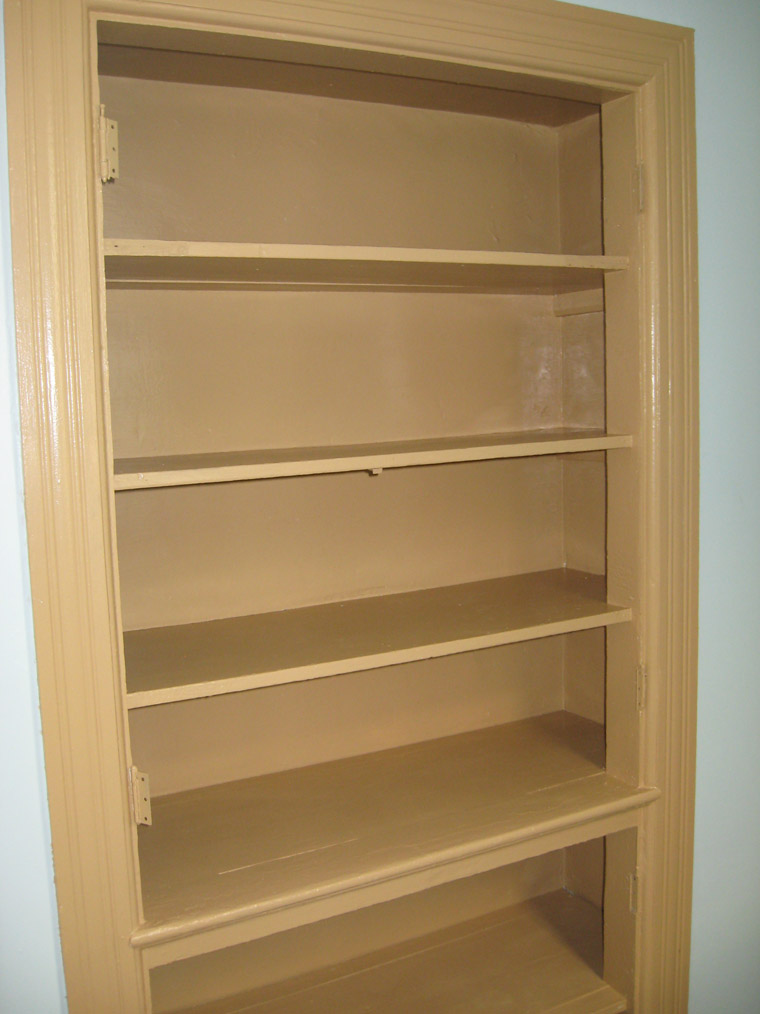
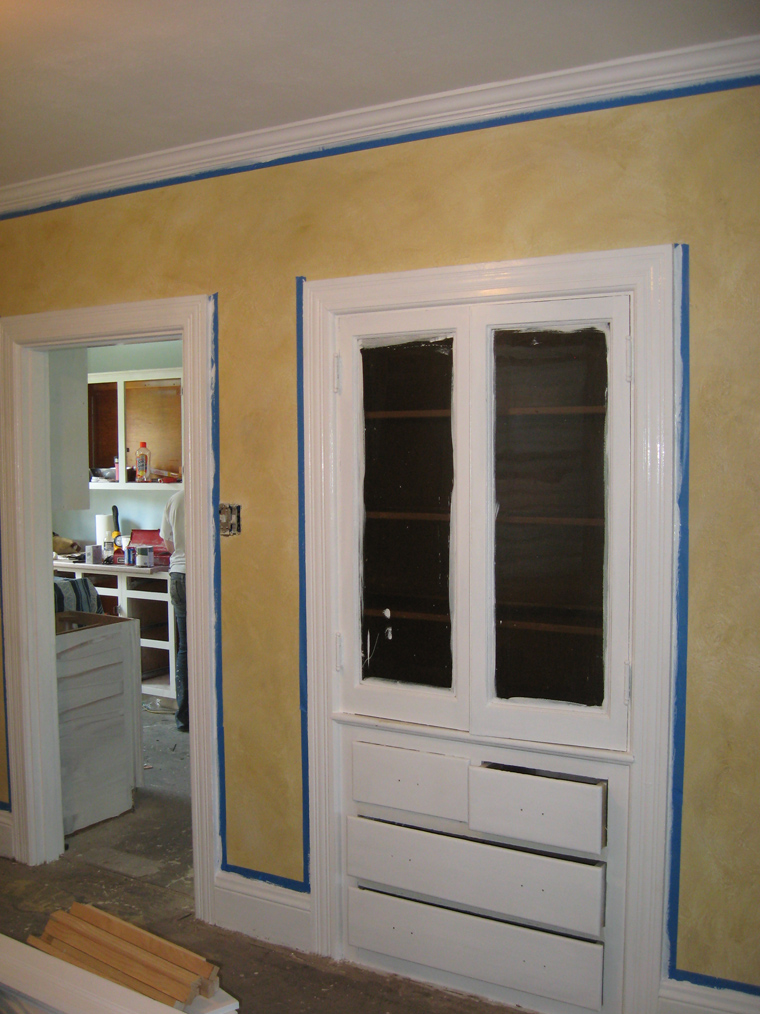
The pantry built-in is now painted to match the trim, the doors are off and drying.
It’s coming down to the wire now. We’re almost done and ready to move in. We’re hoping soon.
The Carpet deadline looms in mere days now. We’ll scramble to finish the odds and ends this week. Next weekend, there should be pictures of a completed interior for you.
Its been a long road, but here we are, sprinting all the way.
Carpet has been scheduled. The deadline for all other projects is now Thursday June 18th.
Mom and Dad came down and helped on Saturday! They were in town for Collin’s graduation. Congrats Collin! Also, Jessie and Dad had a birthday this weekend! Jess was Saturday and Dad was Sunday! HAPPY BIRTHDAYS!
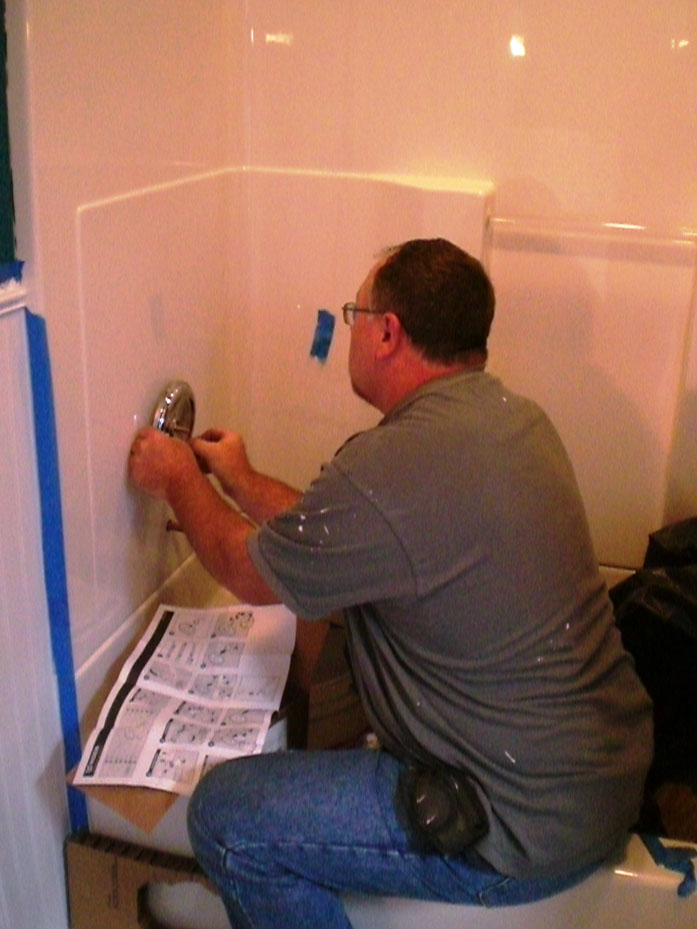
In preparation for the water in the bathroom being turned on. Ron attaches the fixtures to the tub.
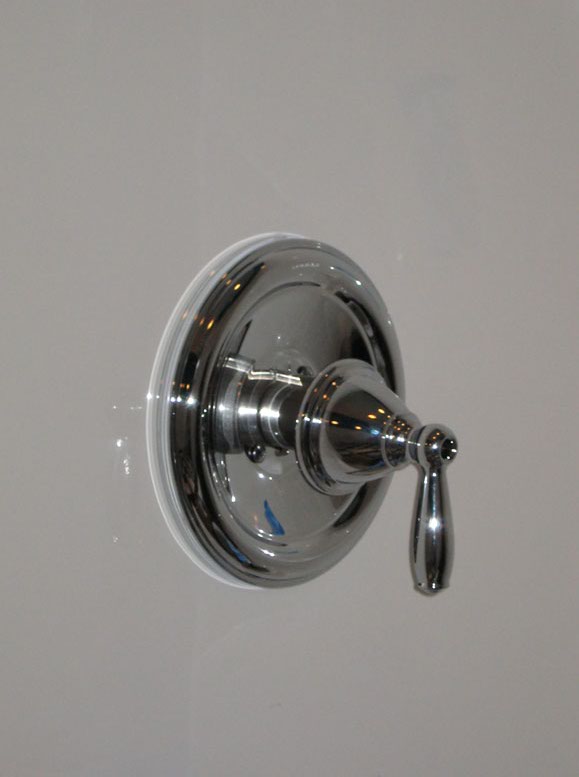
Here is the device to activate water flow in the shower area.
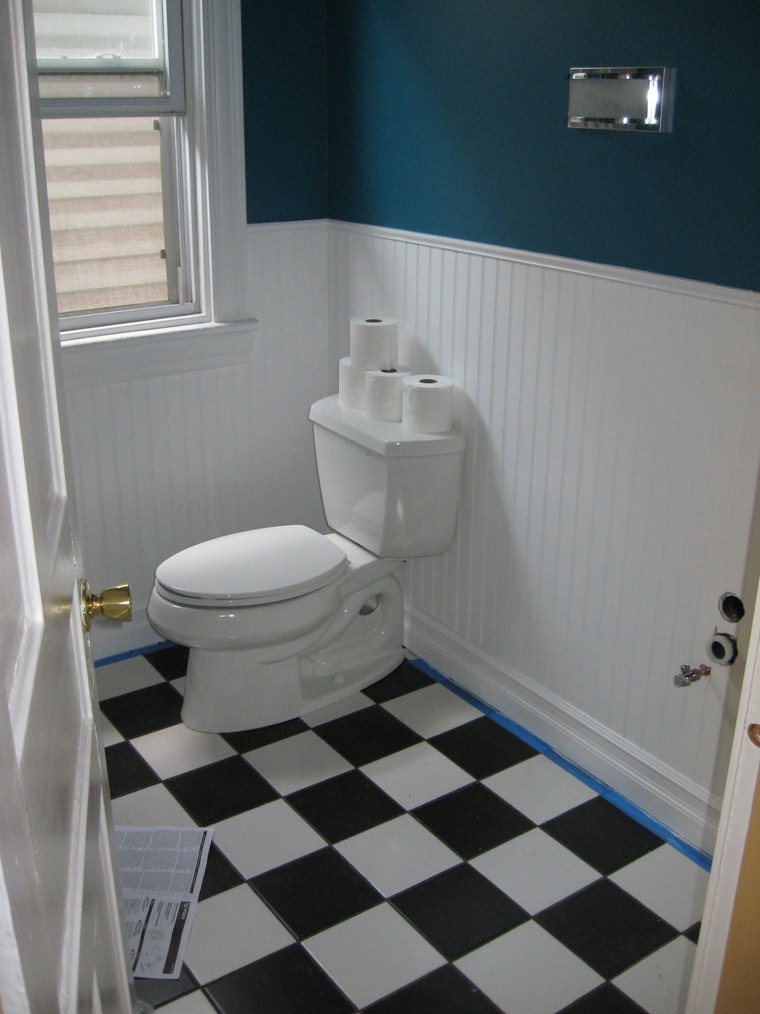
Finally! We have a real toilet, one that flushes and everything! Also, if you notice there’s a cool classic chessboard ceramic floor!
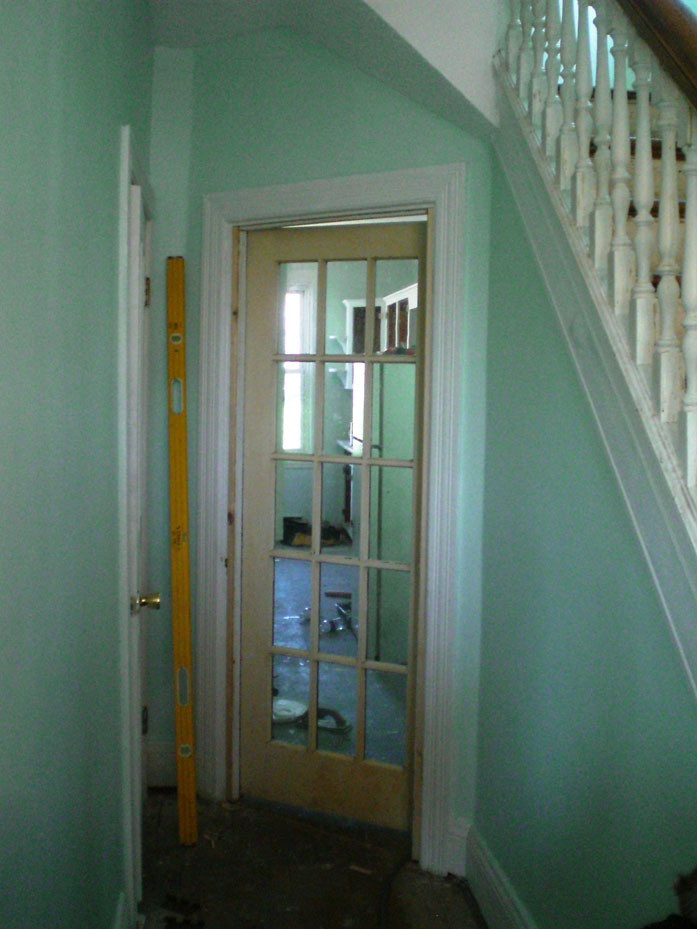
We received this nice glass door from Karin and Robin, we’ll repaint and embellish it later.
Mike, Ron, Sandy, Amy, and Jess started to paint the kitchen cabinets and trim around the house.
Jess is a true visionary with color, nobody believed that her colors would work out, except me of course.
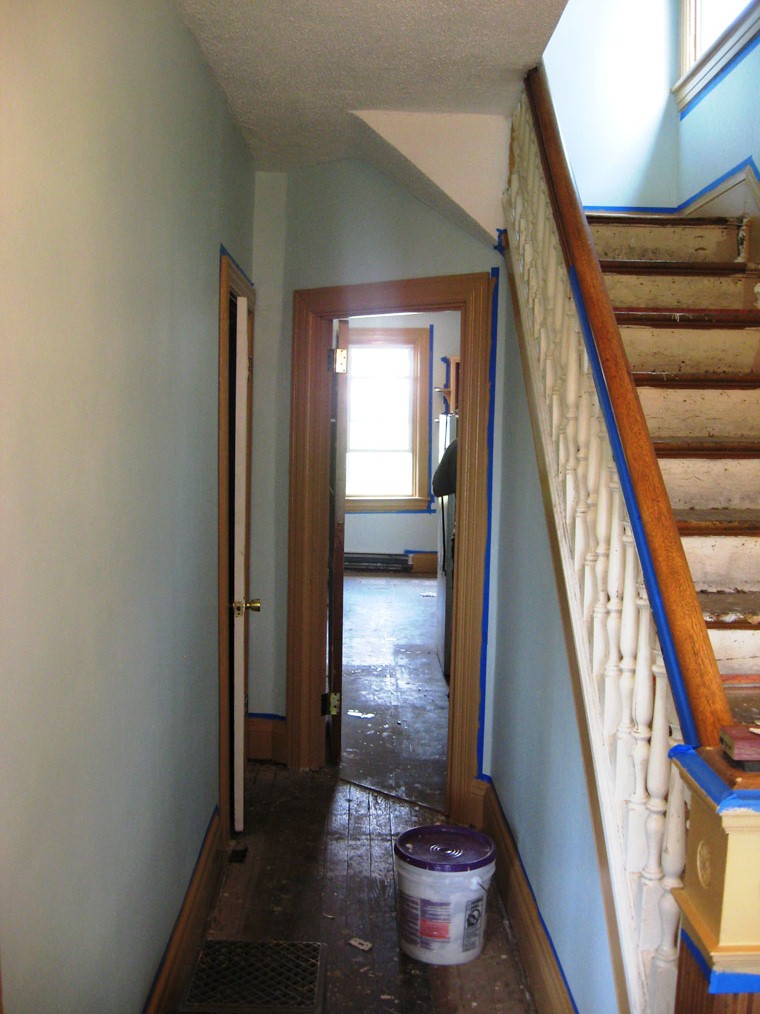
Here’s the hallway trim, still need to finish the front of that electrical junction.
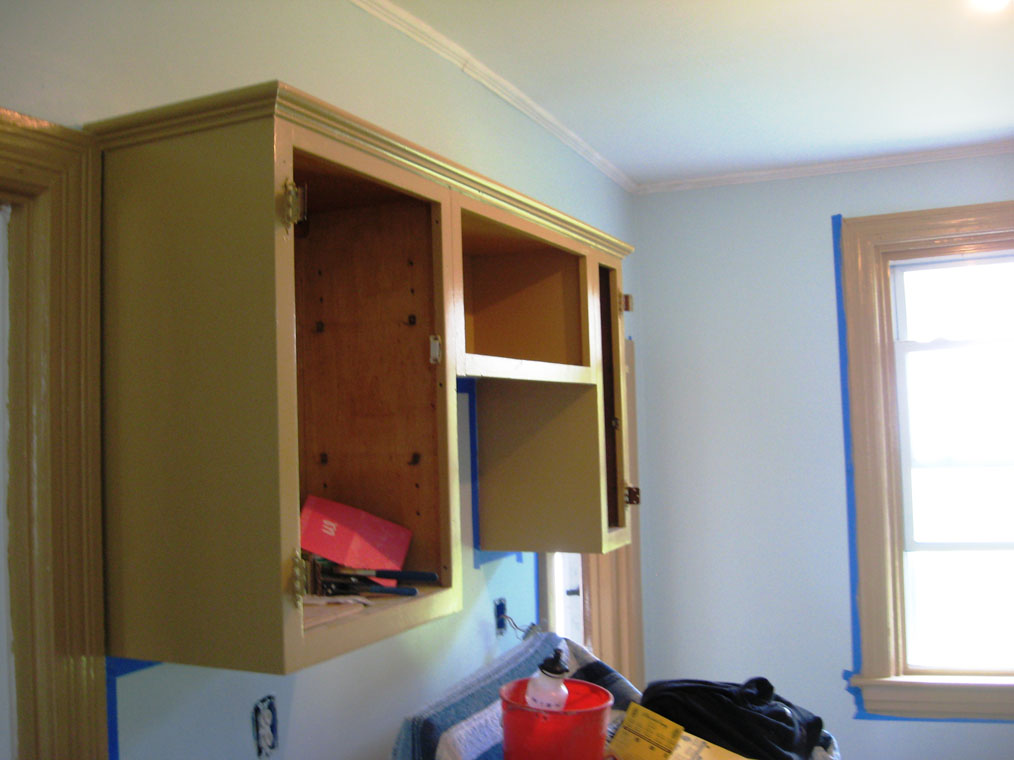
Here are the kitchen cabinets after painting.
Here are the cabinets and shelf over the range.
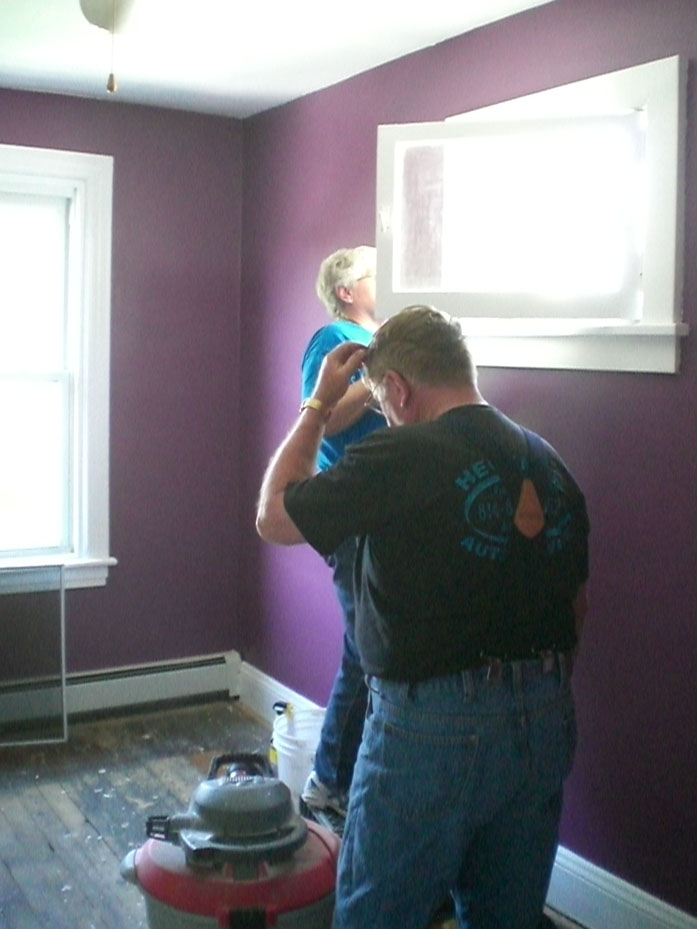
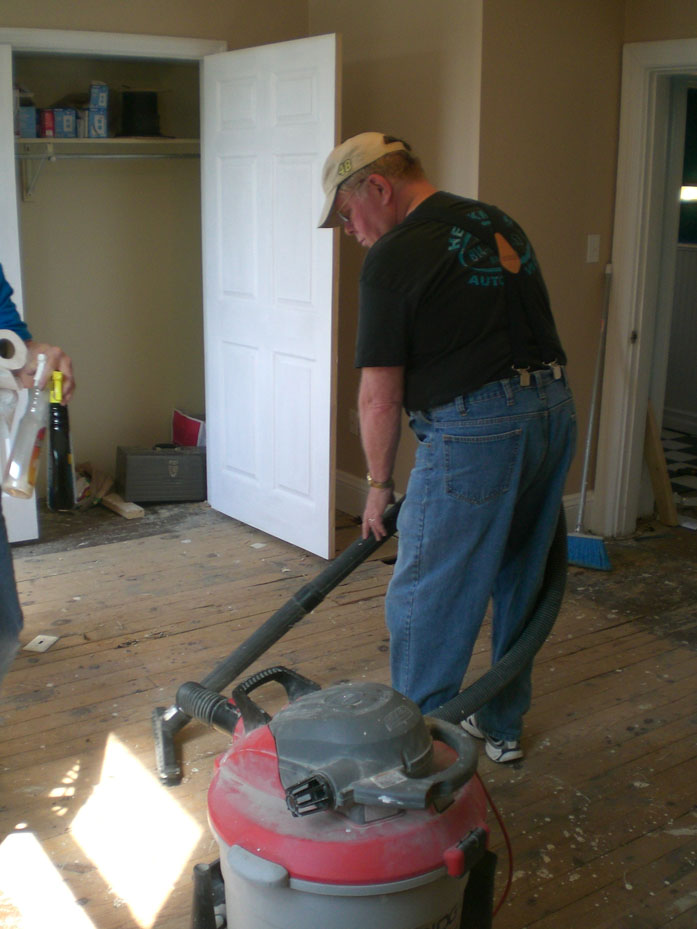
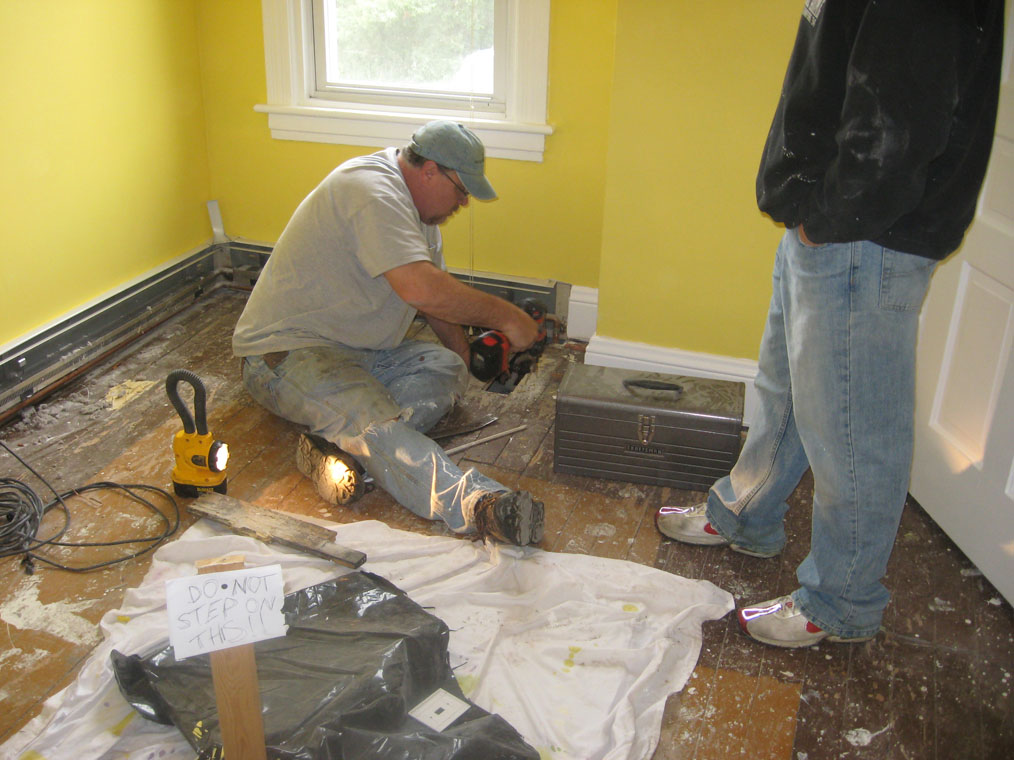
Mom and Dad came to help! Here Dad tries to figure out how this place got to be such a mess!
A master at work, he must have experience with sawdust.
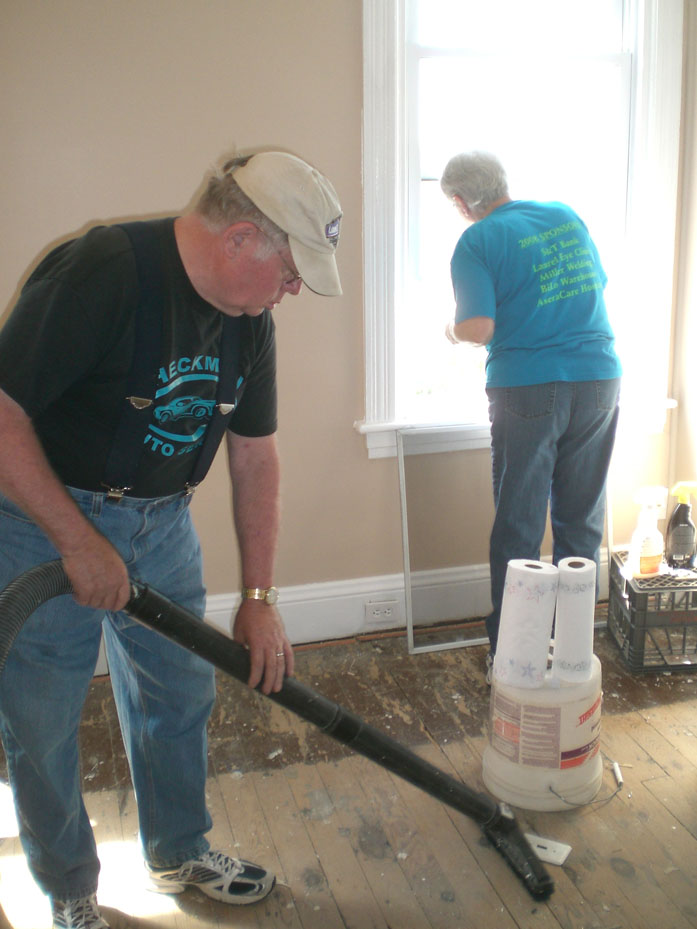
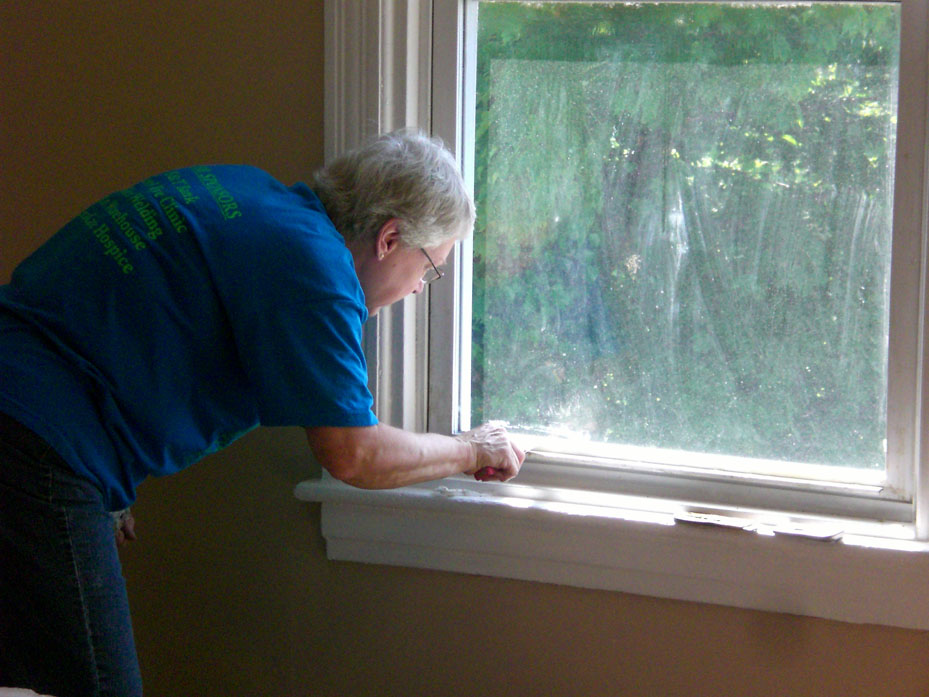
Mom worked on the windows while dad swept floors.
I think I need to take lessons from Mom on how to clean windows. When she got done with this one, it looked like the glass was gone.
Sandy finished the final sanding and cleaning of the railing so that it can be stained and painted where it needs it.
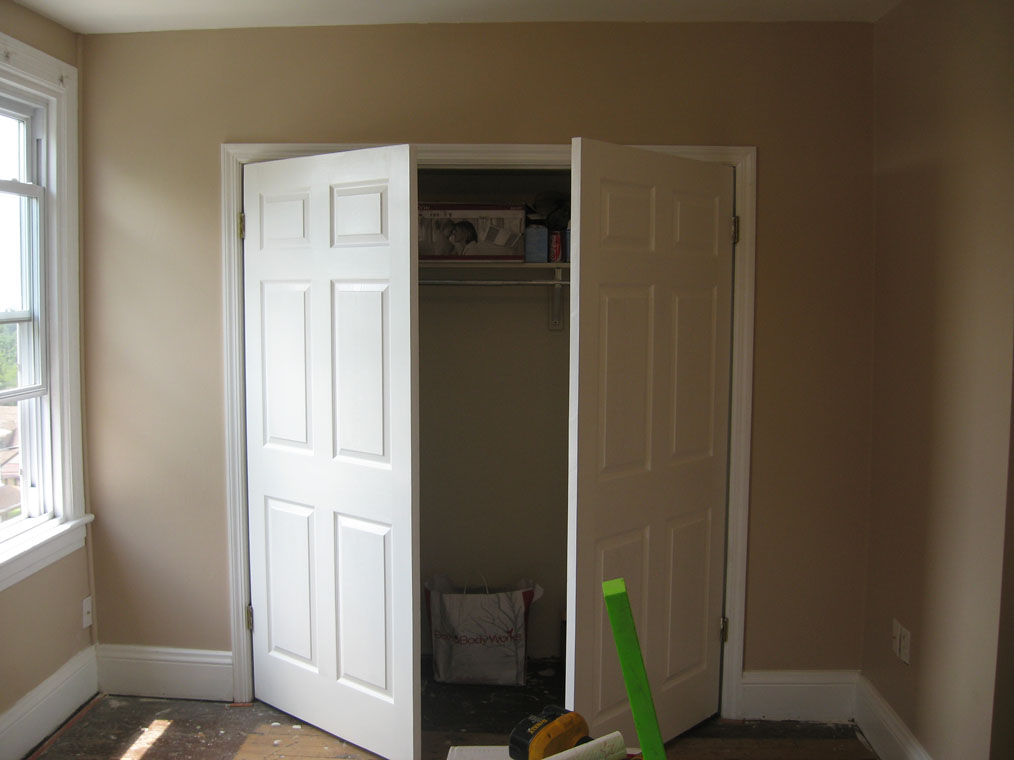
My closet has doors! I still have to put the handles and catches on tonight.
I put up the tracks for the movable shelves in the living room.
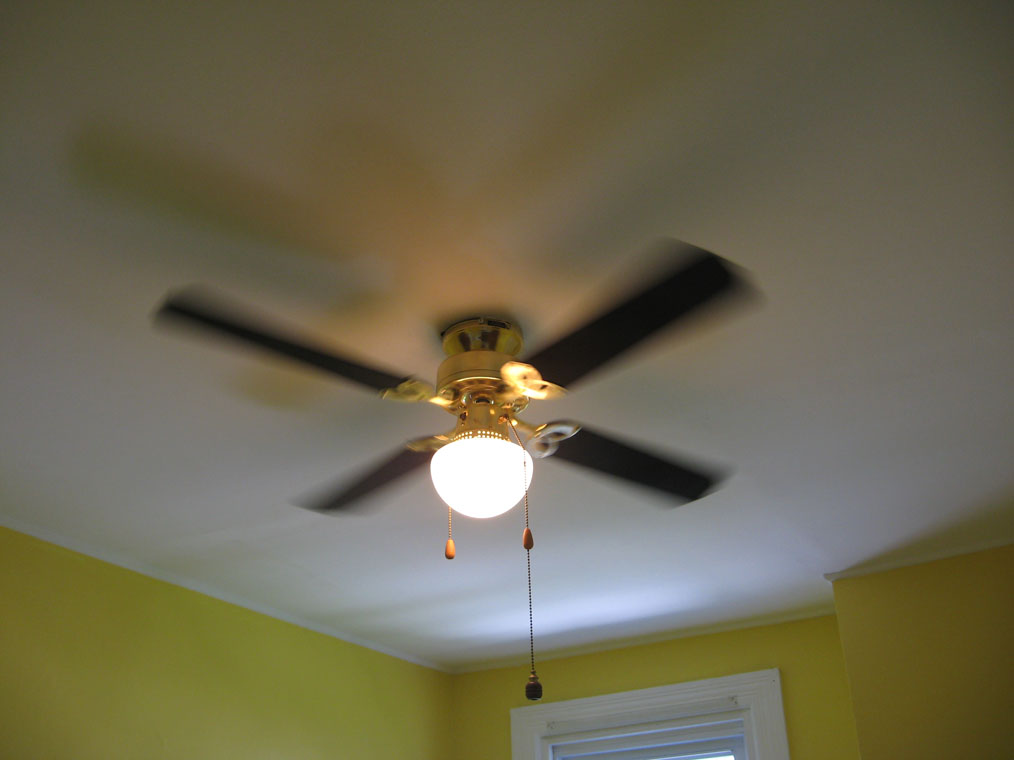
Jess refinished the blades of the fan for the guest room.
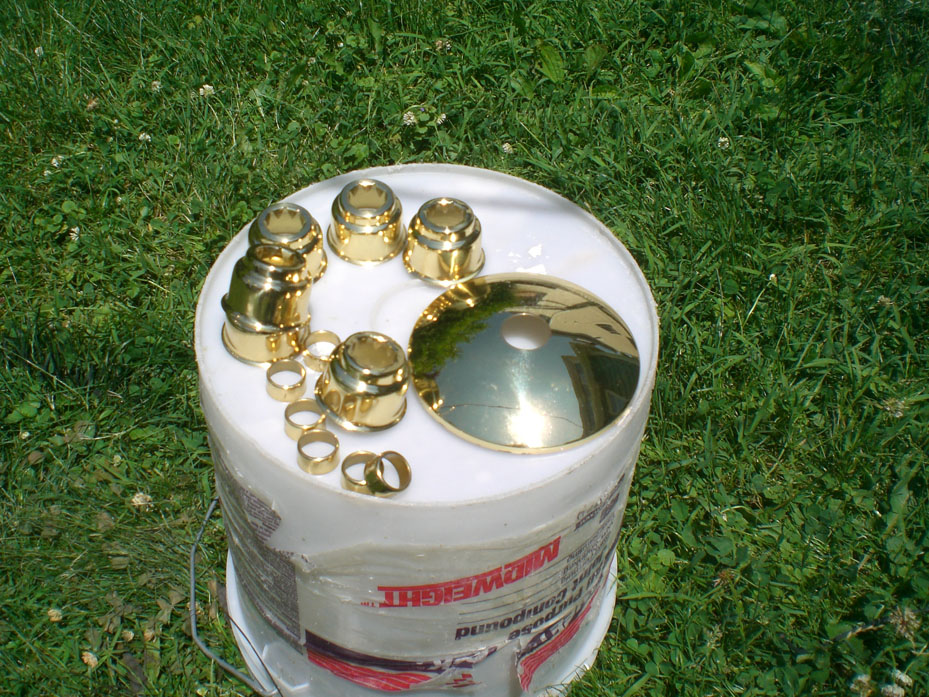
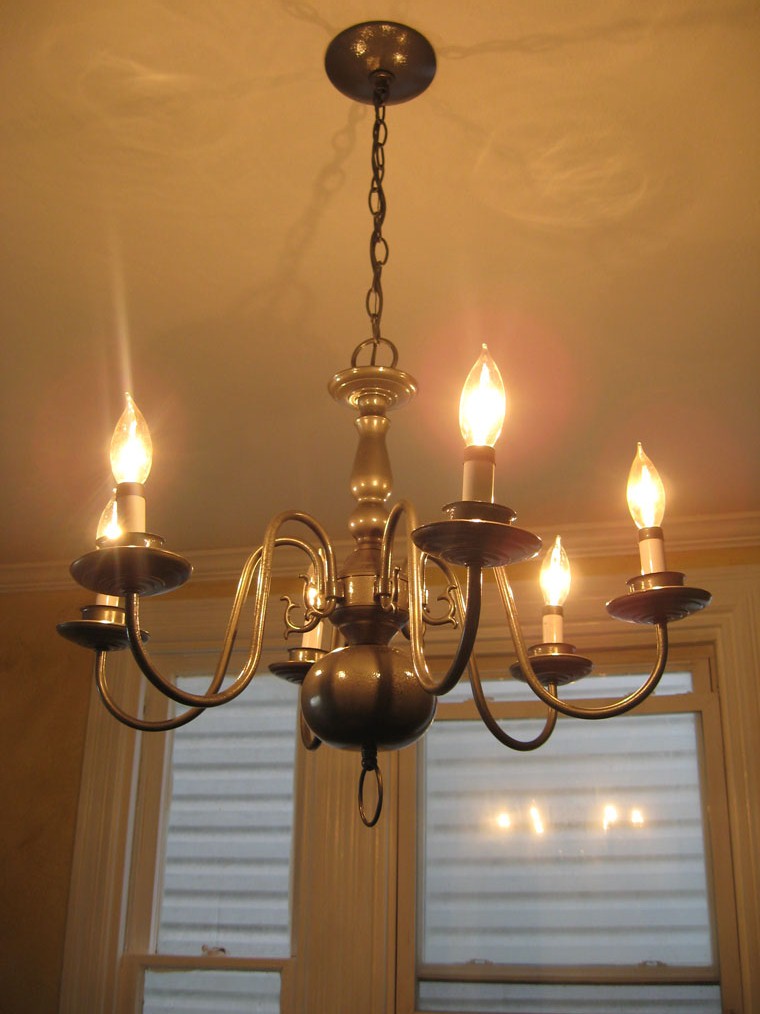
We don’t have any more brass in the house. So I am refinishing this chandelier.
Here are all the little individual accent pieces.
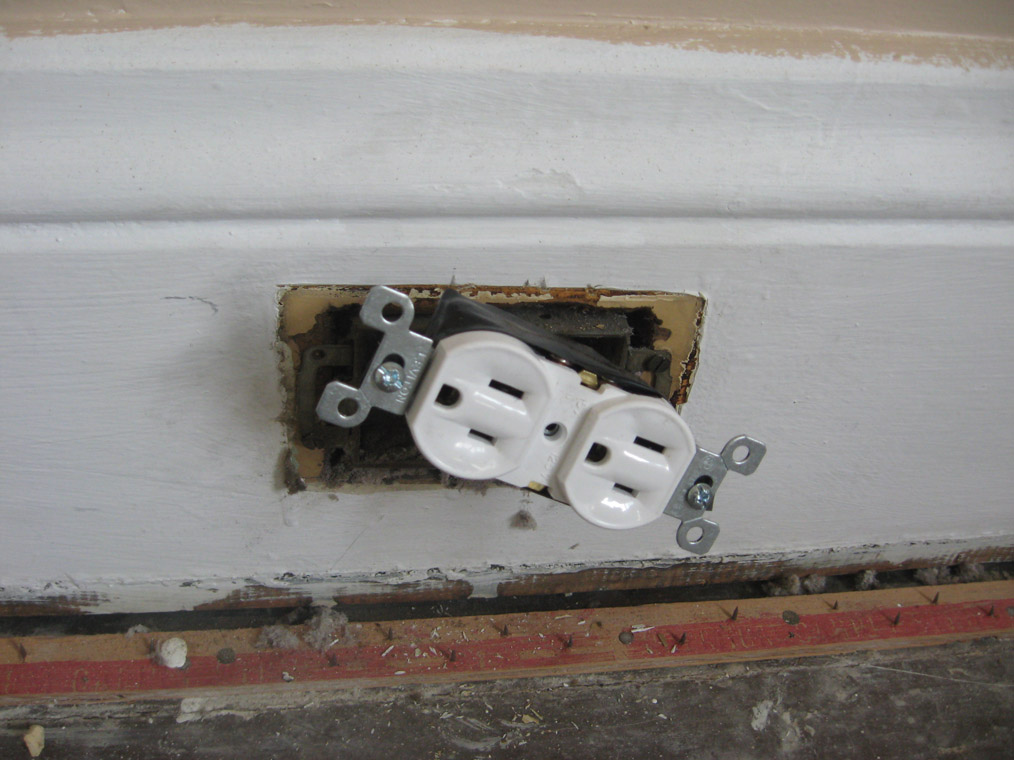
I rewired all of the sockets for safety. Here it is with the new gray powder coat looking finish.
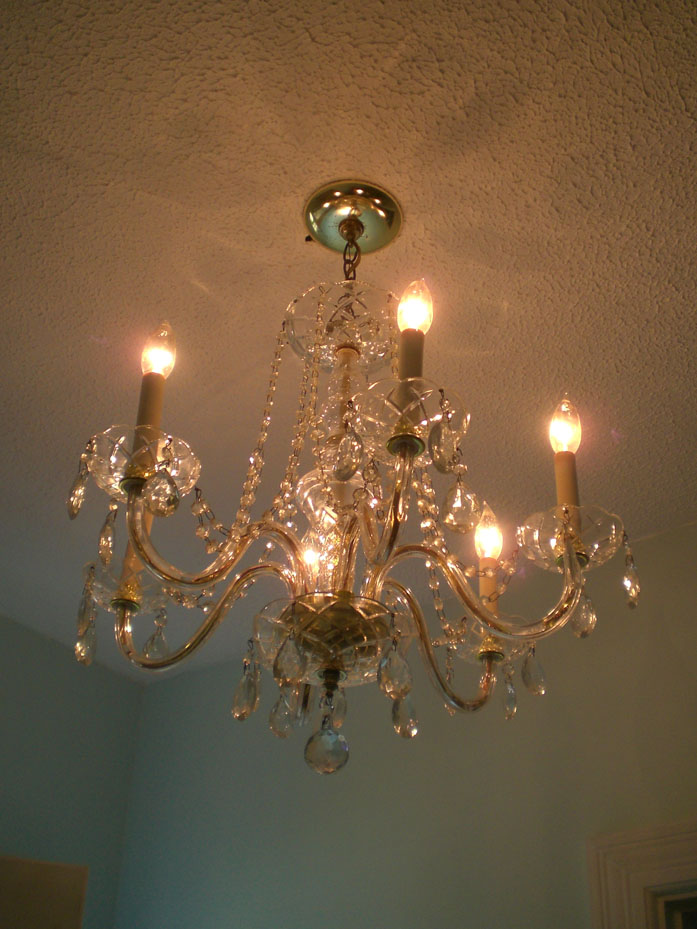
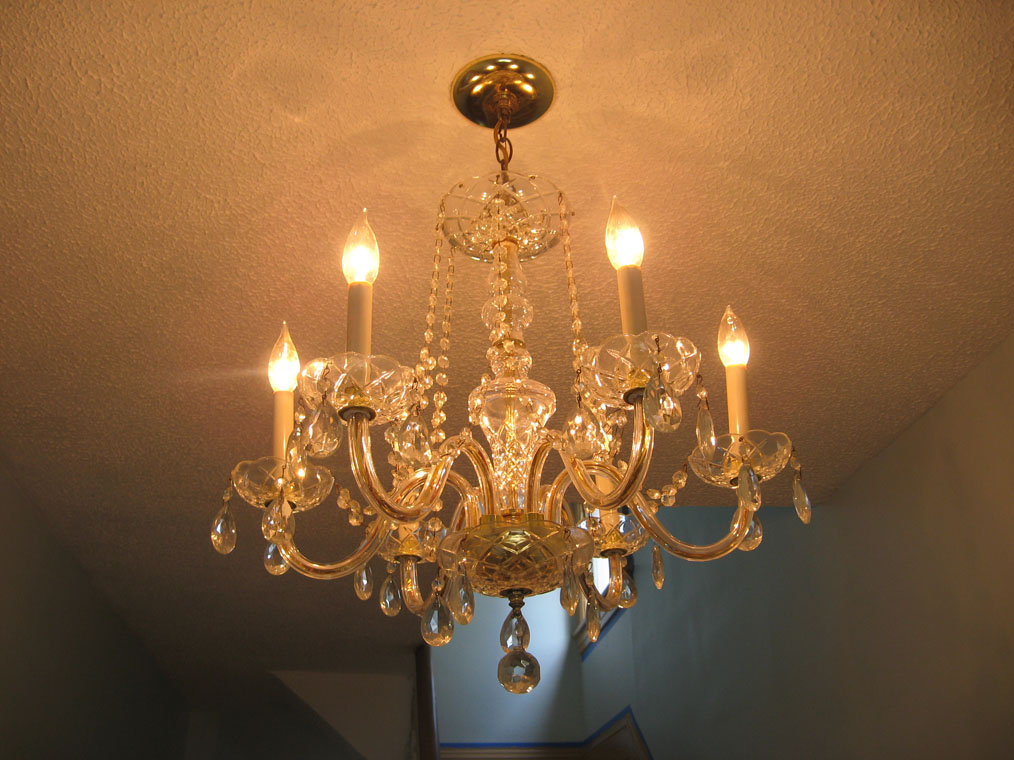
Jess has been saving this crystal chandelier in her Dad’s garage for years. After about 3 hours of love and cleaning. Here it is.
This thing looks great and now graces our front foyer as the first sparkly thing you see, unless Jess answers the door.
Part Two: Harry Potter and the Order of the Tuscan Glaze
As promised, here is the second set of pictures from the recent update. The problem with using 2 different cameras seems to be remembering where the pictures are.
As I briefly mentioned, we built bookcases, trimmed windows and doors, and did a bunch of painting.
Here are the bookcases with a coat of paint. Laura came over and helped us on this.
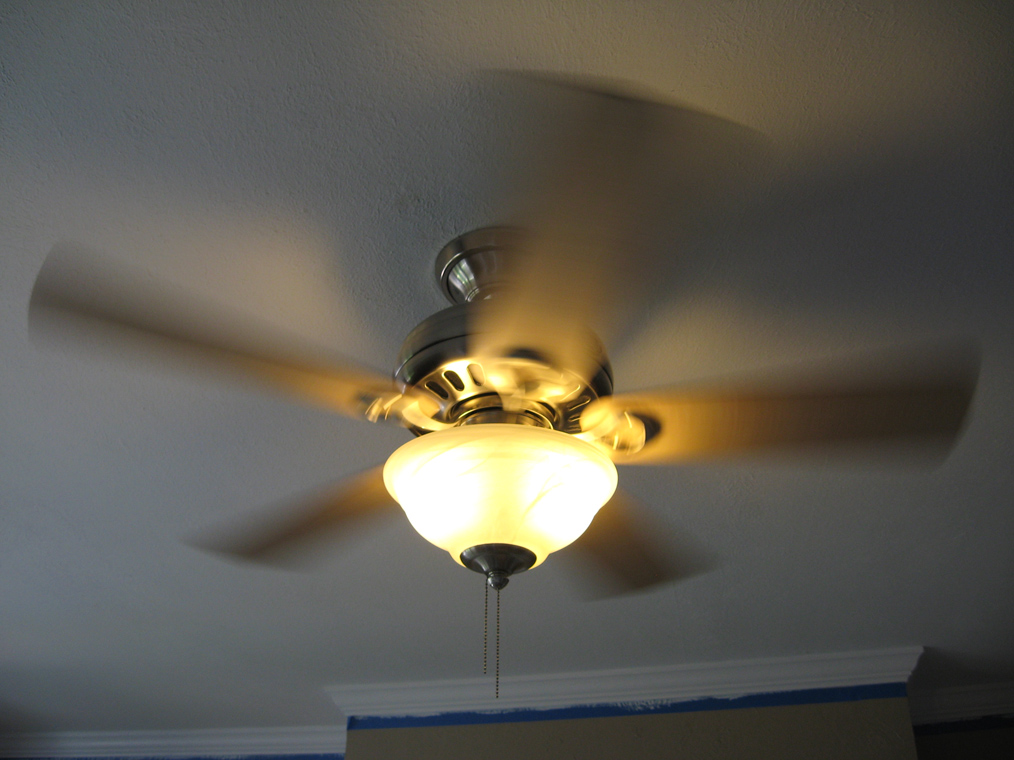
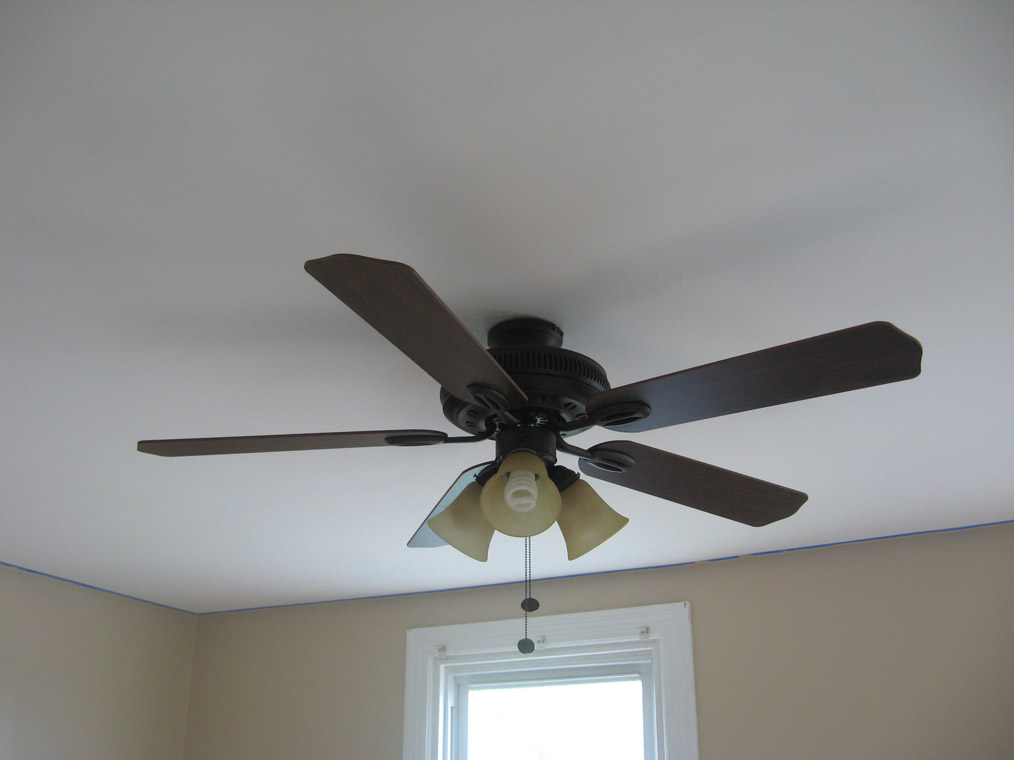
I installed the new light and fan in the living room.
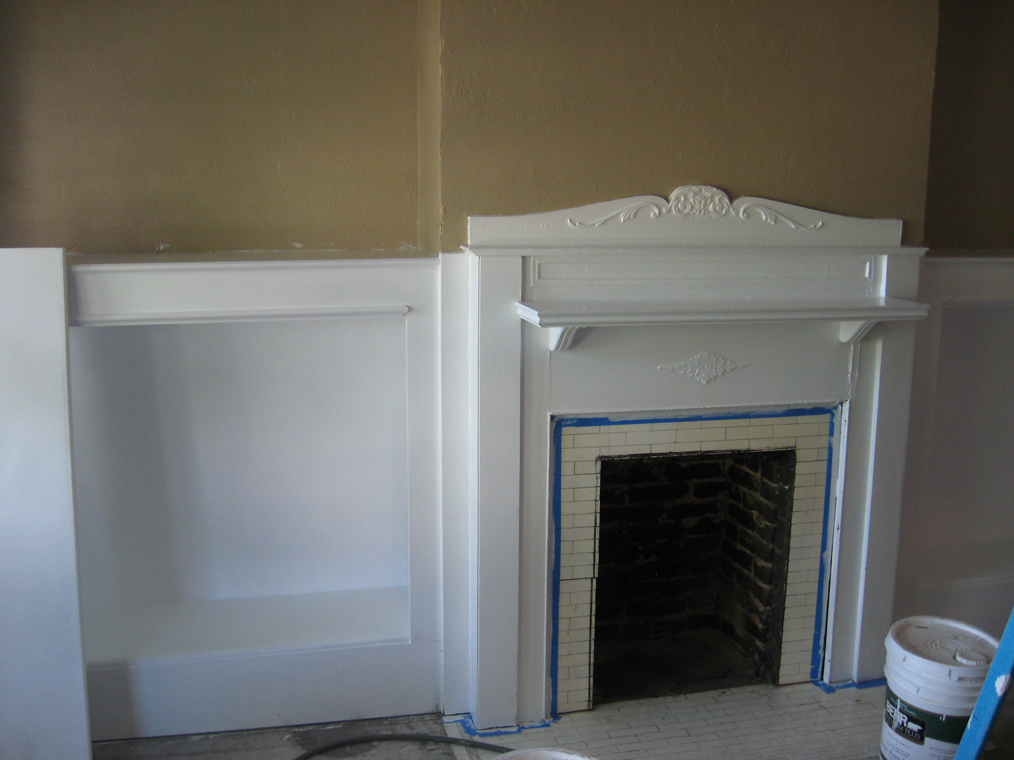
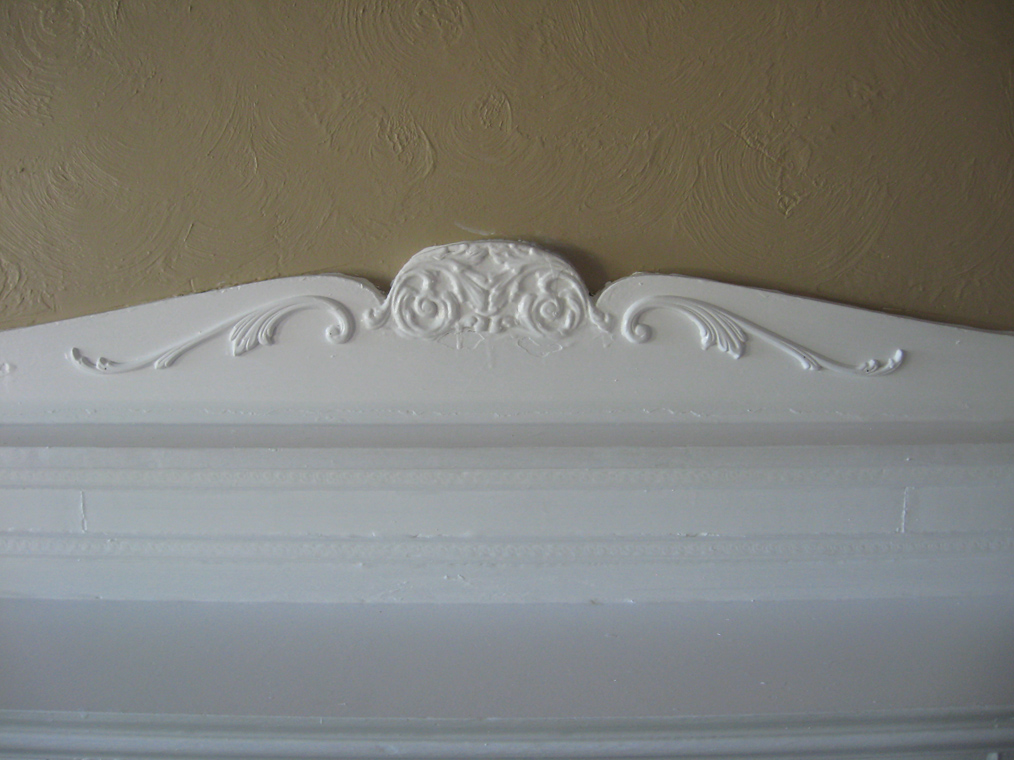
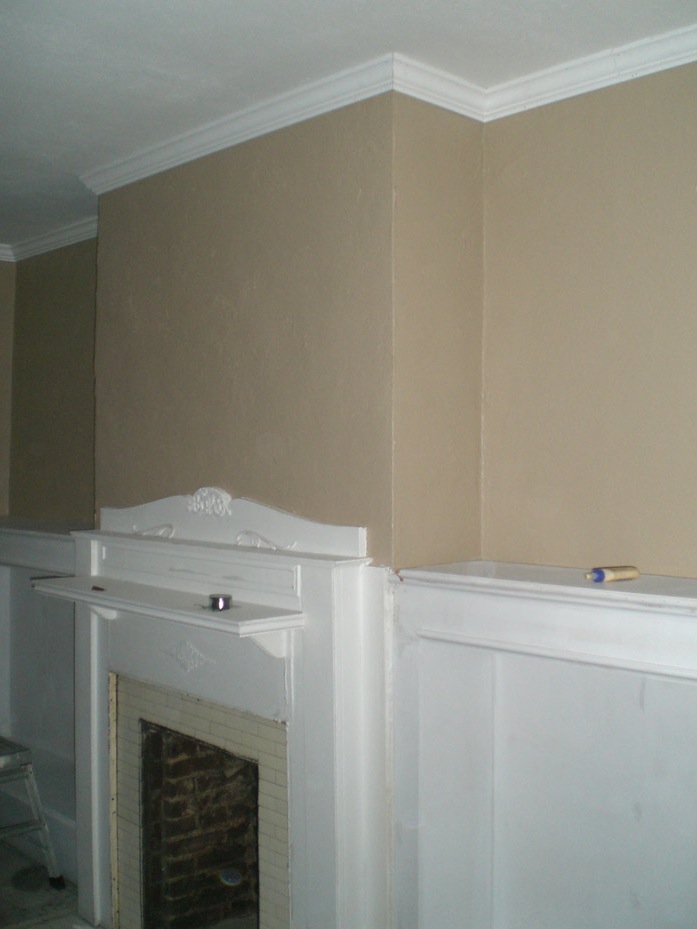
The mantle looked a little barren, so I got some extra millwork for it.
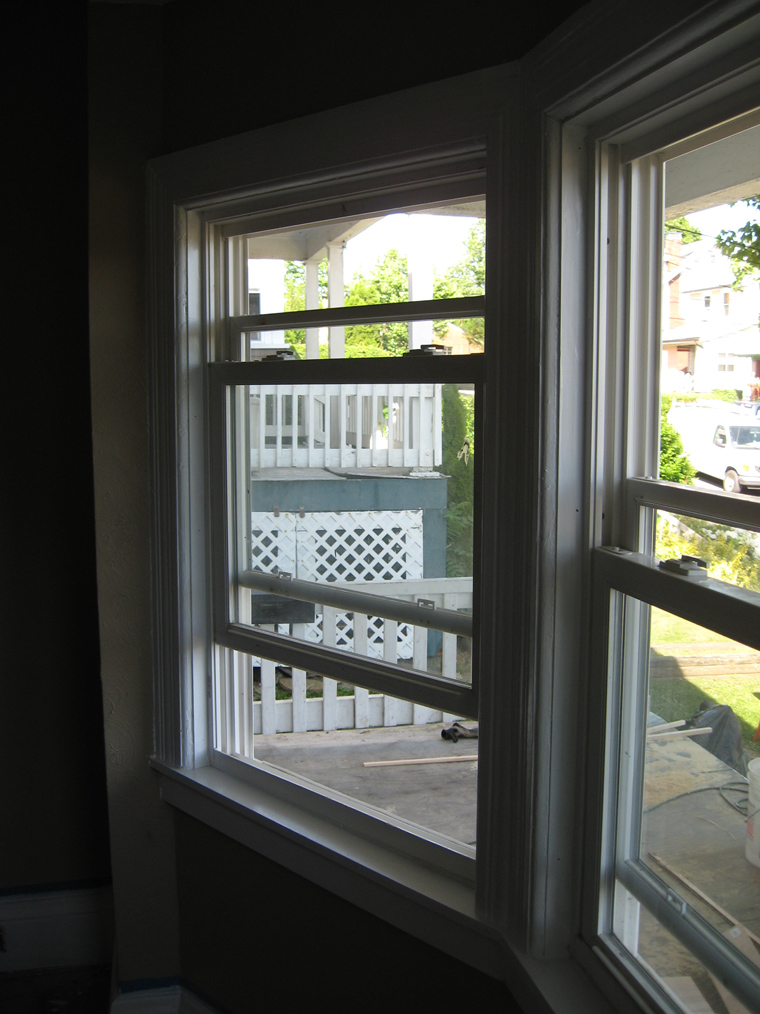
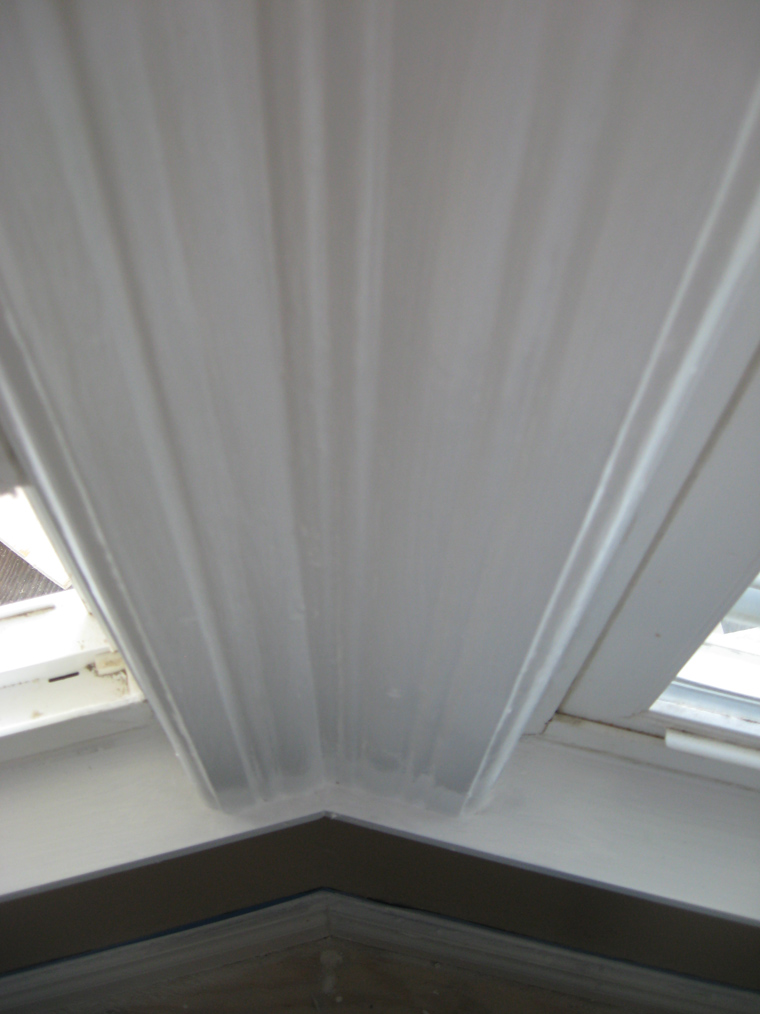
We recycled the original casing from around the house where we took out doors and windows, and made it fit the bay.
Just a few simple angles cut and Ron was able to allow the casing to retain it’s original face shape but become a corner piece.
Even though the bay windows aren’t original, they look like they fit the design since we used this original woodwork.
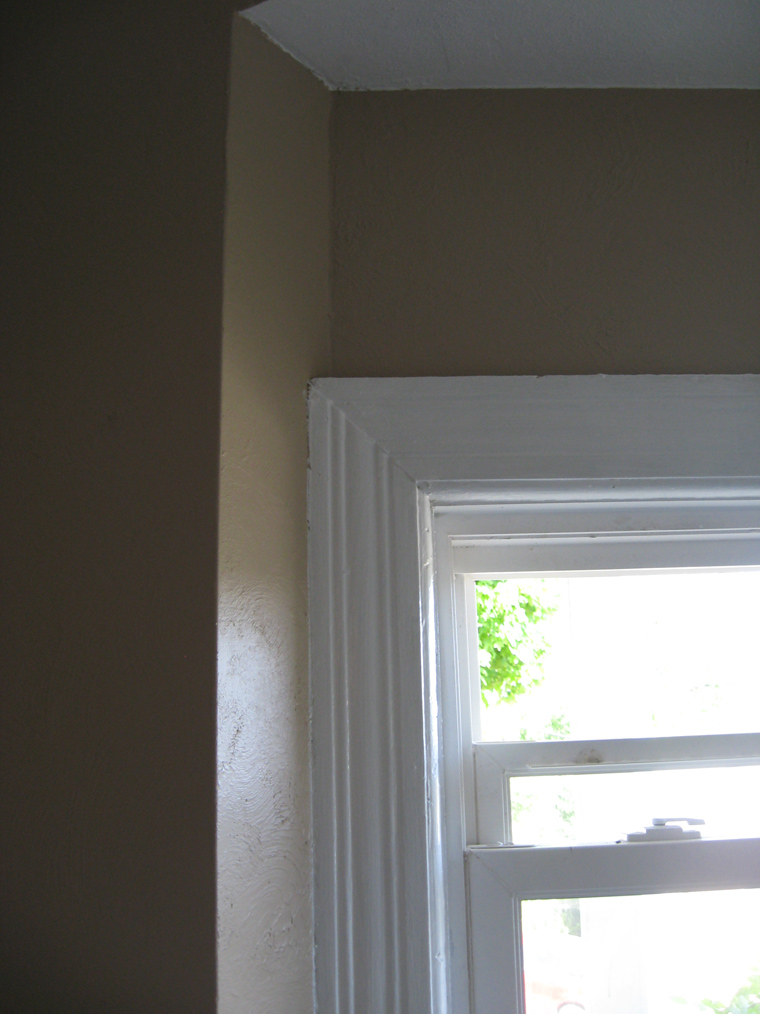
We reused the original casing on this window too, and the original sill, (there is however another piece waiting to go on here, under the sill).
Sandy painted the trim in the bathroom.
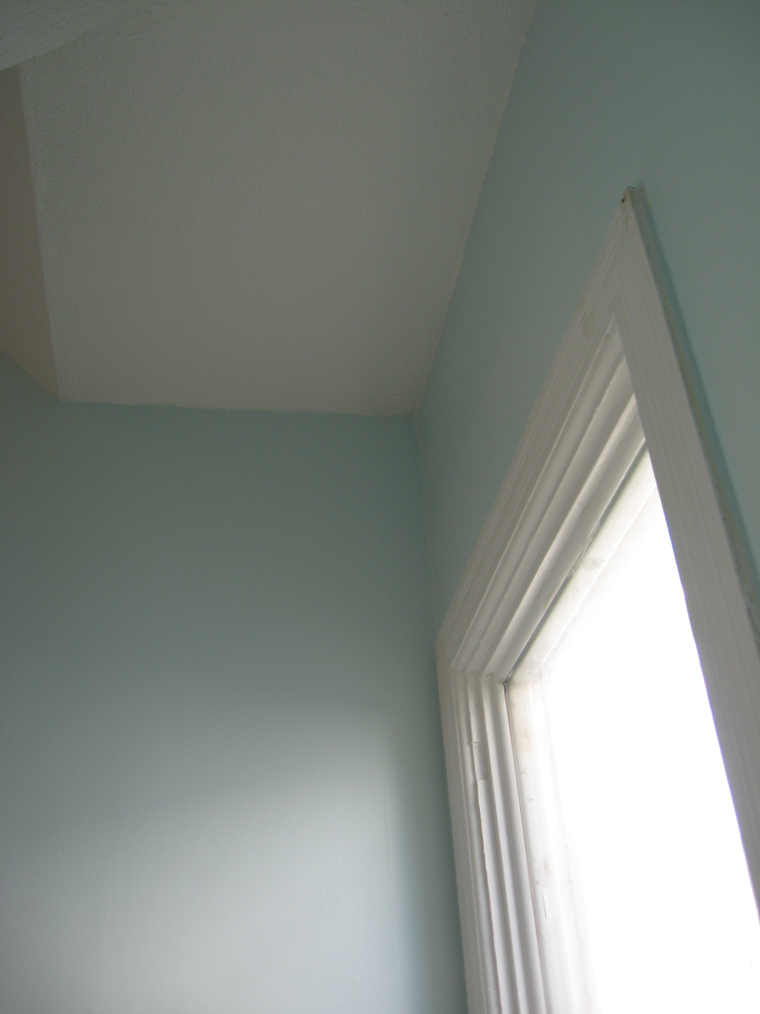
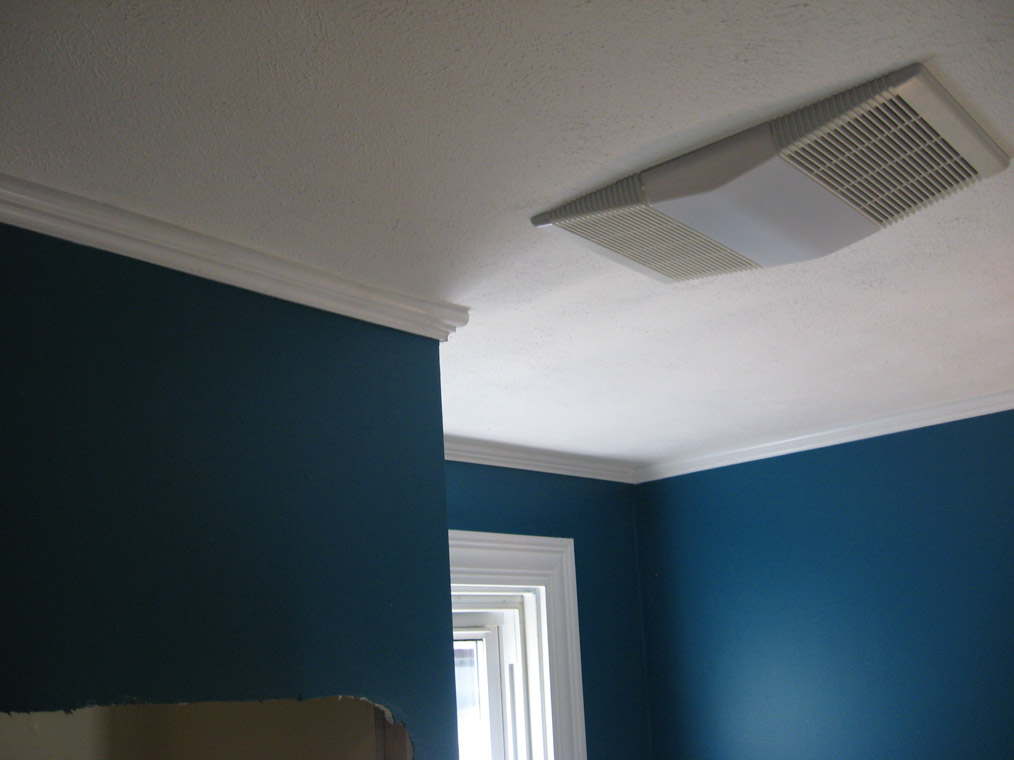
We also put a coat or two of paint on the hallways. The color is called Aqua Breeze.
Here is the new light fixture for the upstairs hallway, its a platinum/gunmetal sort of finish. Goes great with the light blue on the walls.
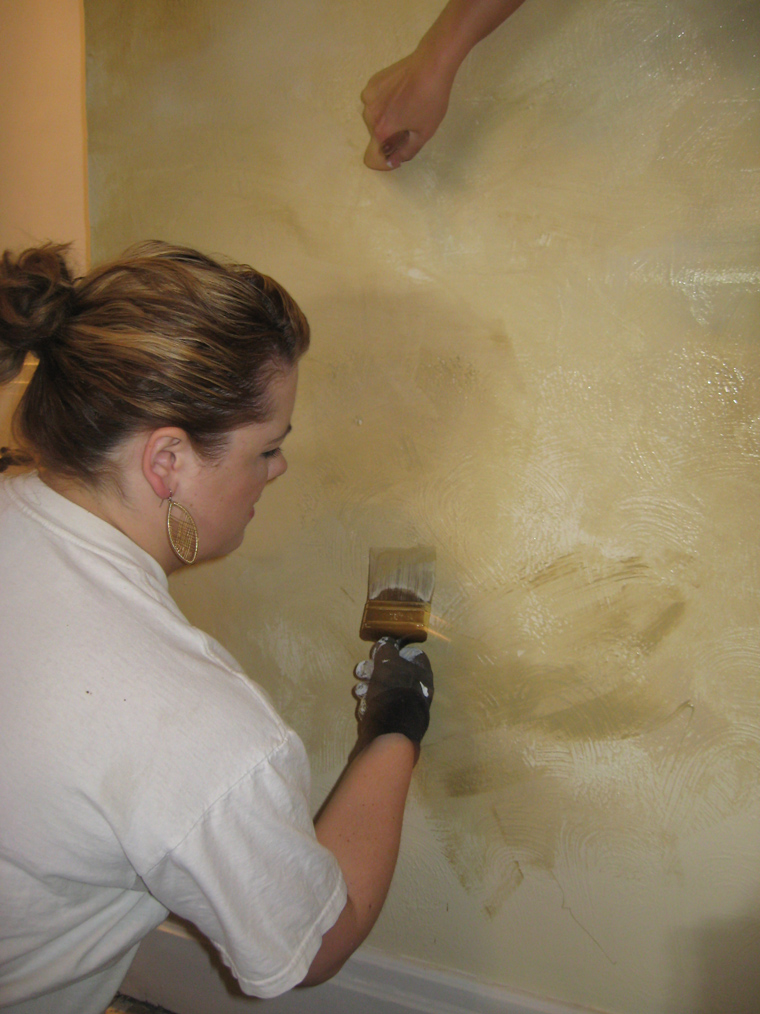
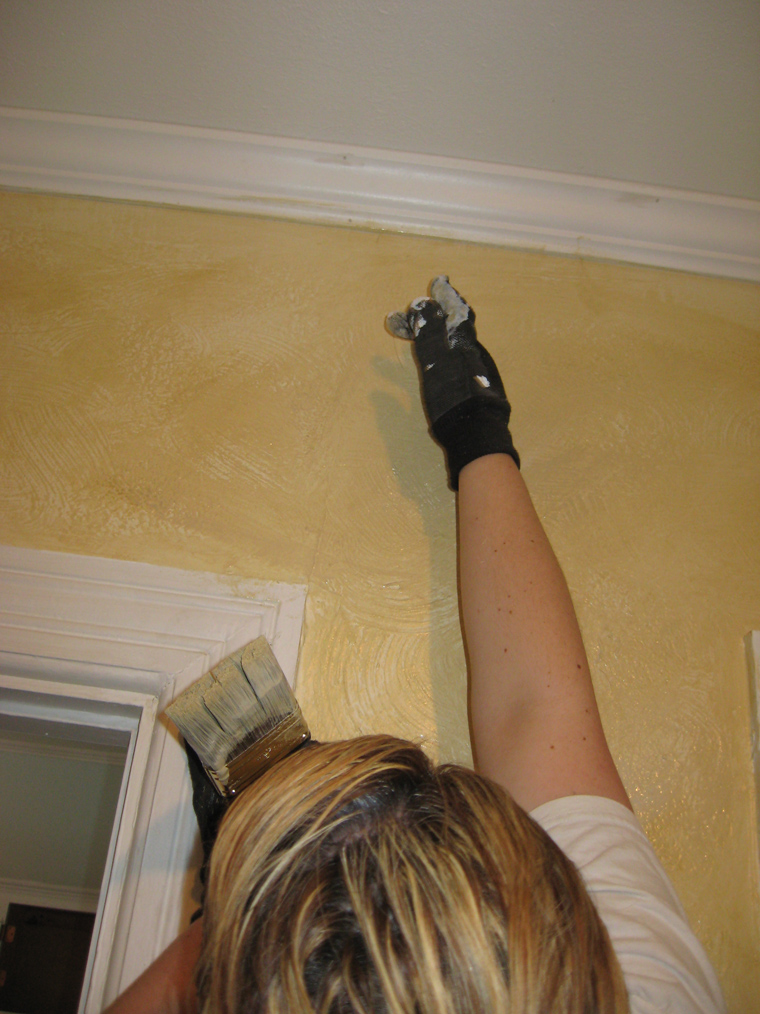
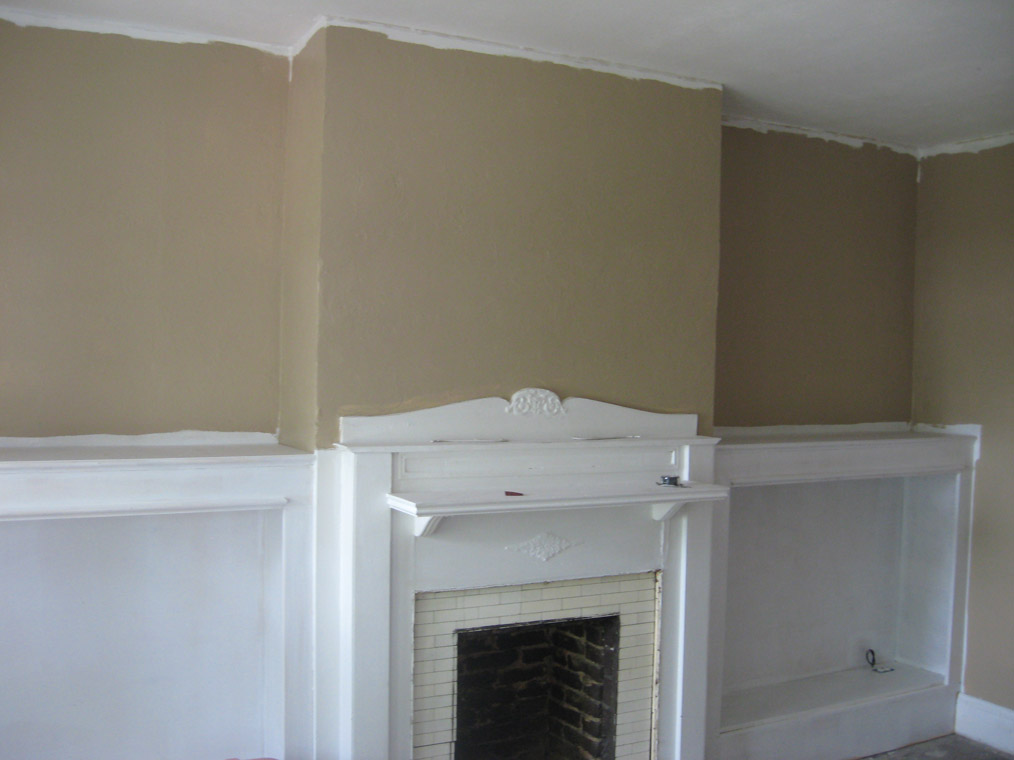
We wanted the dining room to be fairly formal, so we went with a Tuscan glaze on the walls.
First we had to put on a Wheat colored base coat. Then Jess and Amy used a technique to put the glaze on.
It uses the base coat, and 3 other colors of glaze/stain which are dry brushed onto the roughly textured plaster.
The light and dark colors fill into the texture and create a really nice depth.
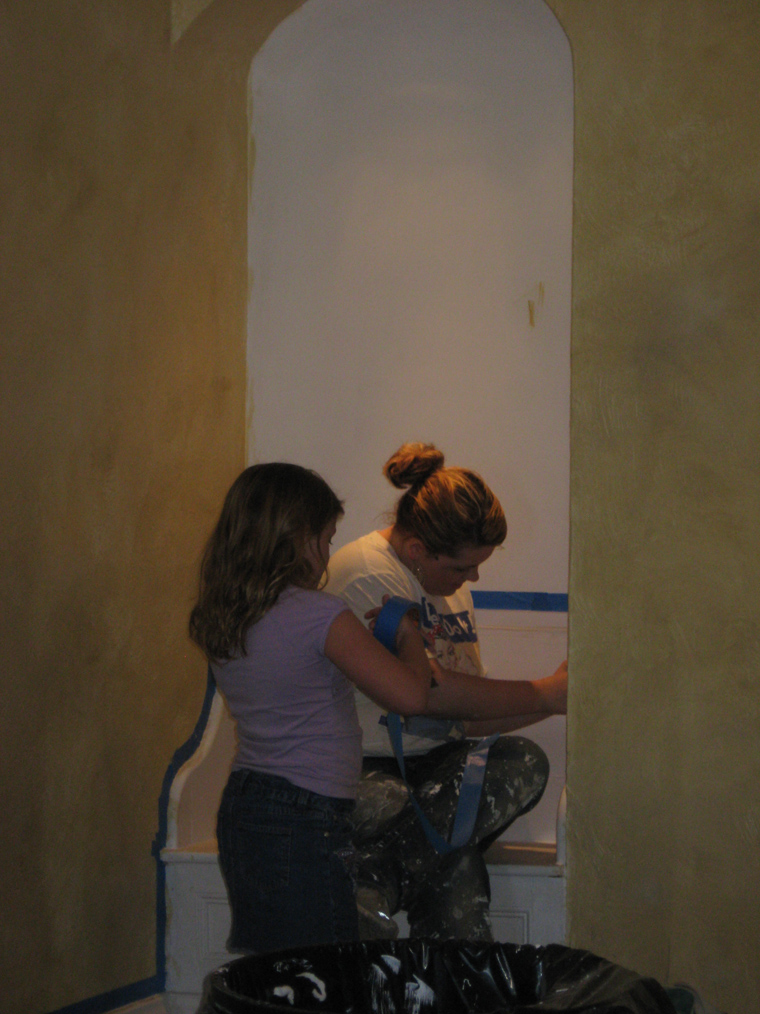
Ella helped Jess finish the trim and fine details.
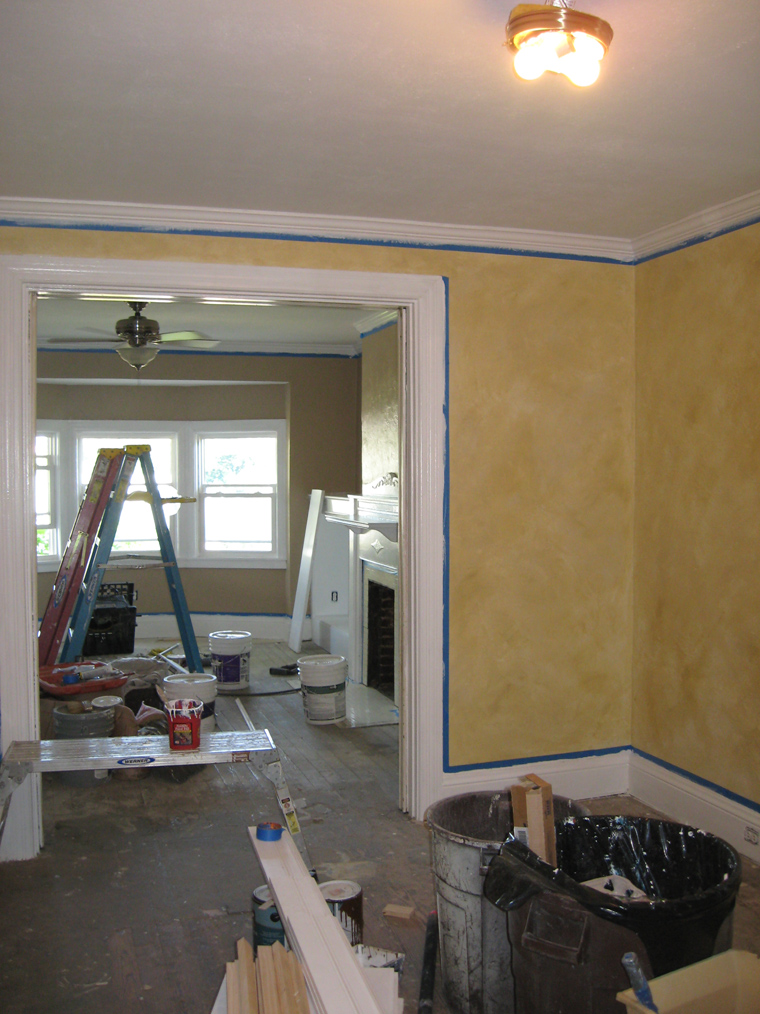
Here it is, it’s still masked for the painting of the trim.
The inside of the built in is also now a dark glossy walnut color.
The girls did a fantastic job on this room, its almost complete! Just a bit more trim to paint!
It was another two-week long wait for updates, we’ve kicked it into high gear to prepare for carpet. However, working every night leaves little energy for website code.
In any case, here is PART ONE of the update, The rest is on the other camera, so they aren’t necessarily from the same day/week.
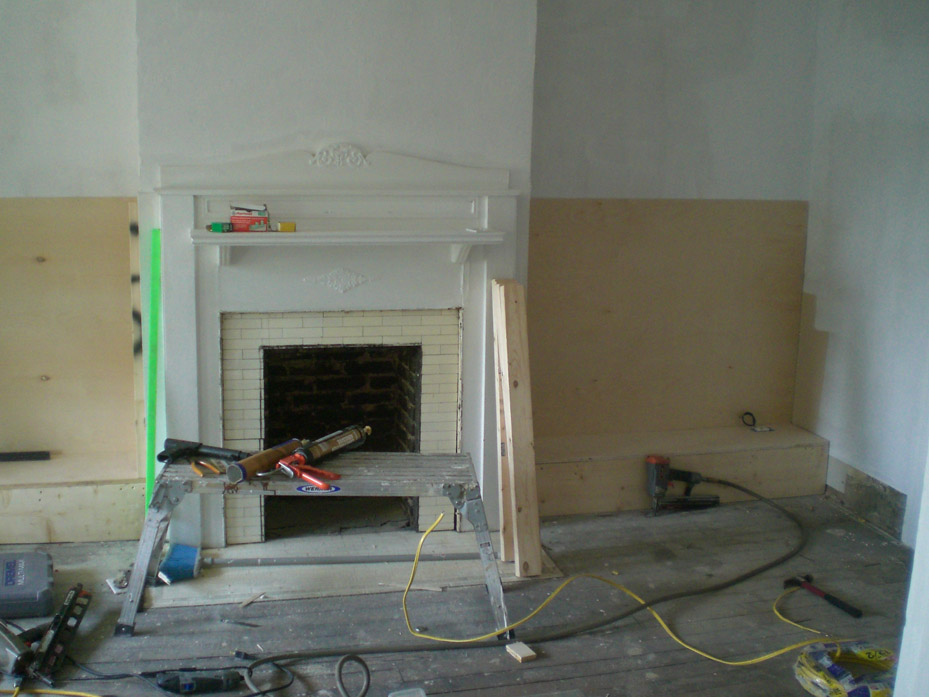
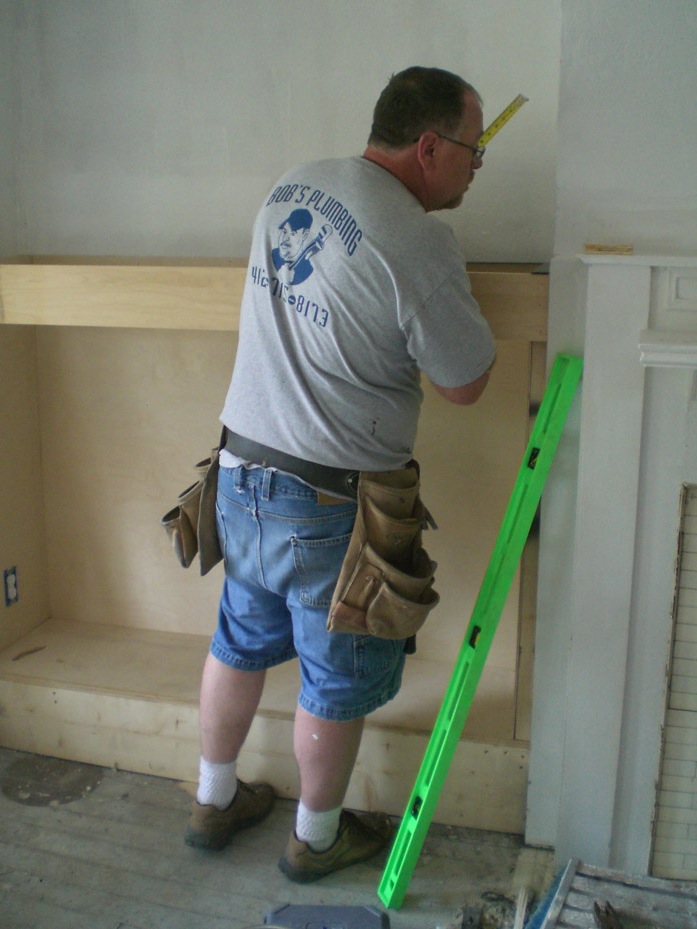
Ron and Mike started the bookcases next to the fireplace.
Here is a basic layout of how high they will go.
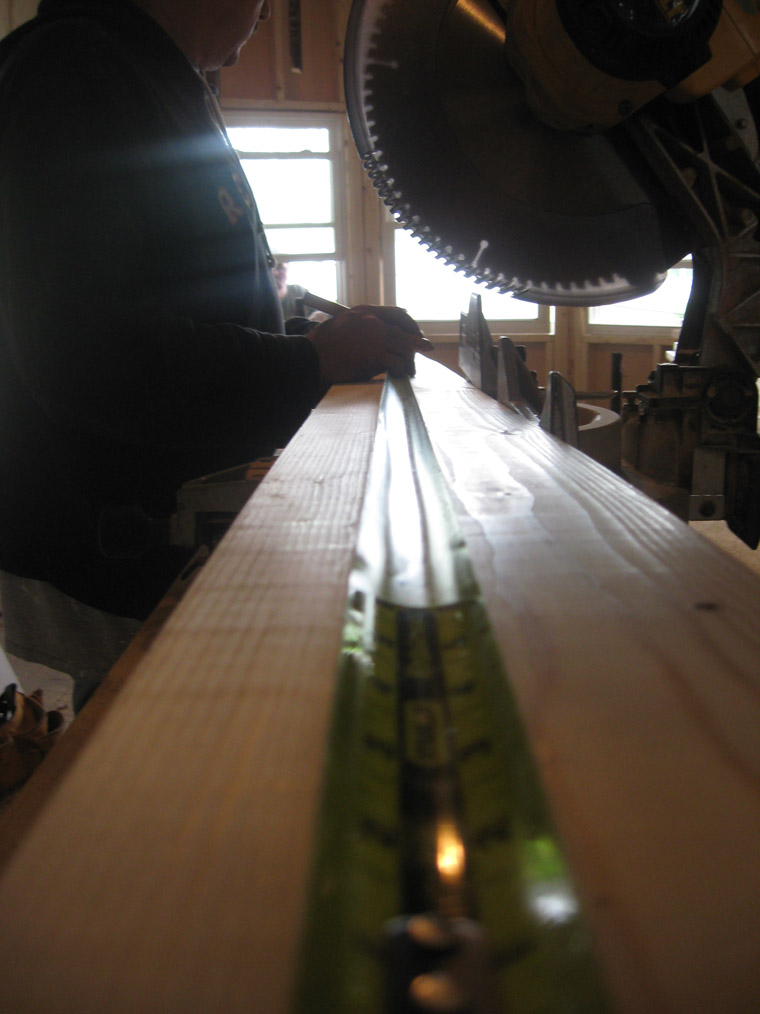
Ron yells out a massive amount of measurements and angles, while Mike scribbles things down, man they’re fast.
The yard is filled with sawdust after this week.
They’re starting to take shape.
Sandy threw a coat of primer on the cases.
Here they are! The shelves are not installed yet as they’re movable and we dont know what goes on them yet. Also you’ll notice in this picture that the walls are painted (more on that in Part 2).
The kitchen was so gross that I had to use a palm sander to get the grease/food grime off the walls. Then I had to wash them and put this primer on.
Sandy and Heather pulled the gross contact paper off of the kitchen cupboard shelves.
It smells terrible.
Jess primed the trim upstairs in the hallway.
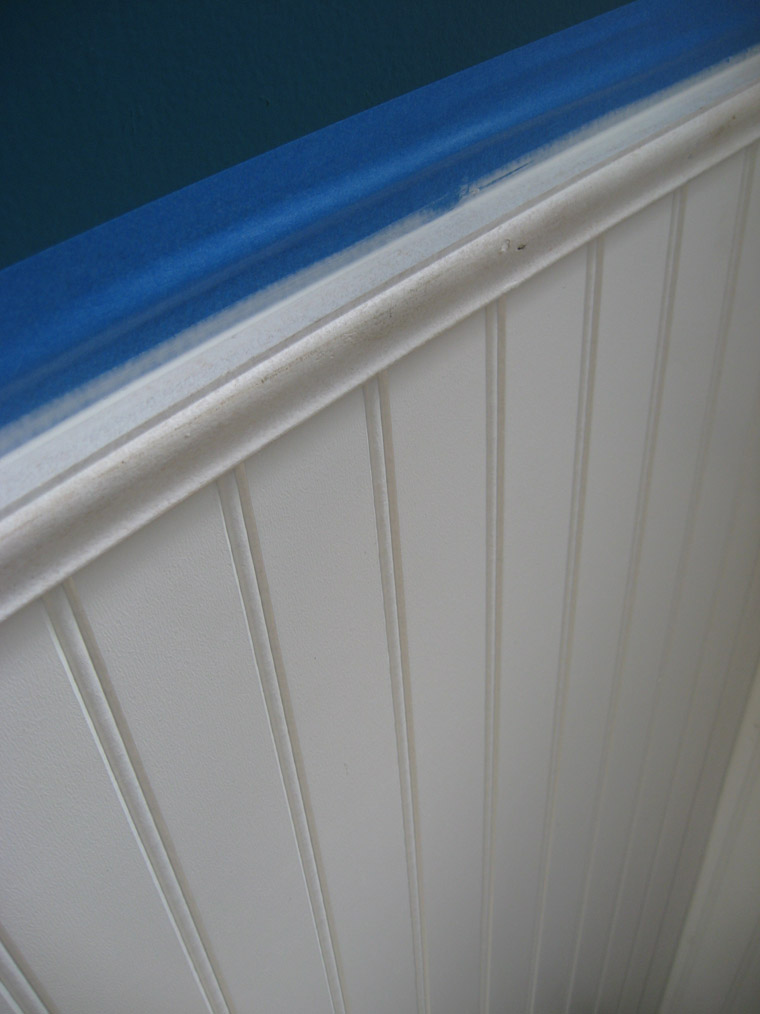
The moulding is up in the bathroom!
The wainscoting and chair rail are in and ready for paint.
Mike caulked the wainscoting.
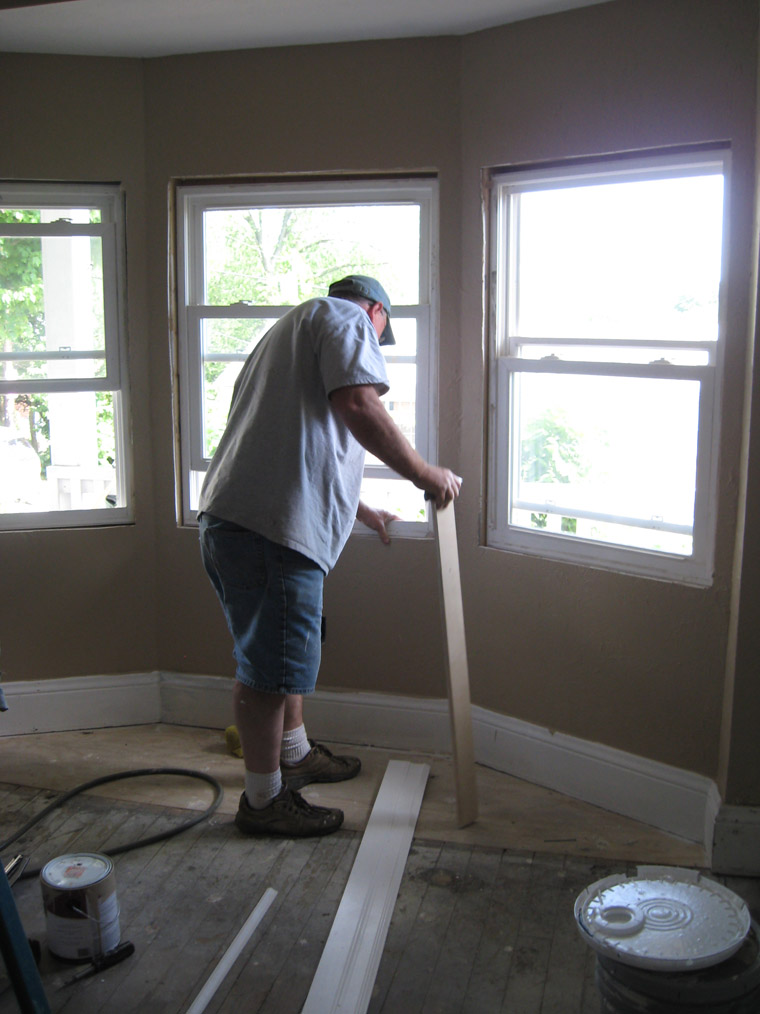
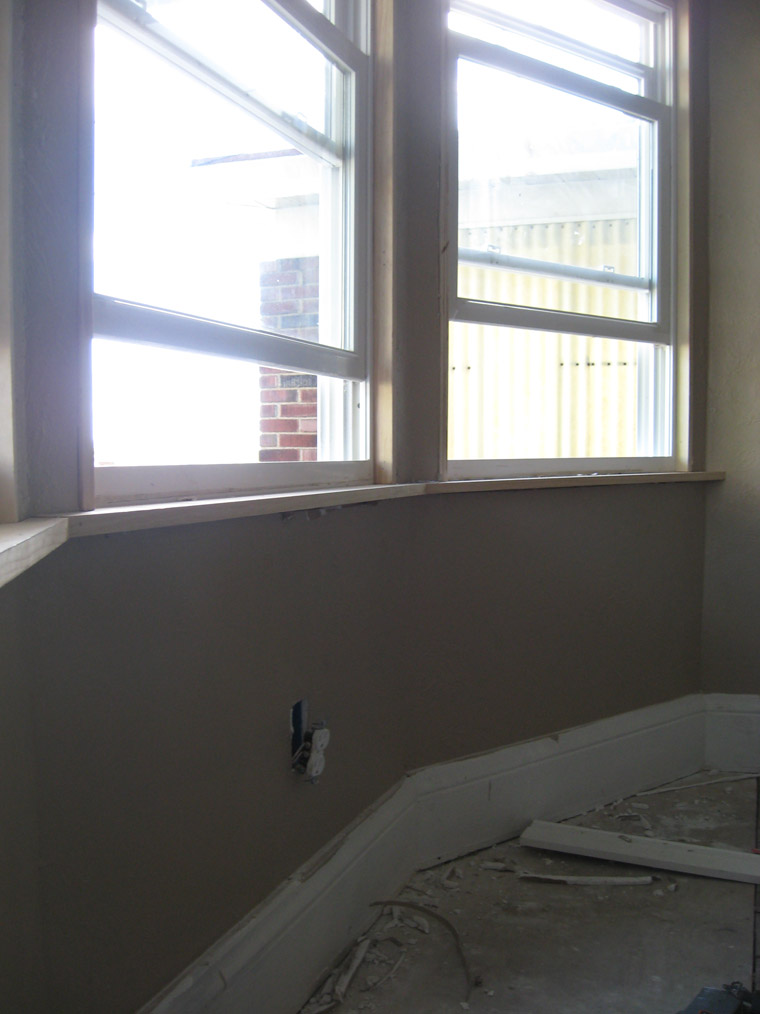
We are going to be recycling original casing from other windows and doors in the bays, but, Ron had to build a new windowsill.
We decided to recess the sill into the curve of the bay.
Here’s the sill installed.
The crown moulding is installed in the living room.
This stuff really dressed up the room.
Also this week, Ron and I loaded the scrap metal form the house (690 lbs. worth) into the van. Then he and Mike unloaded it at the scrap yard. Finally it’s out of the way.
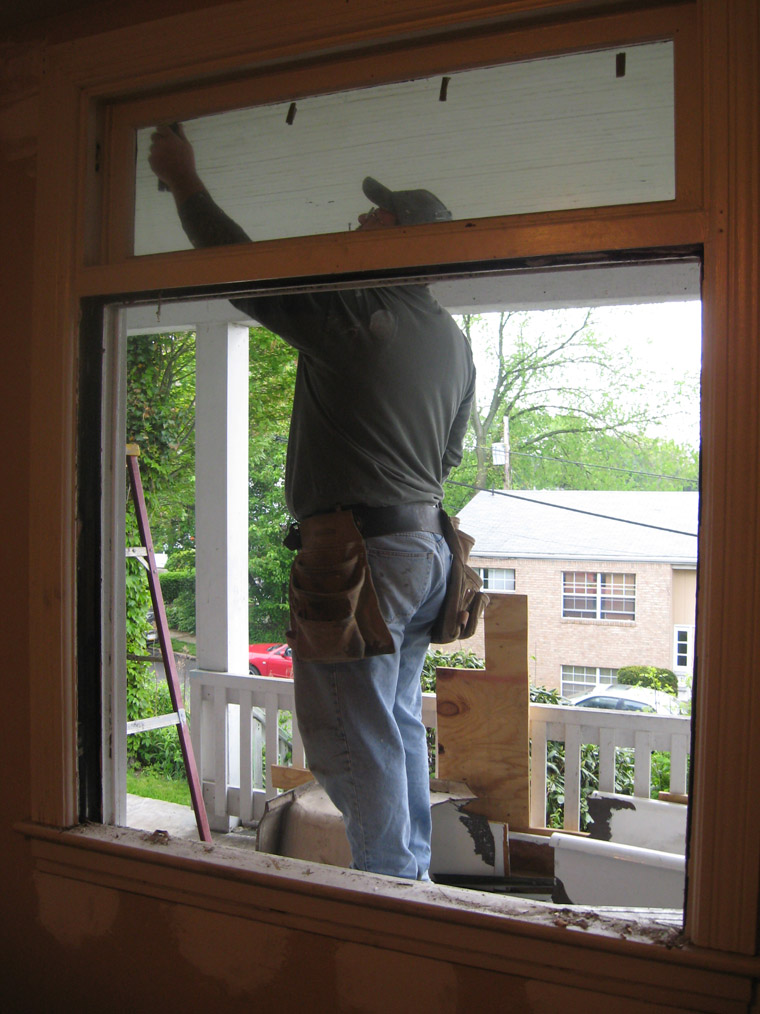
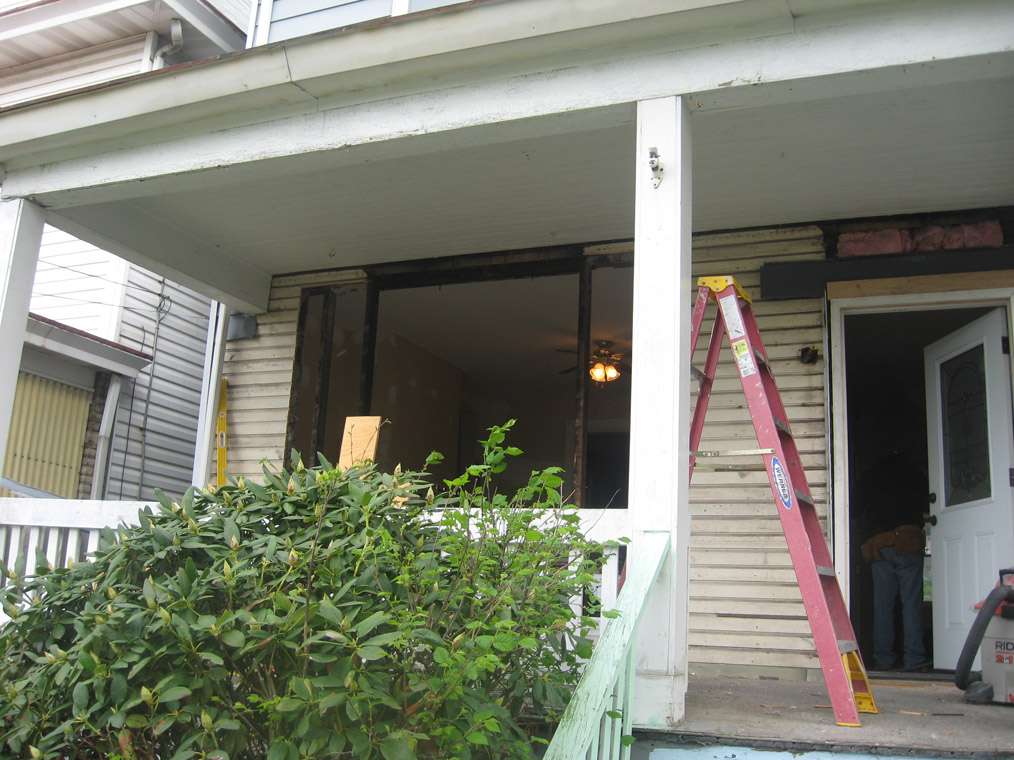
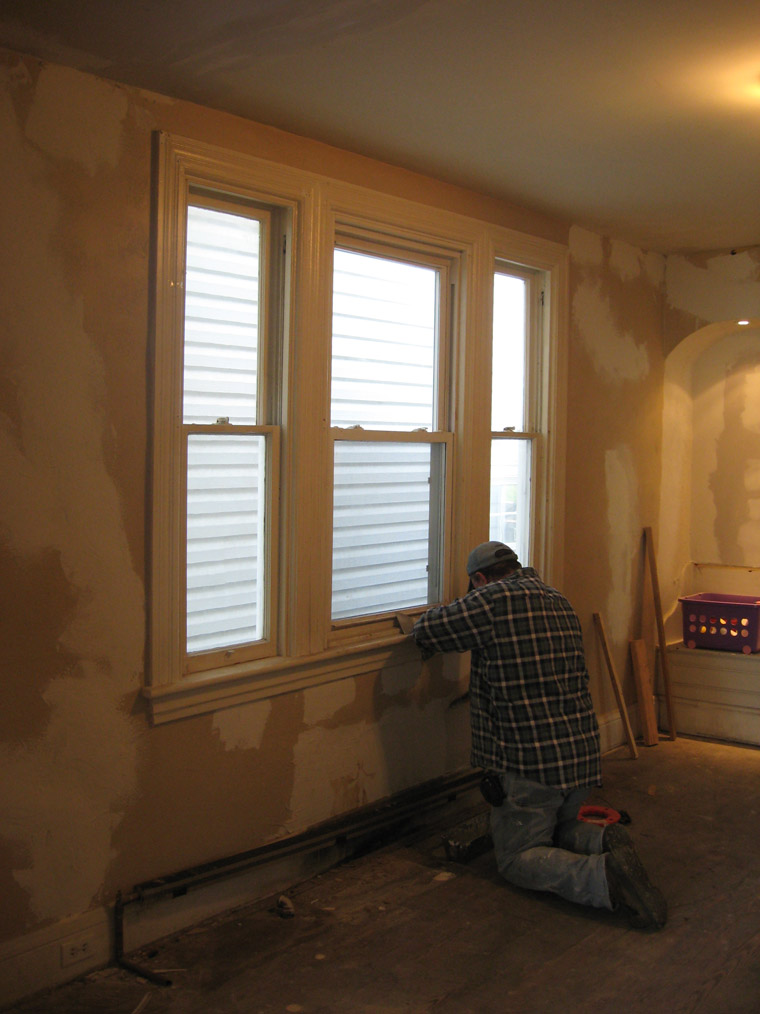
Last Saturday, Ron and I prepped the front of the house for major surgery. We installed new windows and basically tore the front of the house off and rebuilt it.
Sunday, I went to visit Mom and Dad, while Sandy, Rachel and Jessica stayed here and painted!
All week small projects were done… Then, on Saturday, I was by myself and got a lot done.
Sunday we hit the place hard again….
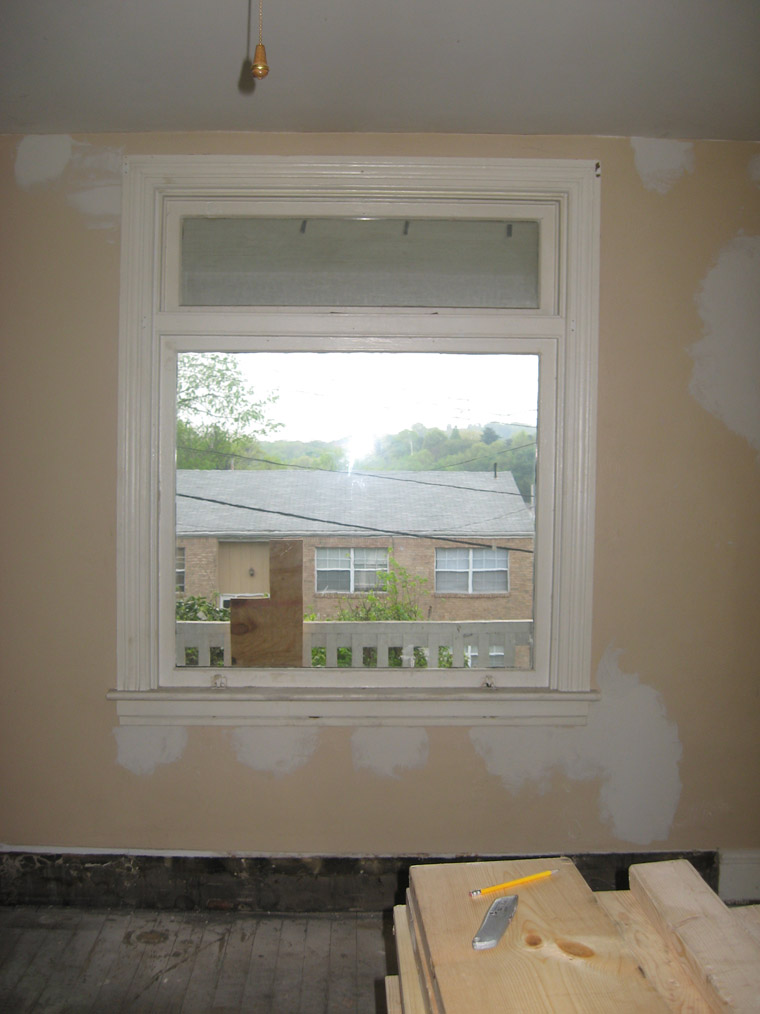
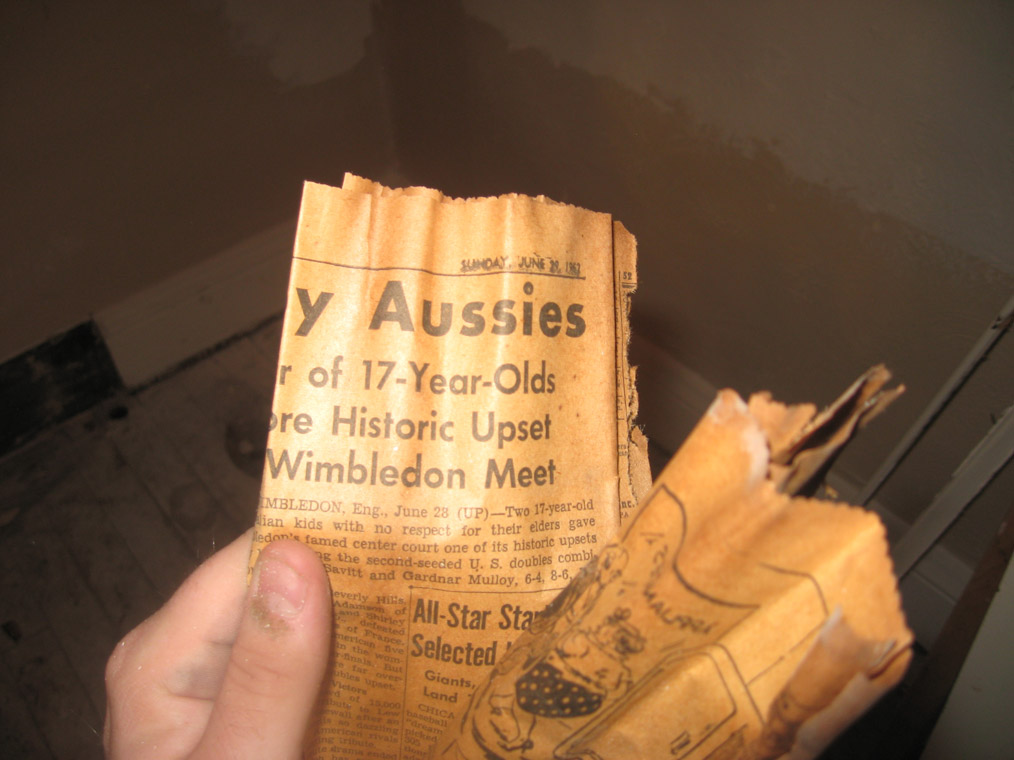
For those of you who don’t recall, here is our front window. Its old, painted shut… who knows how long its been since it was open…
We opened the window, somehow without breaking it! … we also found out how long it had been since it was opened…
…June 29th 1952 was close to the last time this window worked. I found a bunch of newspapers that were used as insulation before the window was sealed. They were too crumbly to really unfold, much as I tried. Apparently though, a horse called Whimsical Mood had won some sort of honors at the races.
When our next door neighbor Andrea was outside, she said ‘woah, you really did mean a giant hole would be in the house…’ I then challenged her to a fight for doubting me.
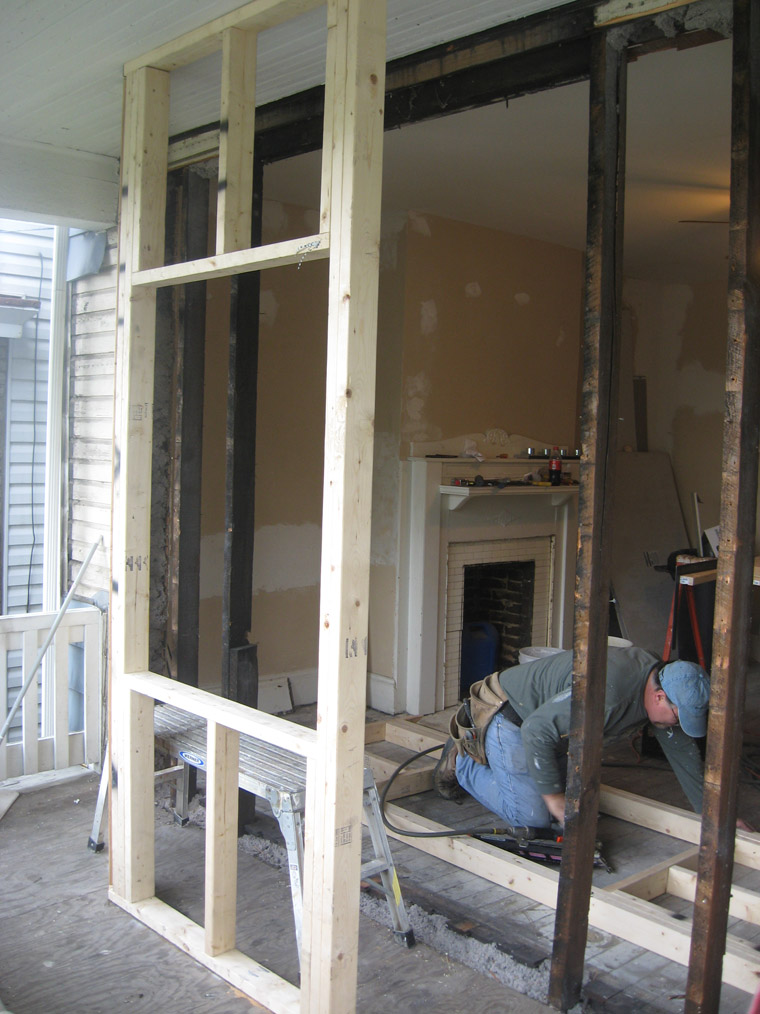
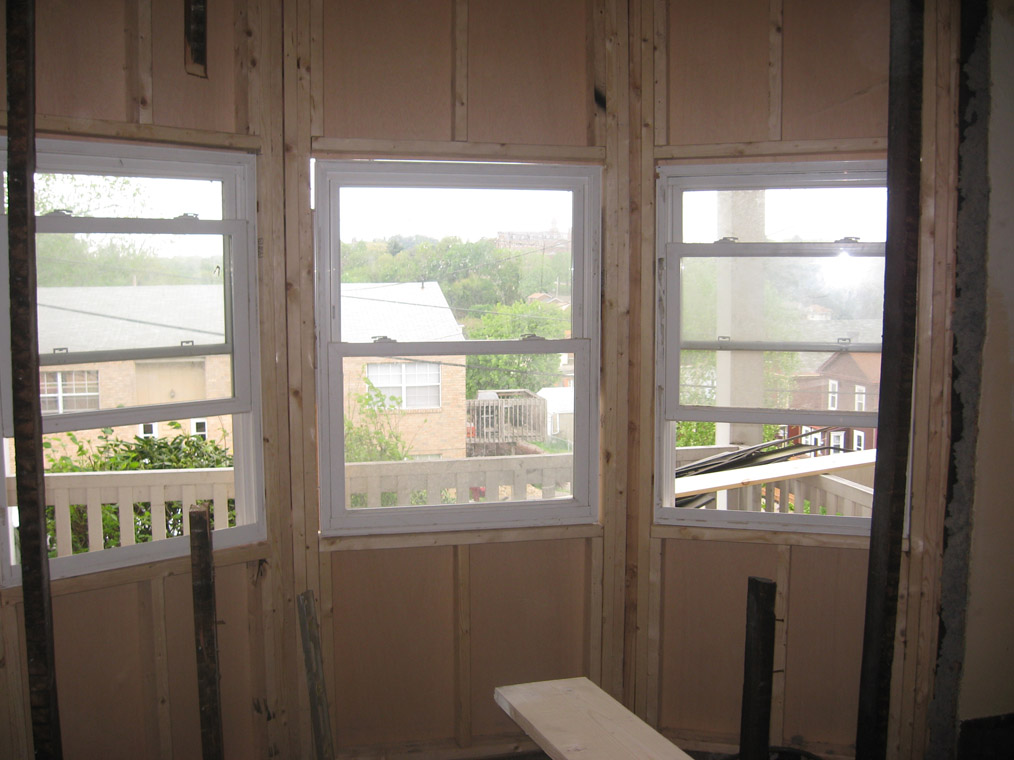
We started to build out the framework for the bay.
Ron yelled out angles and lengths, and Uncle Mike answered with the noises of a miter saw…
Windows installed.
Drywalled! Check it out! It increases the perceived size of the living room, and makes it much breezier and brighter.
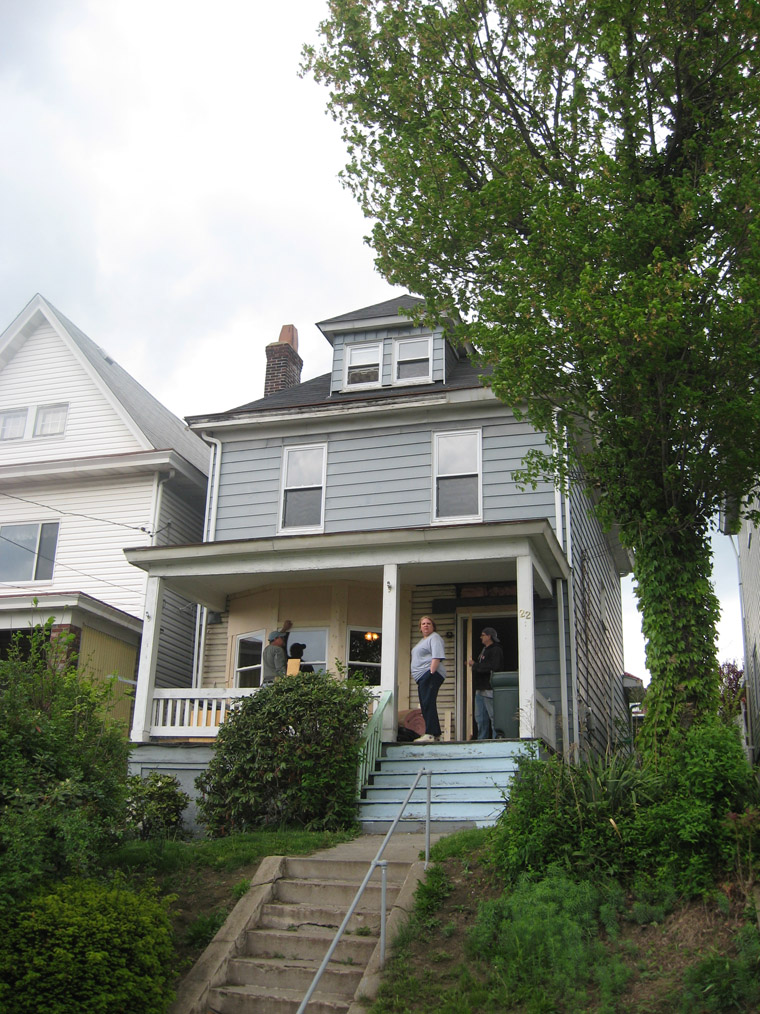
Yeah, but what’s it look like on the Outside?
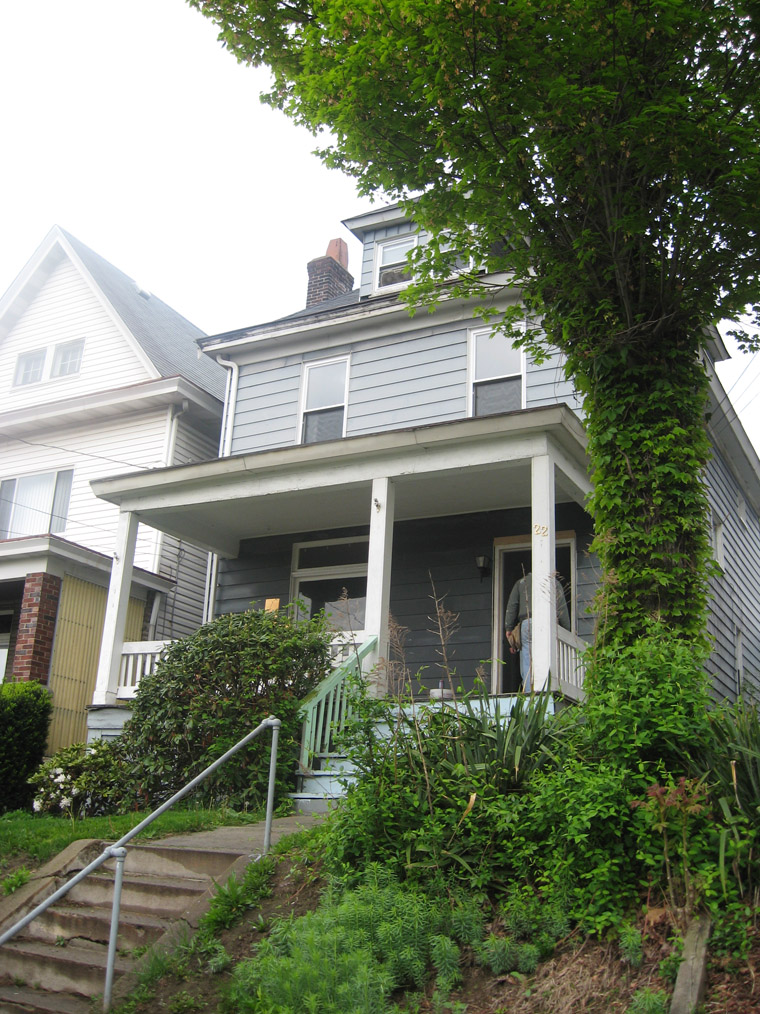
Here’s the street view with the old window.
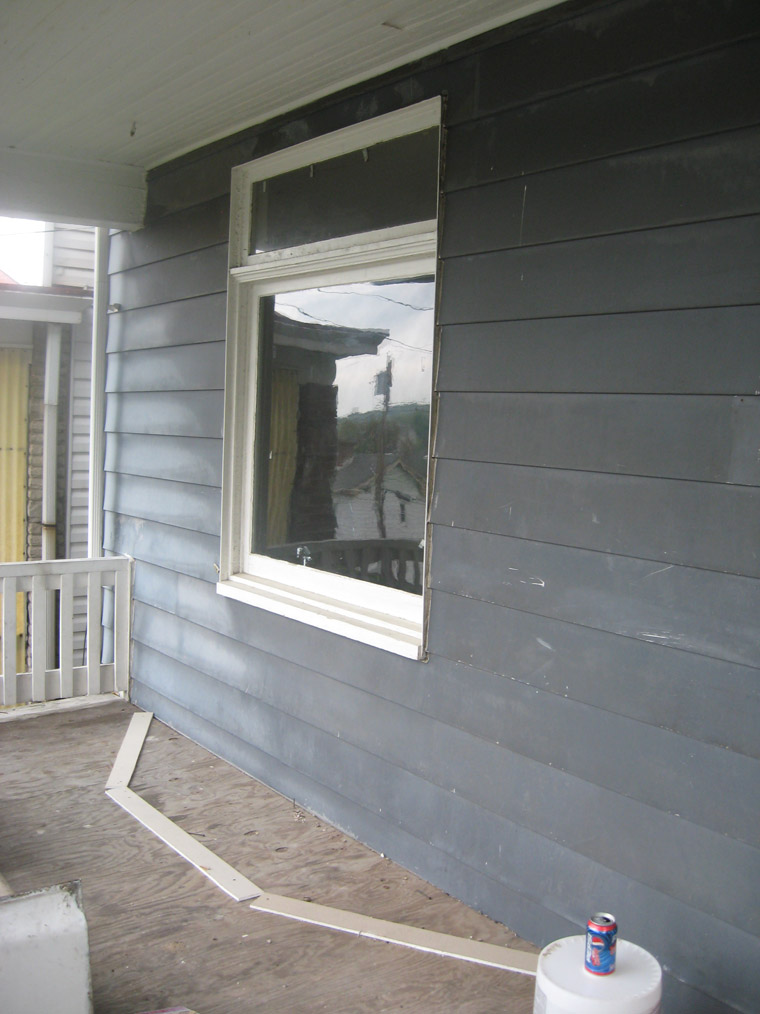
Here’s a closeup of the old window, with the proposed angles mocked up with bits of scrap on the porch.
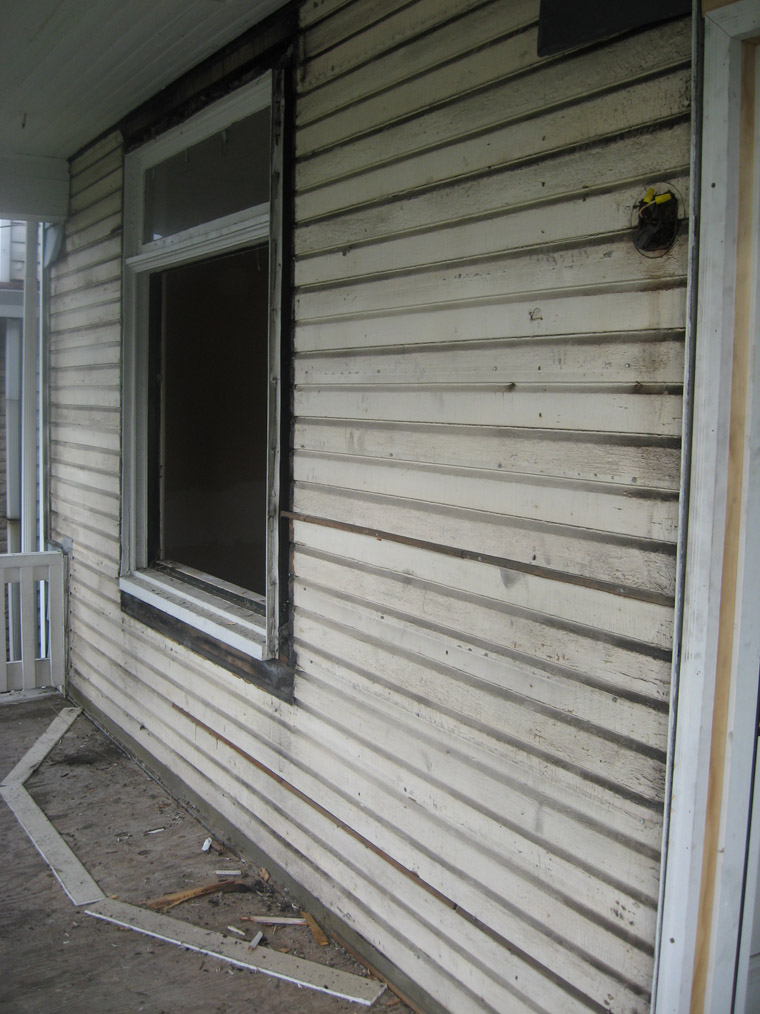
Of course, that old siding was in the way.
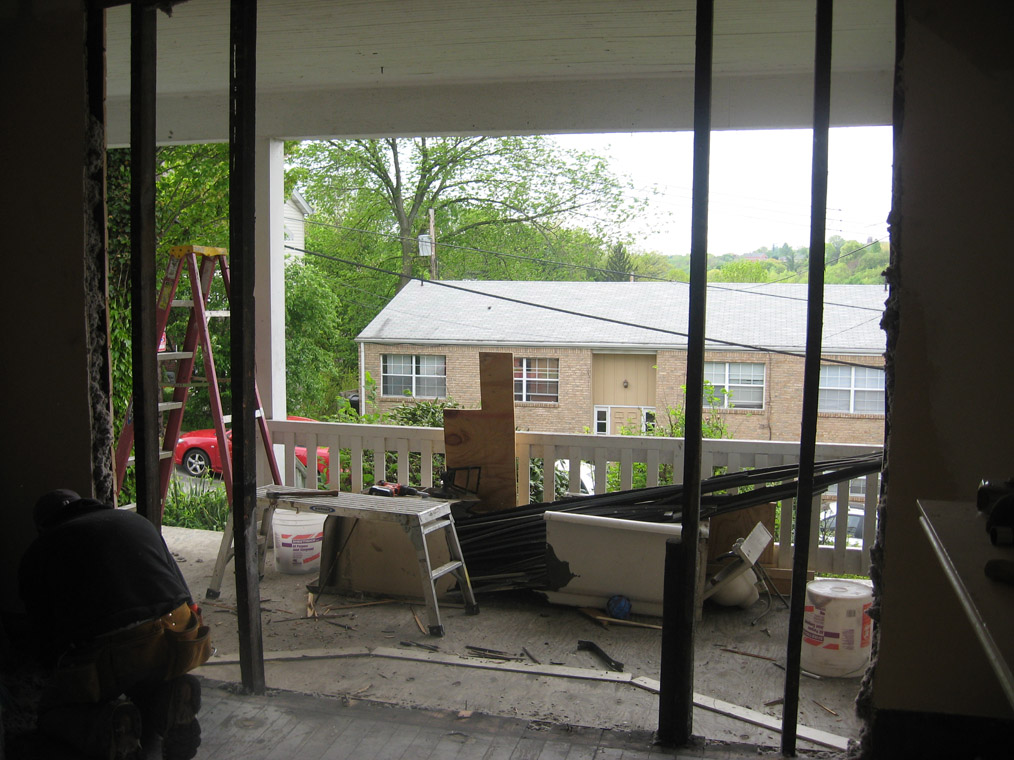
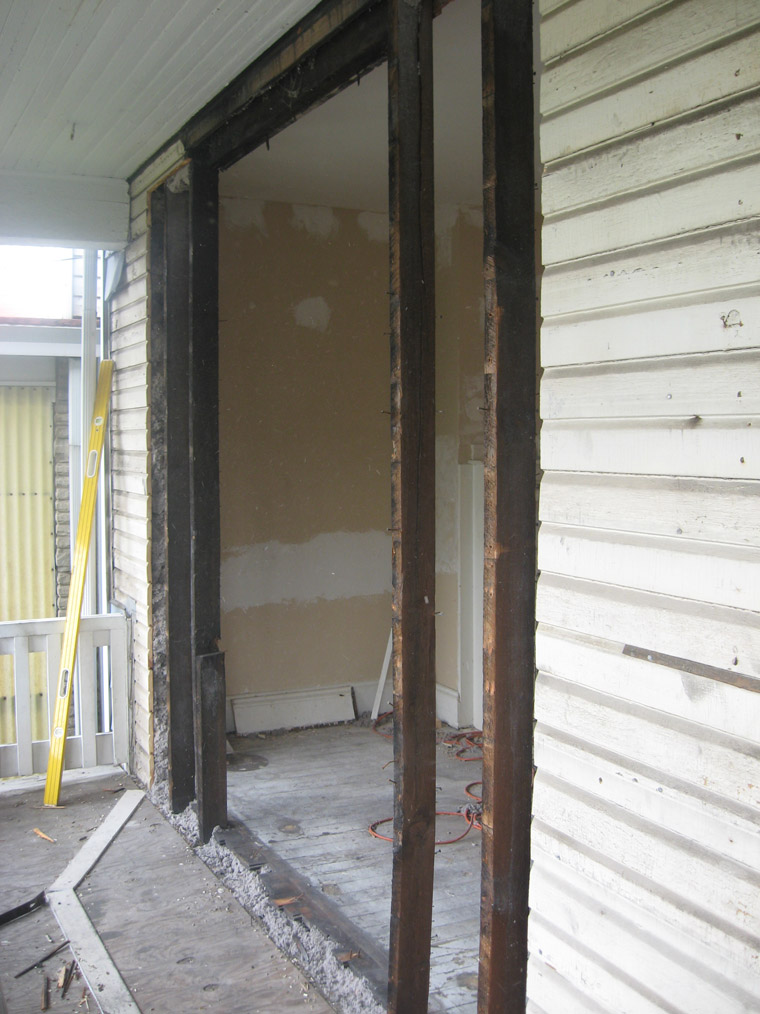
Big hole…
You could probably drive a jeep through the hole we cut in the house
Framing in.
Outside trim installation.
Close up of the trim going in…
I put some waterproofing primer on the outside.
We took the good siding that we removed for the bay and used it to fix the bad siding. It’ll be ready for paint this summer.
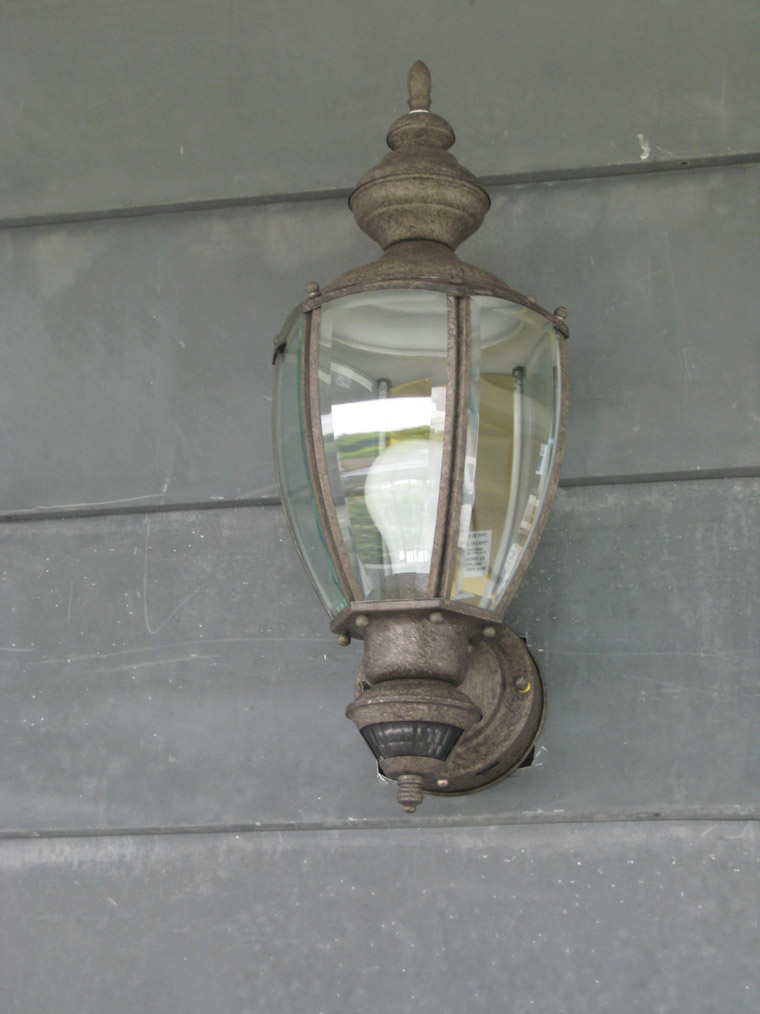
Mom and Dad gave us a new motion sensor activated porch light.
Here’s a close up of the new light, man that siding is gross.
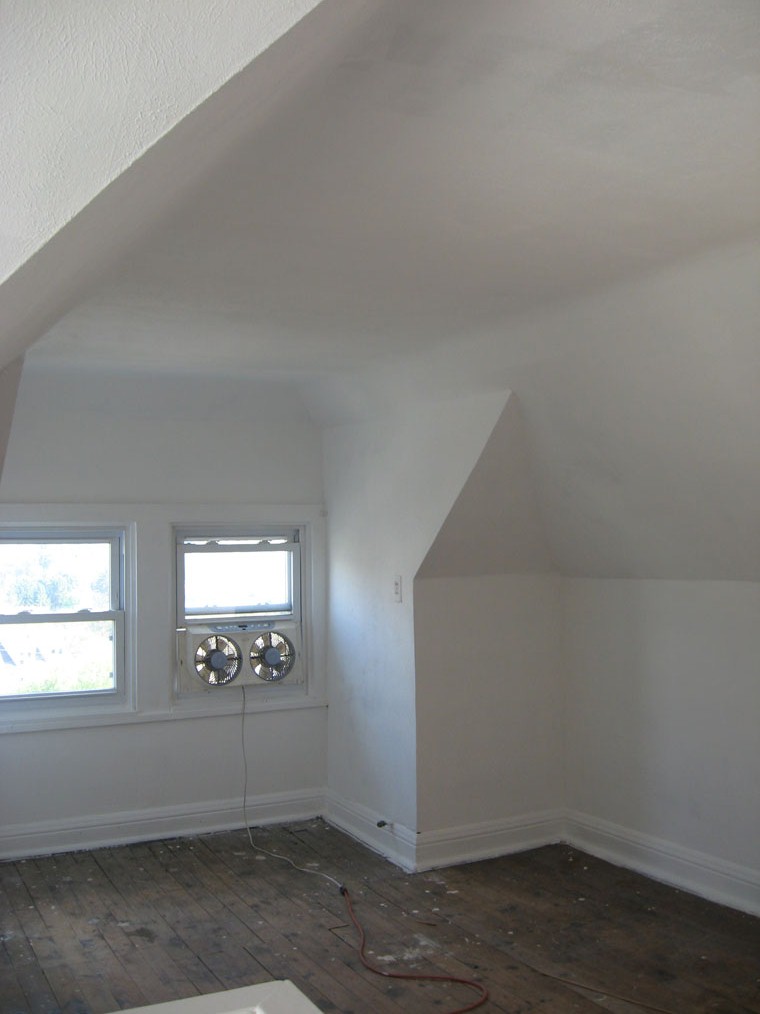
Rachel, Sandy, and Jessie painted the floor of the 3rd level.
The girls did a fantastic job of painting the floor.
The third floor is DONE!
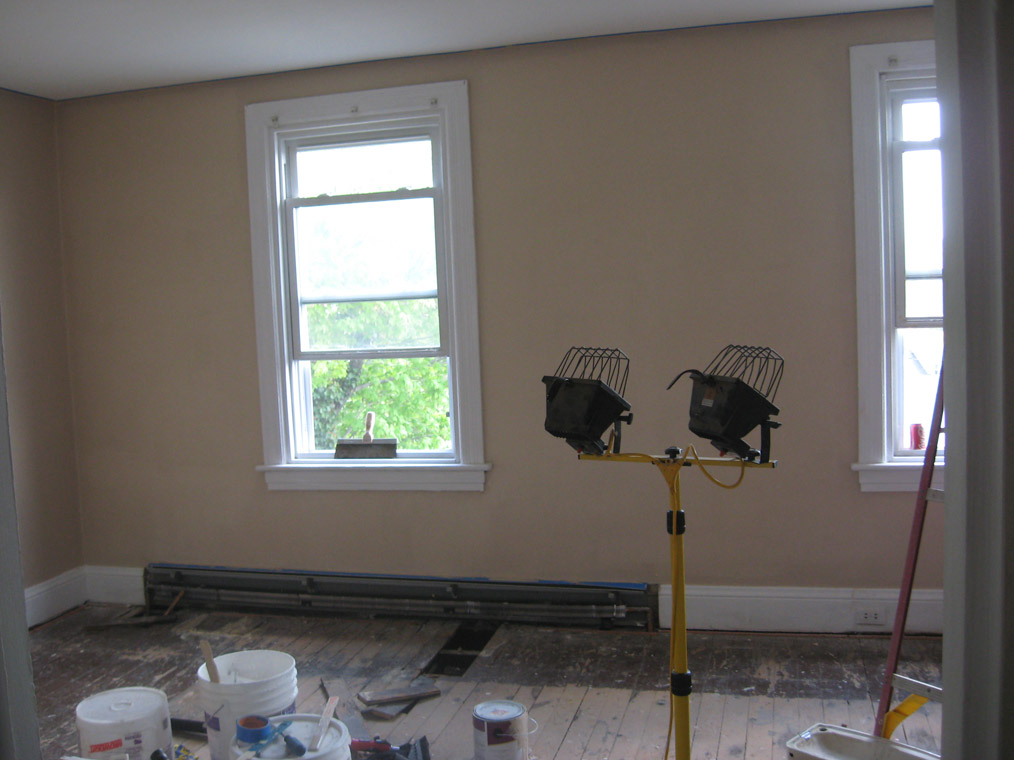
Jessie painted the master bedroom, its a very calming color.
Here’s another angle of the master bedroom with color.
Saturday I spent the day by myself…
I finished a lot of wiring…
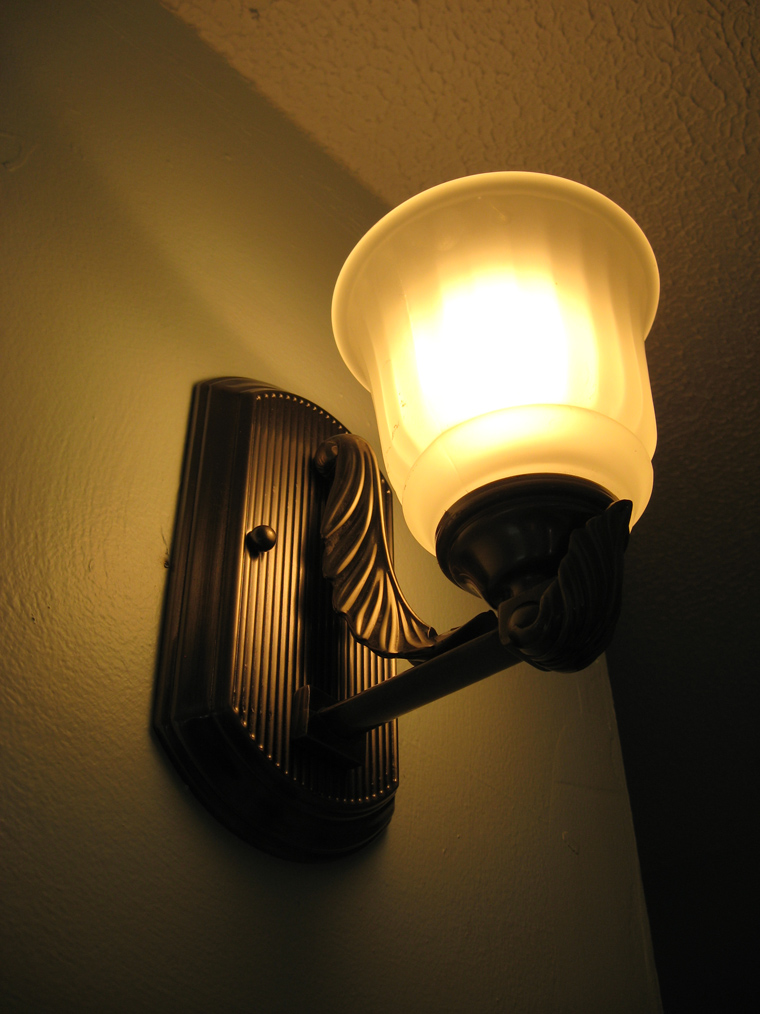
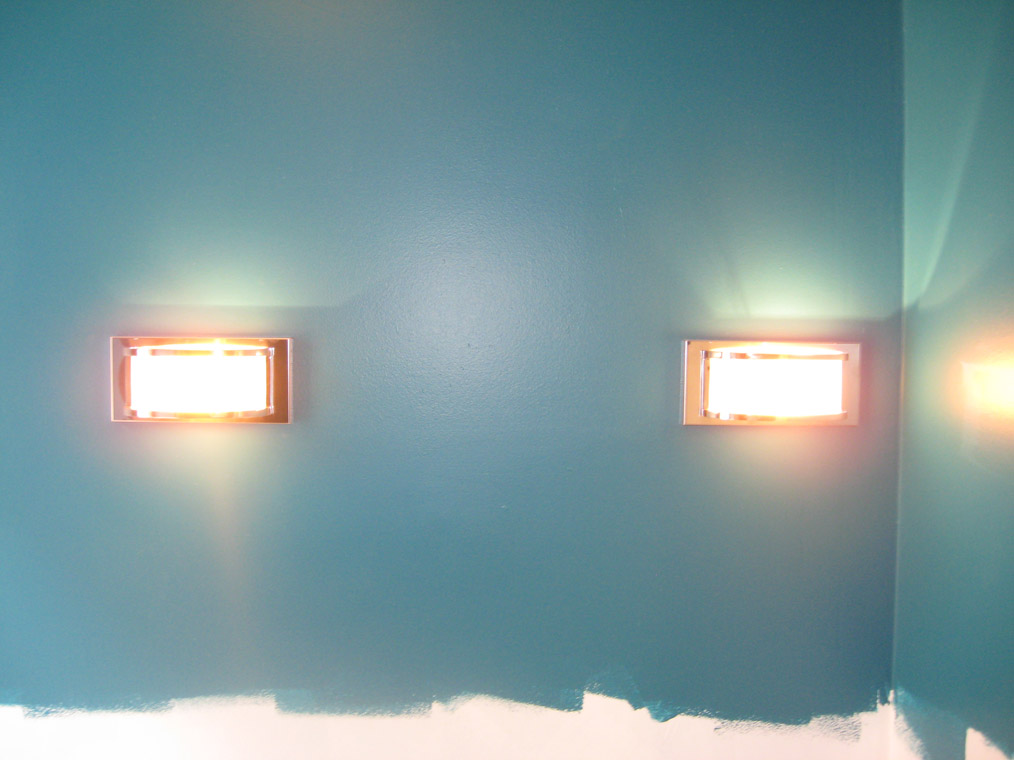
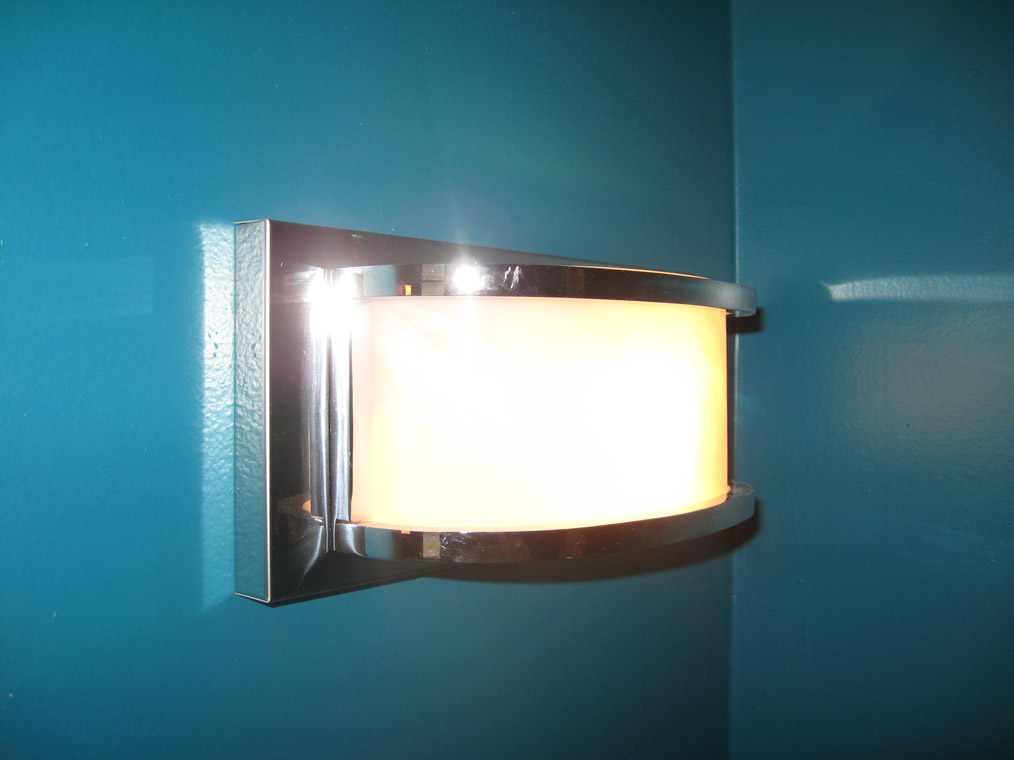
We got these cool chrome sconces for beside the bathroom mirror.
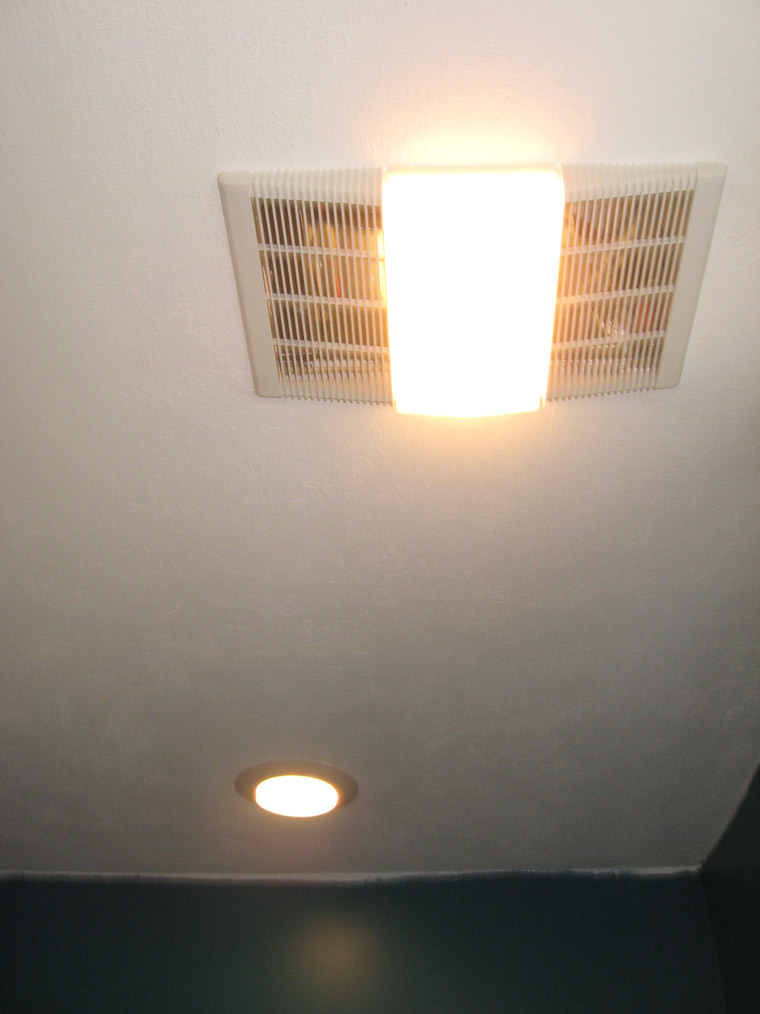
I got the fan and the recessed light over the shower to work.
I built and installed this new Hunter fan for the master bedroom. Go GREEN with energy saver bulbs! (They finally make them in the 4500k color range so they look incandescent, instead of blue)
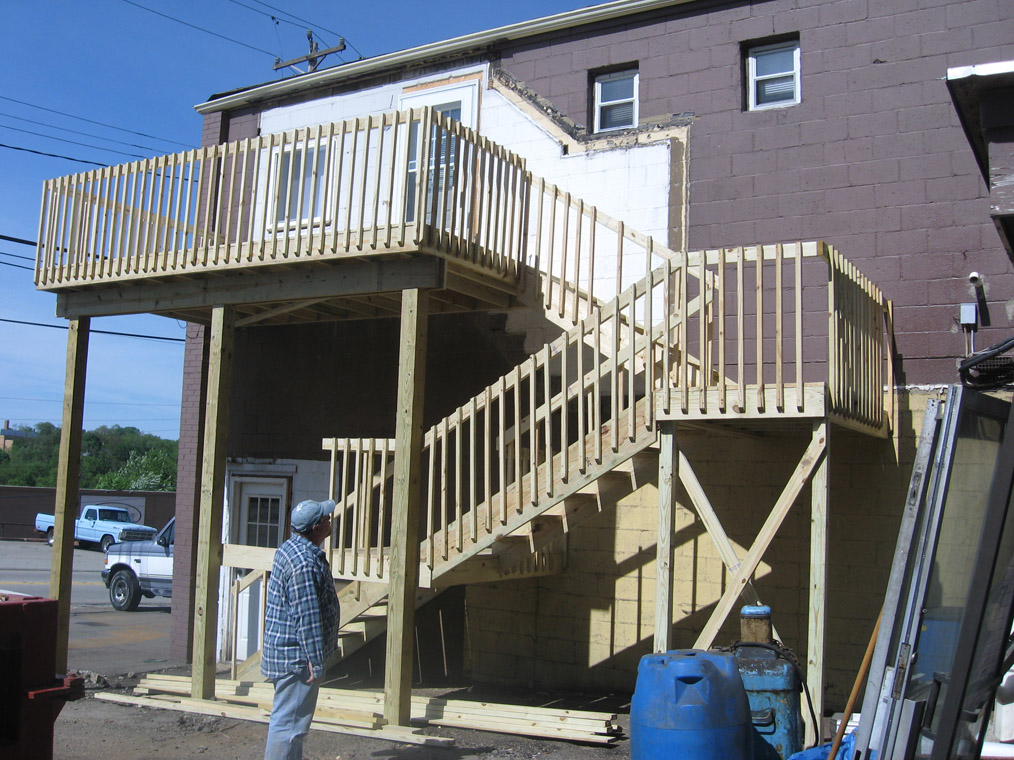
This is why I spent the day by myself. Ron said he had a job to do that day. At the end of the day I got to see what he had done. He built this whole deck and stairway in one day.
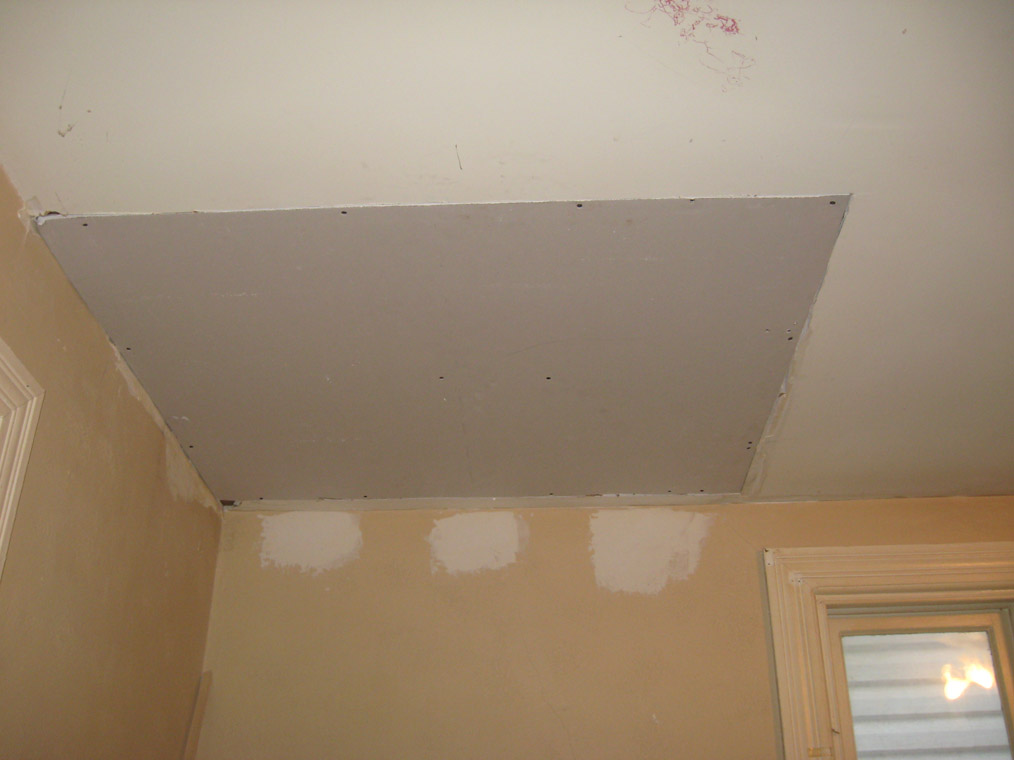
We got the hole in the dining room patched.
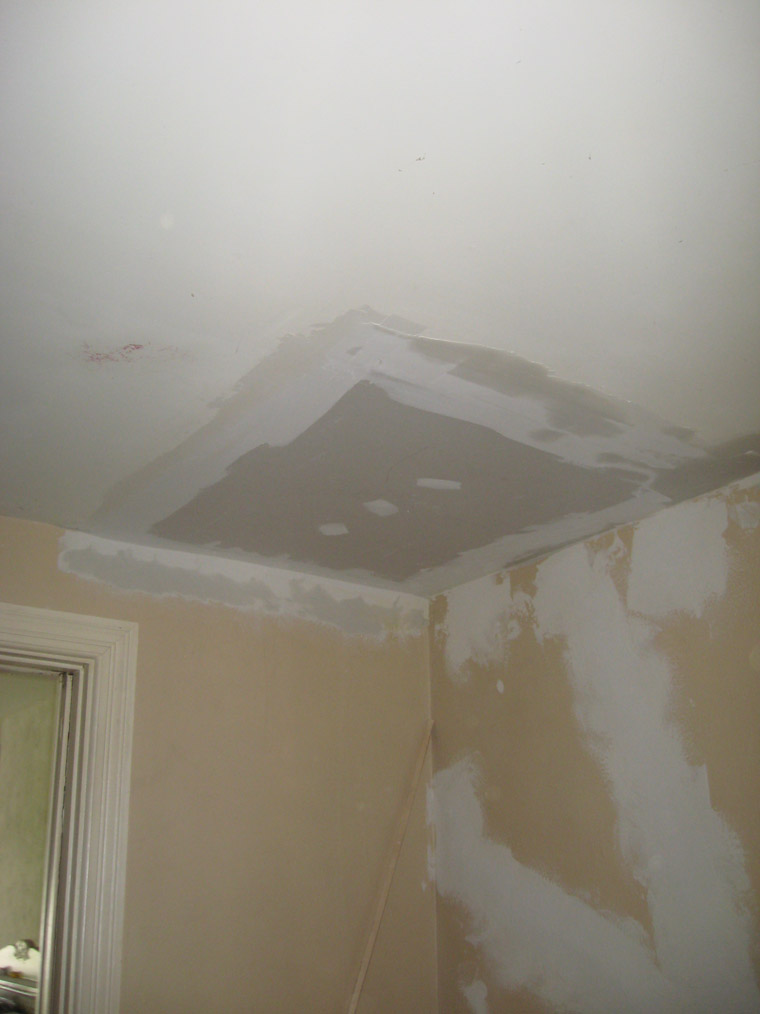
A little mud smooths the edges nicely.
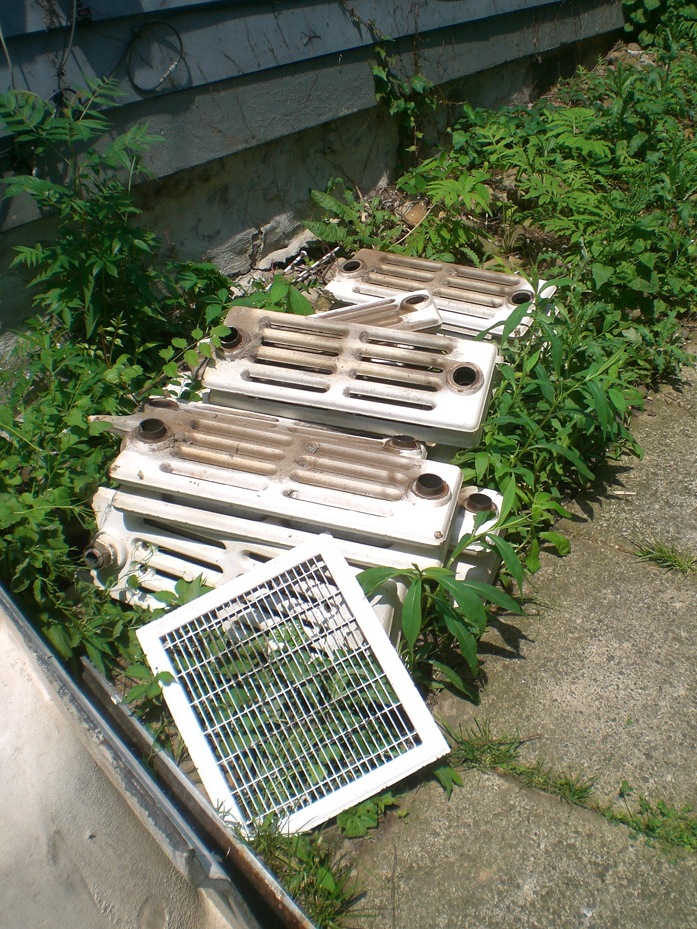
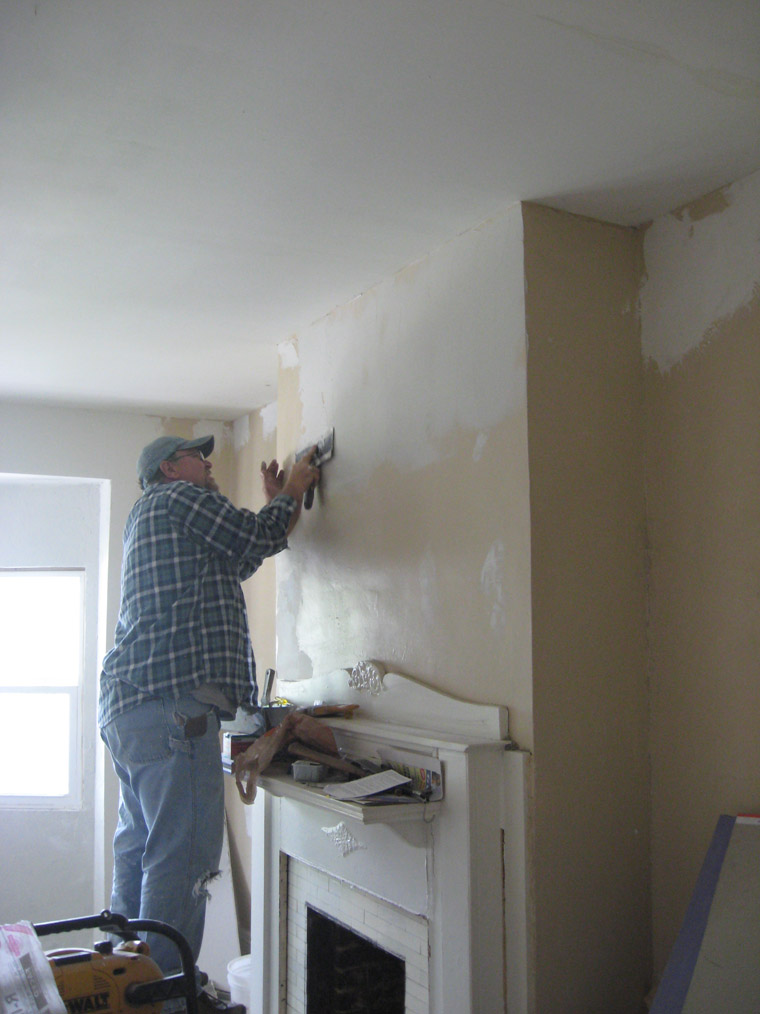
This is where the radiator was, it had been neglected for many many years. Ron is trying to feather out the plaster so it looks nice.
Jess painted the insides of the closets.
Here, Ron gives the chimney a final touch on plaster.
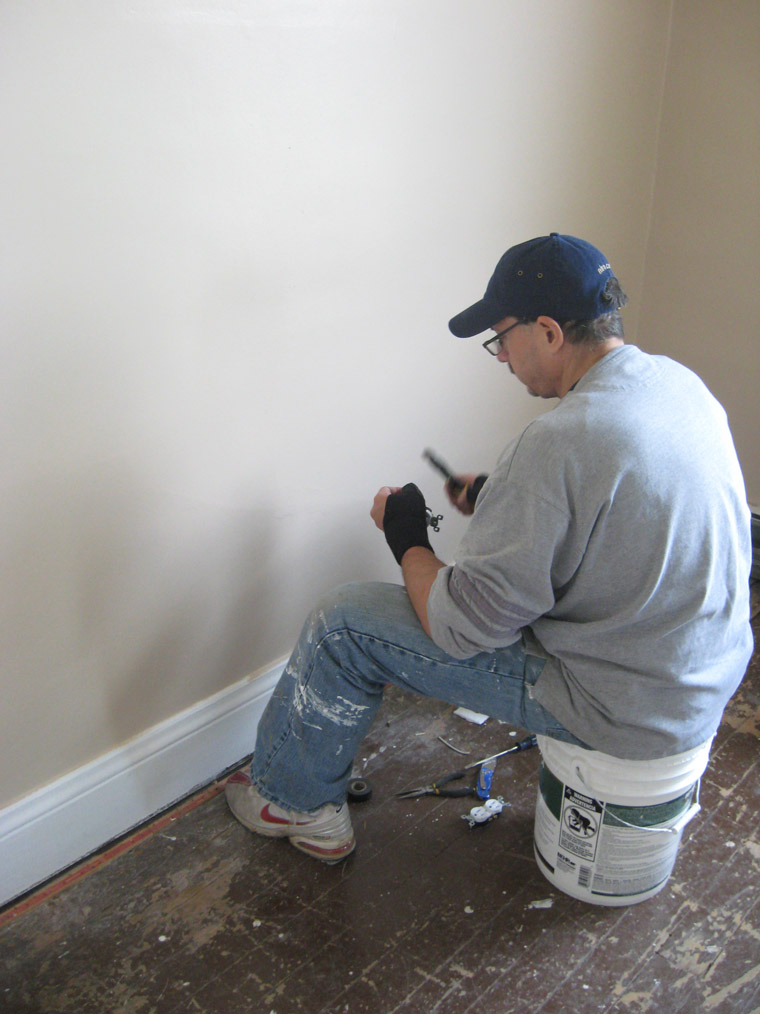
Mike came over and wired the new wall sockets around the house.
See?
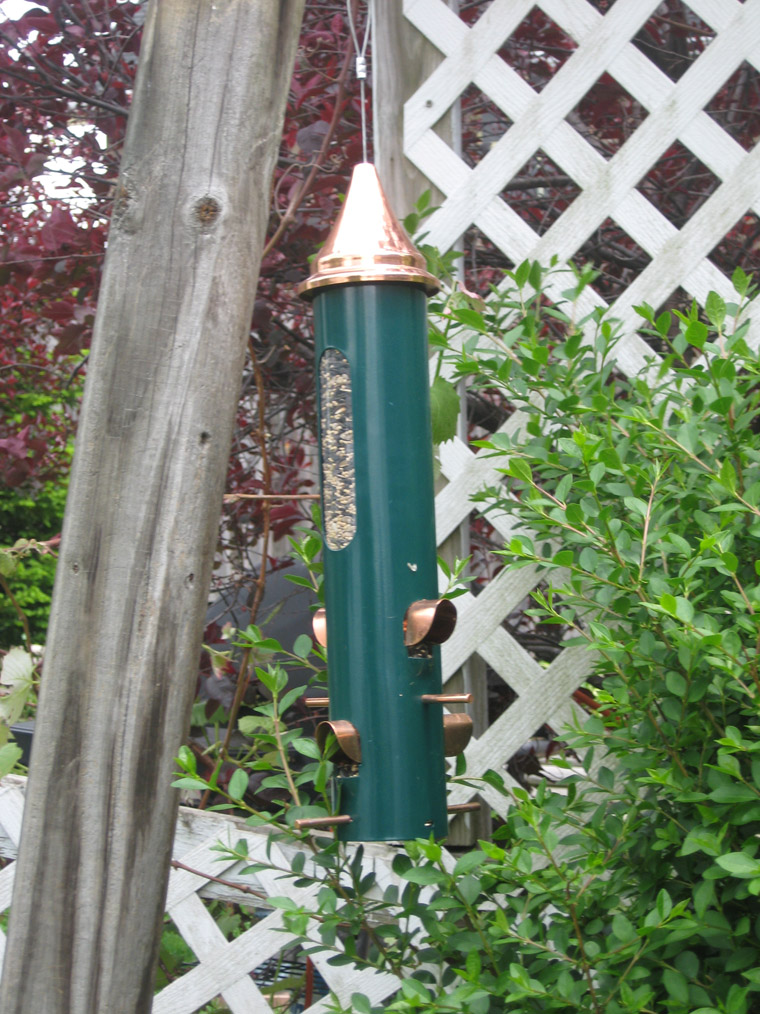
Jessie got a bird feeder to take care of the neighborhood avian friends.
Jess also got a cool hanging basket for the front porch
It’s starting to feel like the life is returning to a neglected hollow shell of a home.
This weekend was very busy even without the house project. Jessica and I worked a charity event to work to raise money for the Pittsburgh Children’s Museum. It was Totally Awesome 80s Bash part II, tiring, but a great time overall. Jess came home with jewelry, so it must have been a success.
As far as the house goes, on Saturday morning, Ron and I made a journey to the landfill to properly dispose of construction debris. Still several more loads to go, but a little better.
We tried to charge the furnace boiler and baseboard radiators for the first time, the front zone where we found the broken L pipe went first. It held pressure. So we left it overnight to see if there were any leaks.
Sunday morning, the front zone held pressure all night. So we tried for the back zone…
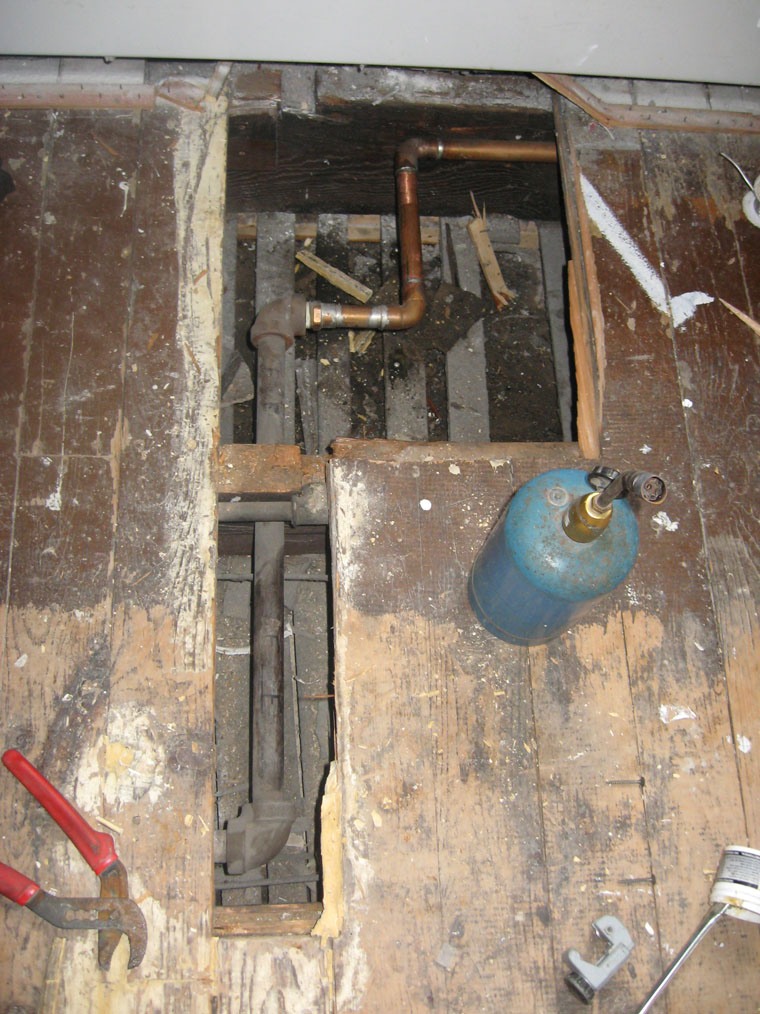
Leak #1
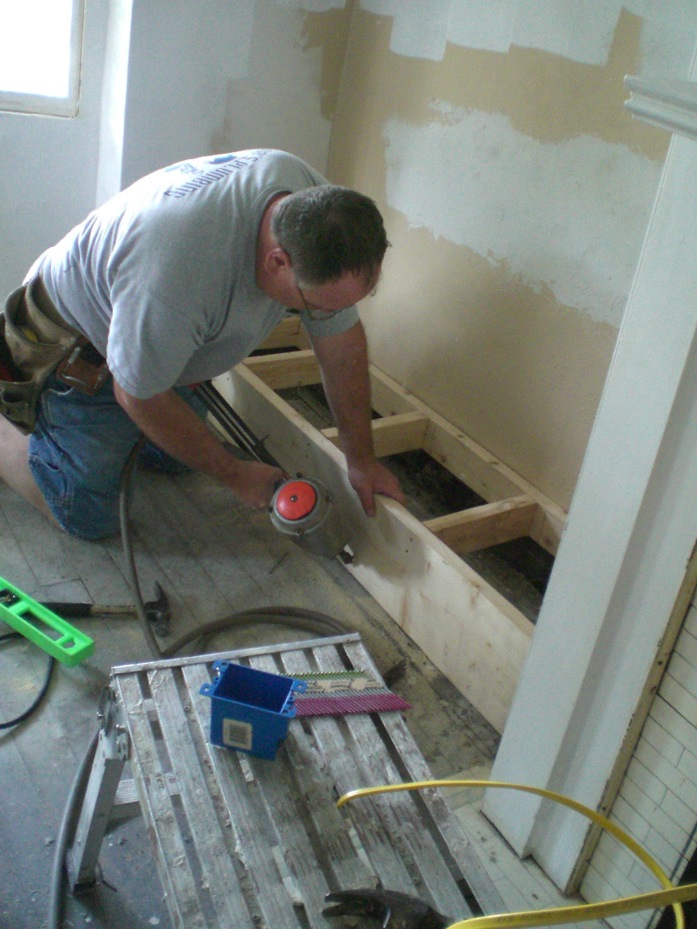
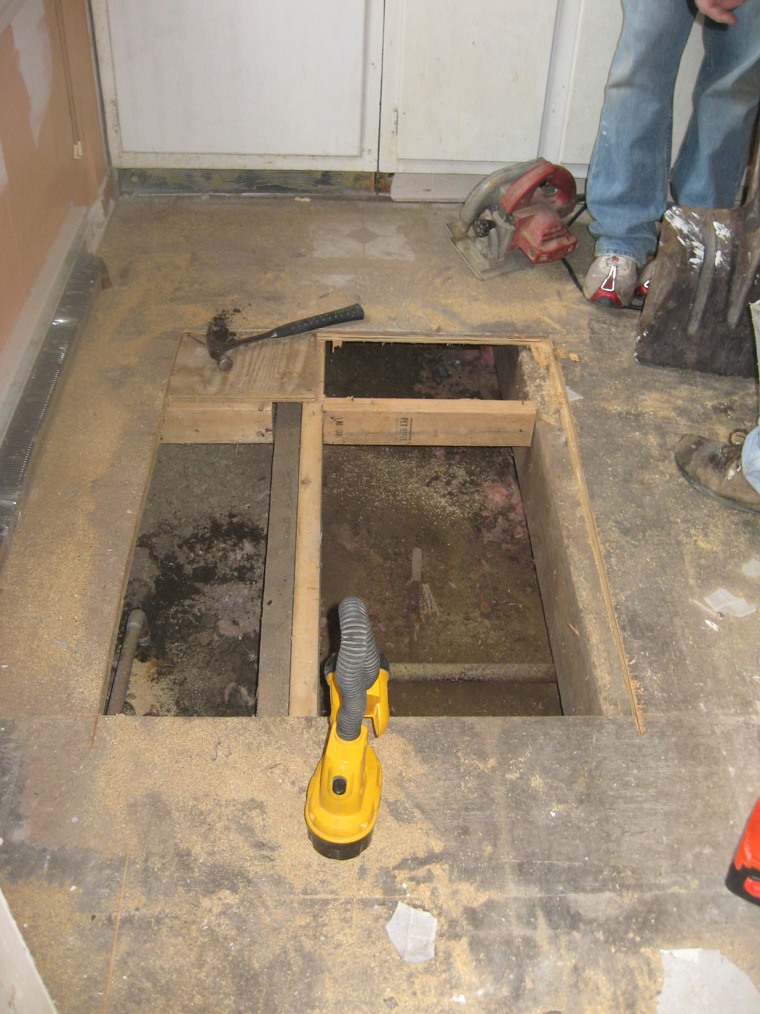
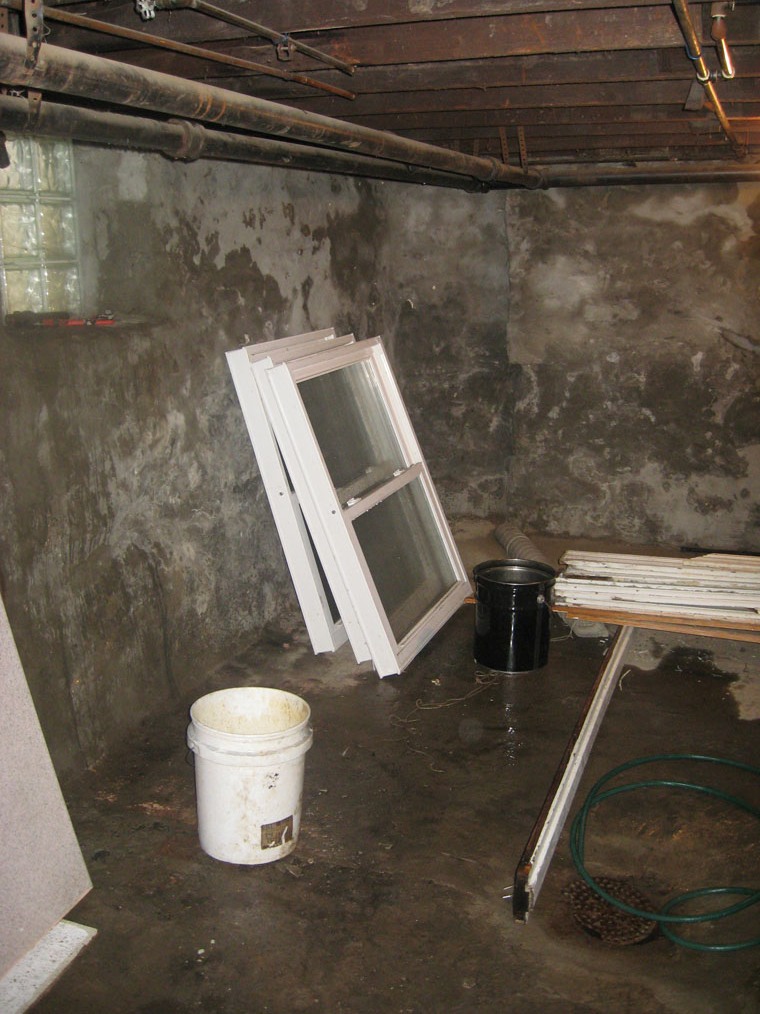
We found a huge leak under the kitchen floor, in the crawlspace, It was too narrow to crawl any farther, so we had to cut the kitchen floor out.
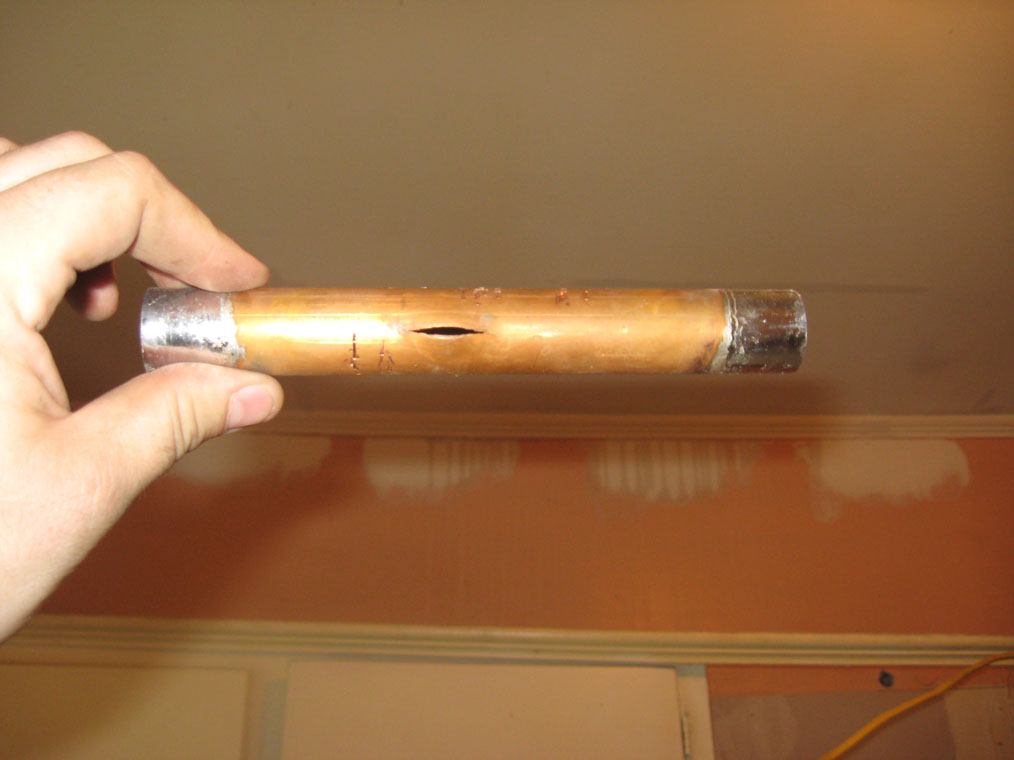
This pipe had blown the soldered joint right out. Why are these not insulated? We’ll have to do that before we close the hole back up.
Leak #2
This pipe was above the kitchen ceiling, found it when dirty water (shown in background) began cascading down the kitchen wall.
Leak #3
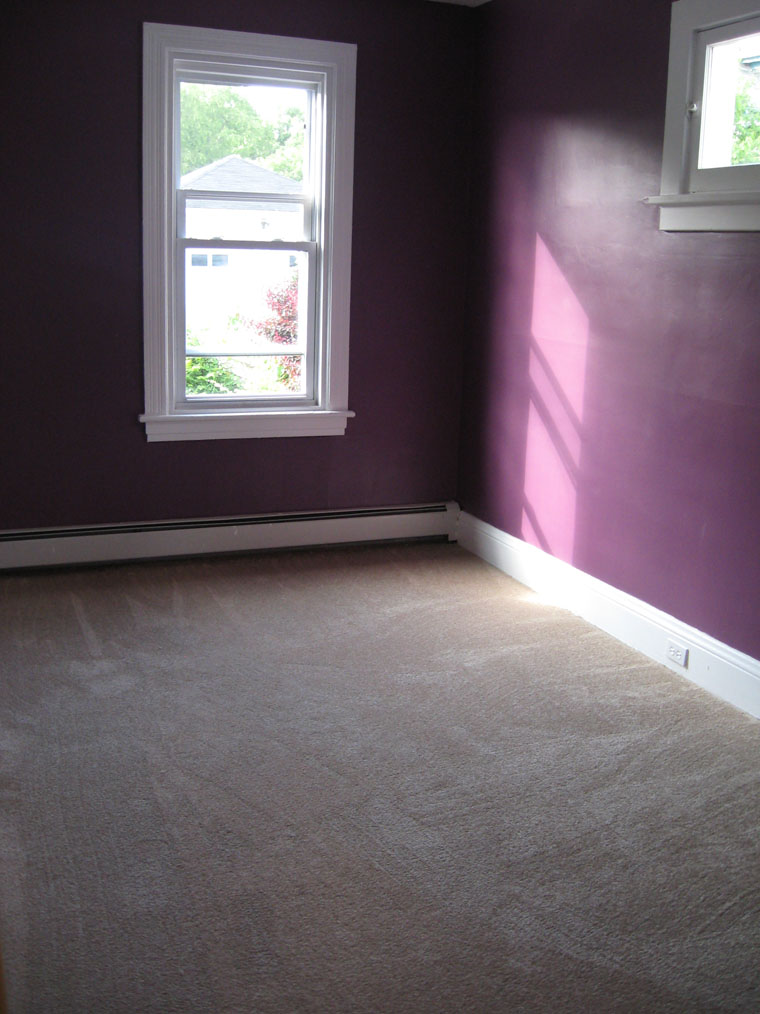
This leak was in the floor of the purple room, spraying more water into the kitchen ceiling and that bedroom floor.
At this point I also learned that the old natural gas line framework in the house was electrified. I got a pretty good arc from touching the gas line and the water lines with a screwdriver shaft.
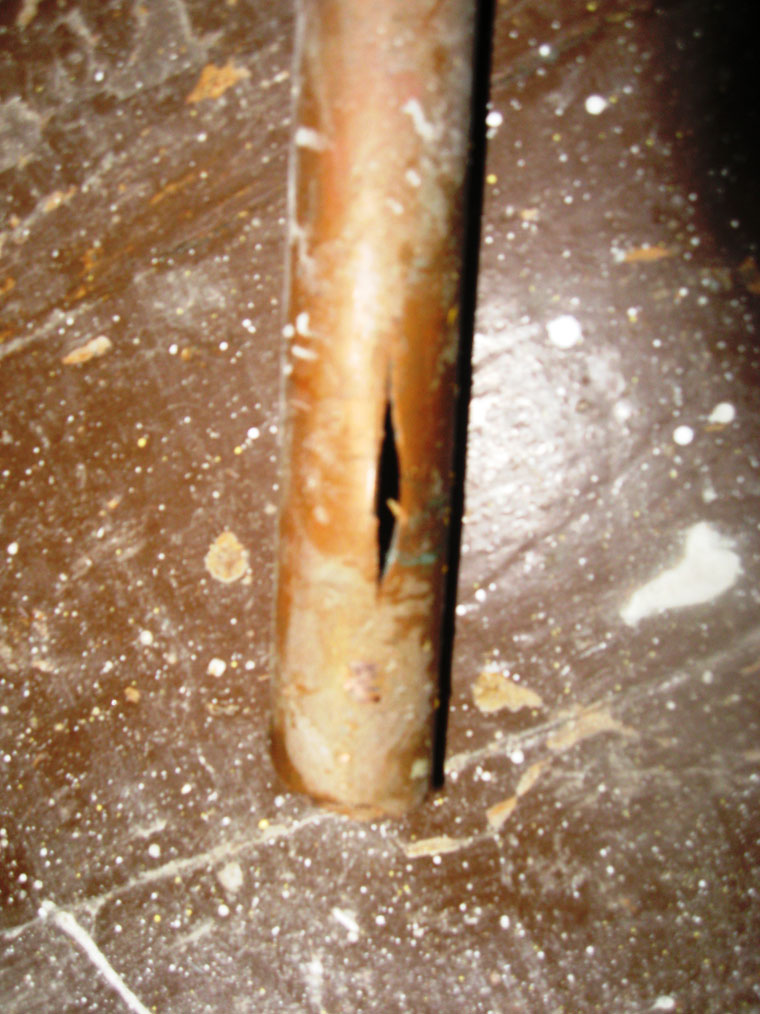
Leak #4
This was the heater in the guest room, it was nice enough to break above the floor in this section.
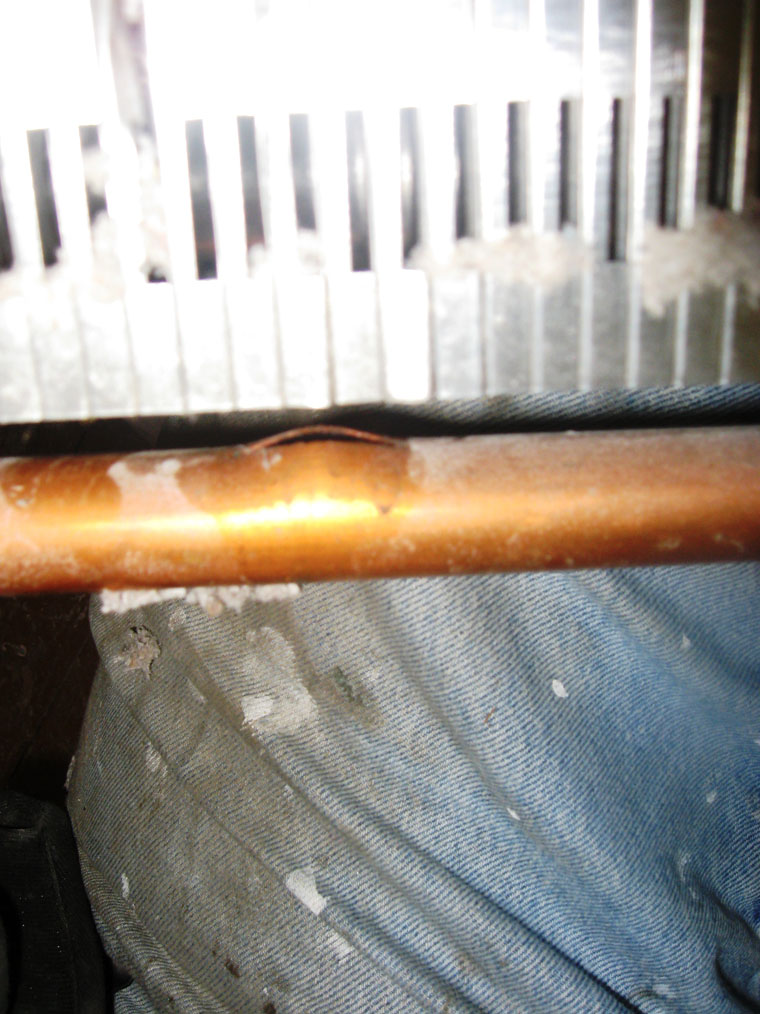
Leak #5
Same heater different section of pipe.
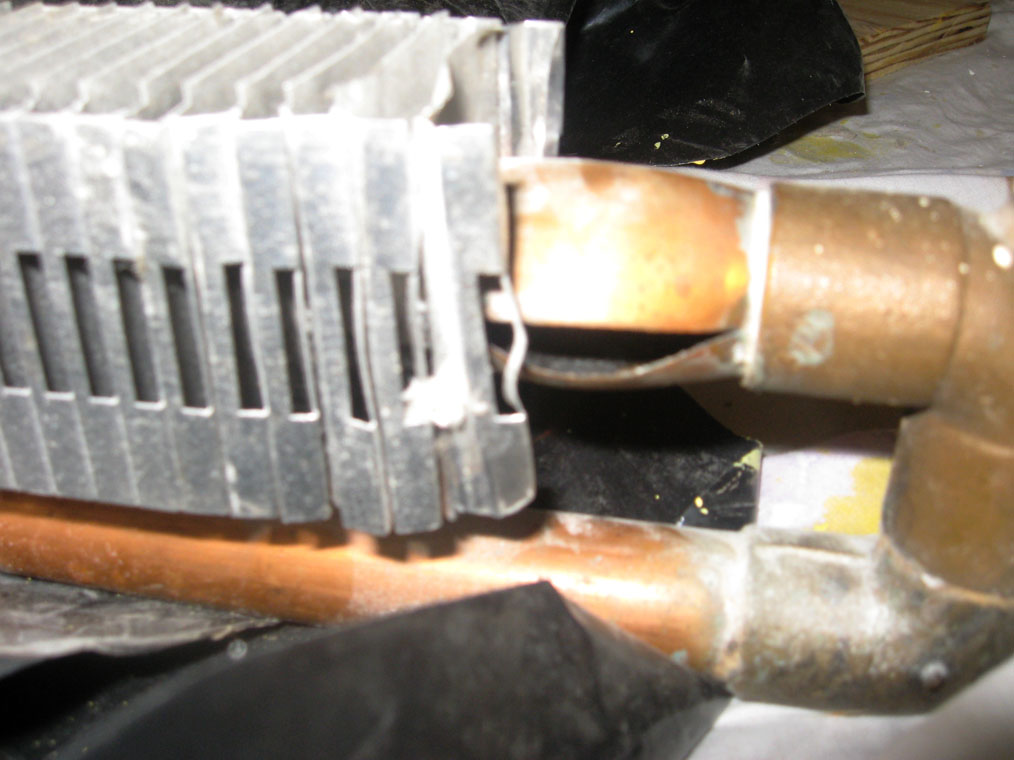
Leak #6
Here’s another under the floor of the guest room.
Leak #7
So much for saving the hardwood.
Every time we found a leak the system had to be quickly purged of its pressure so it didn’t ruin the house. We had to pull the plugs out of this 1.5 inch pipe in the basement. Ron and I got pretty wet.
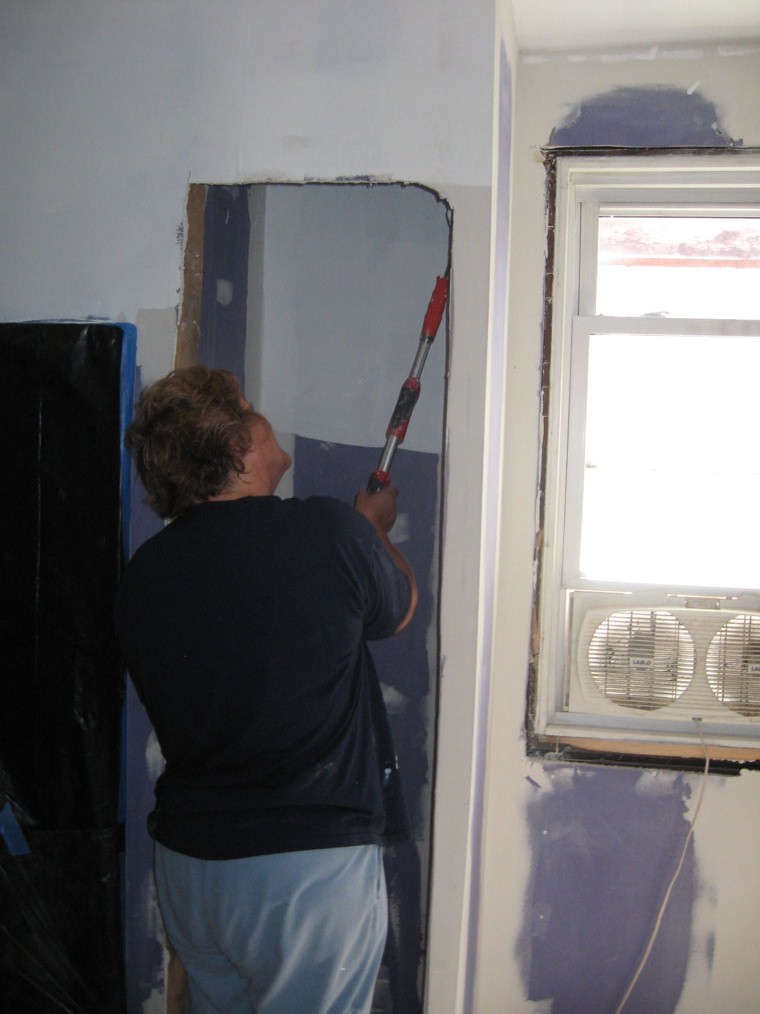
Not everything was doom and gloom though, here’s Miranda helping to prep these walls for primer, in the master bedroom.
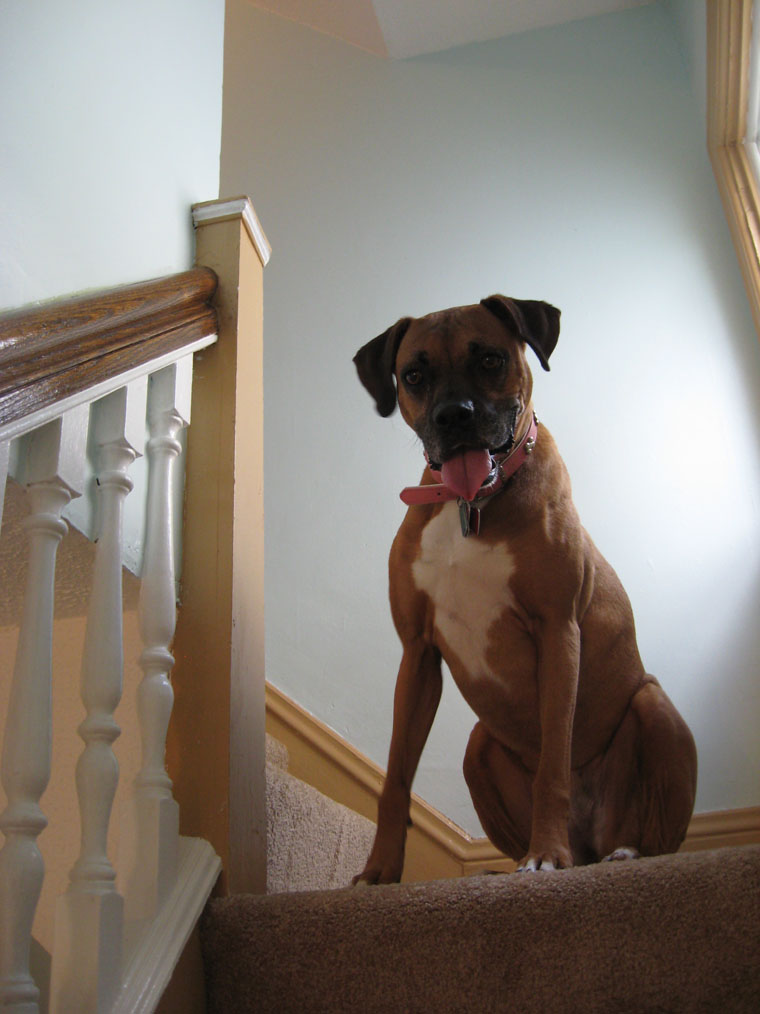
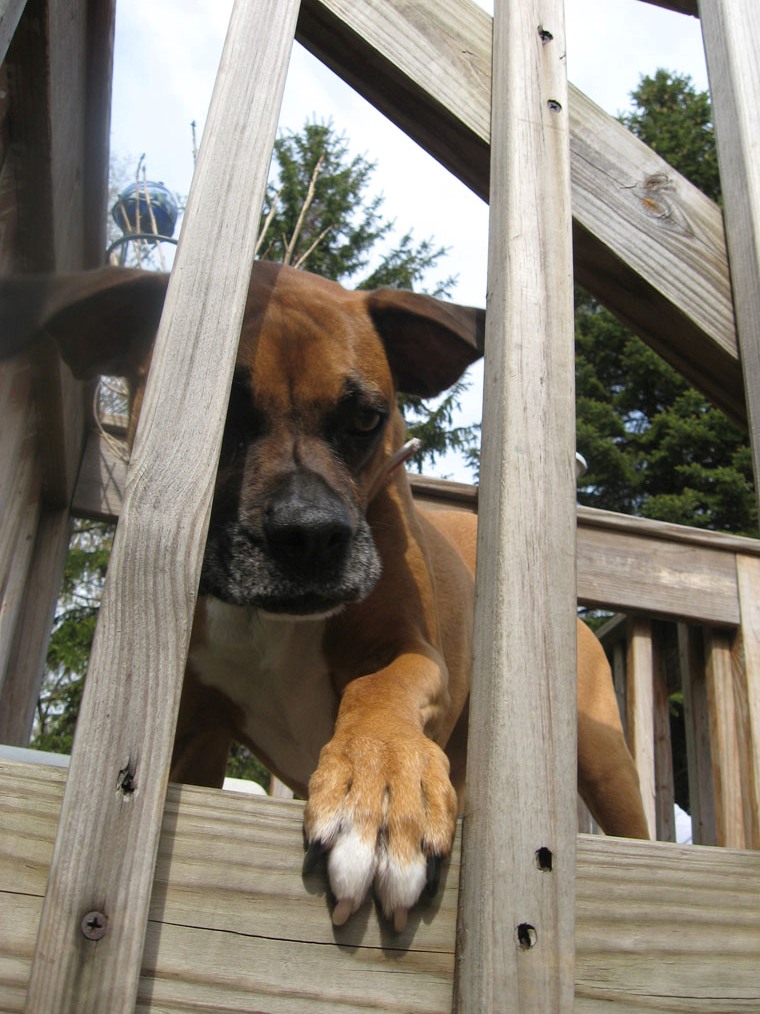
Since I have a staggering lack of pictures this week from the busy-ness and the chaos, here’s a picture of shadow escaping from the deck, she figured out how to open the latched gate.
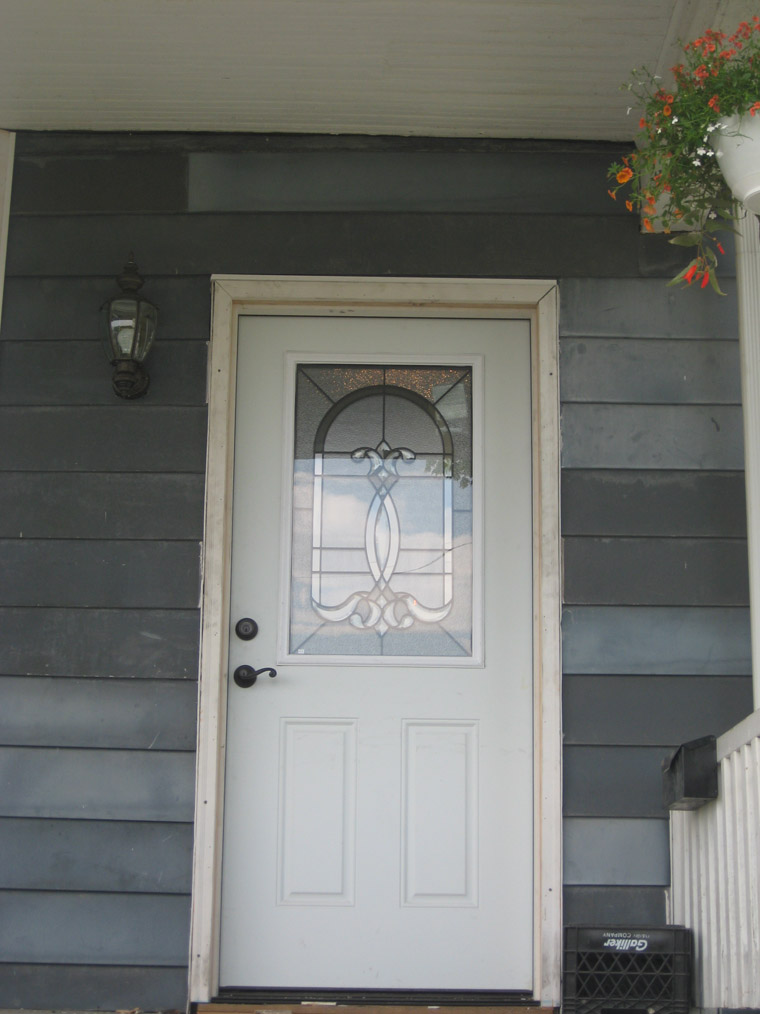
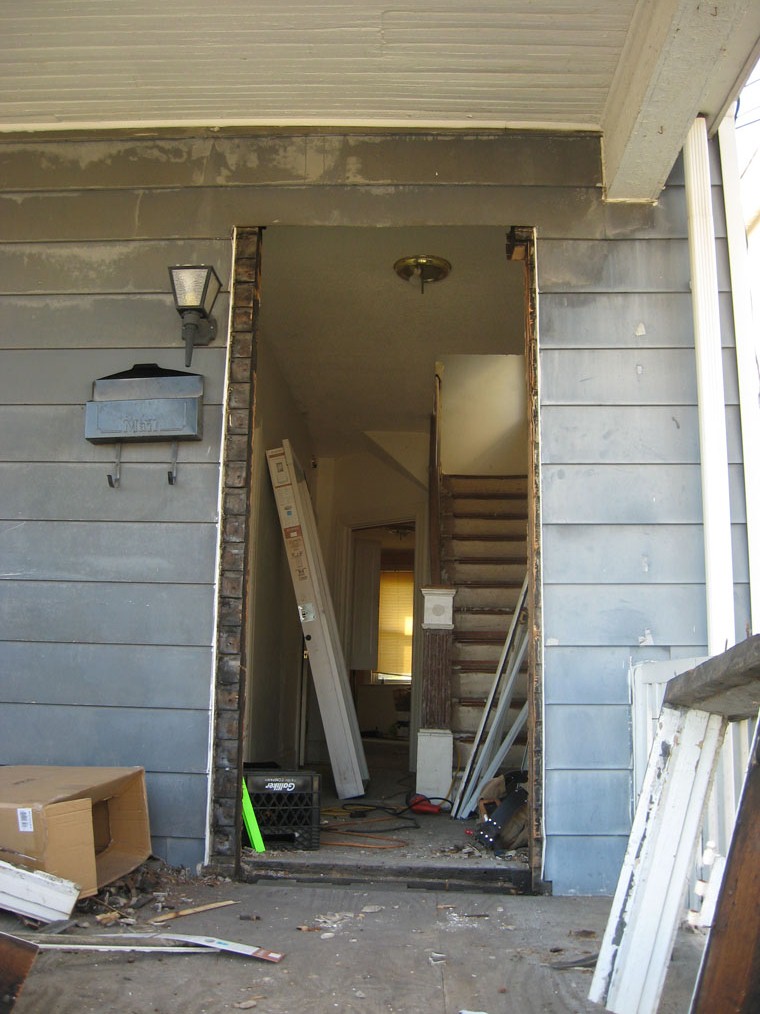
This week was pretty busy, We got a new front door, a screen door, found the tiles we need for the bathroom, moved more kitchen cabinets, fixed more walls, and threw some more paint.
I came home from work to start an evening’s project, and noticed this giant hole in the house.
Ron got started early and picked up the door and tore the old one out
We had to widen the hole as the old door was only a 32 inch door, this one is 36 inch to meet code.
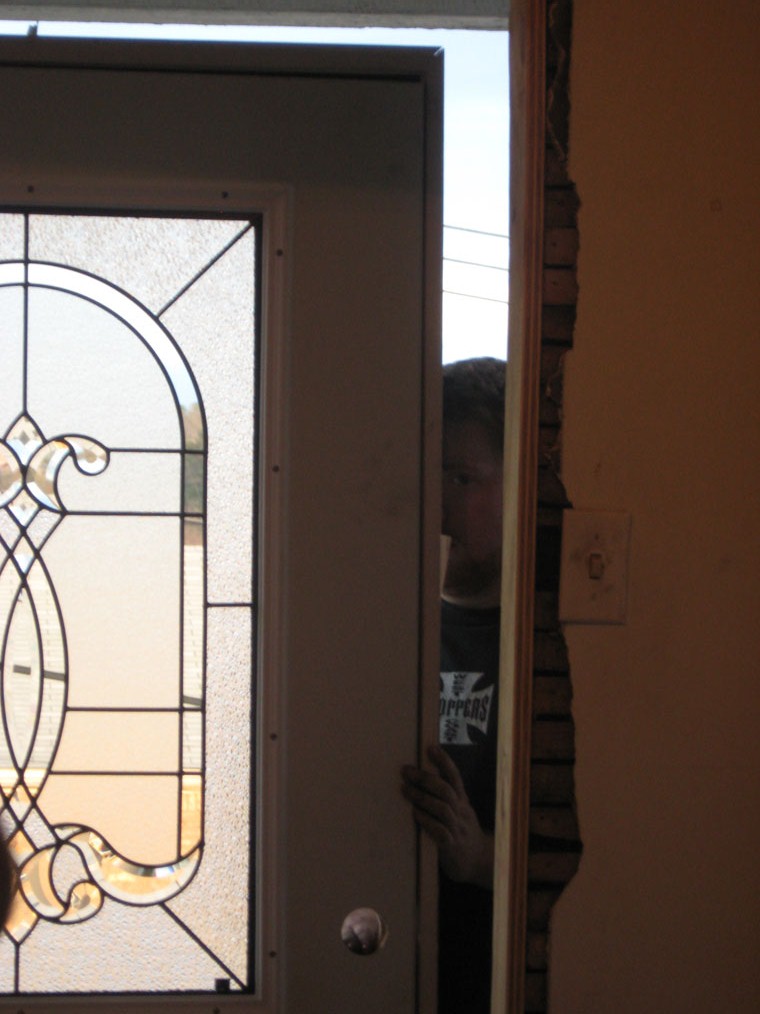
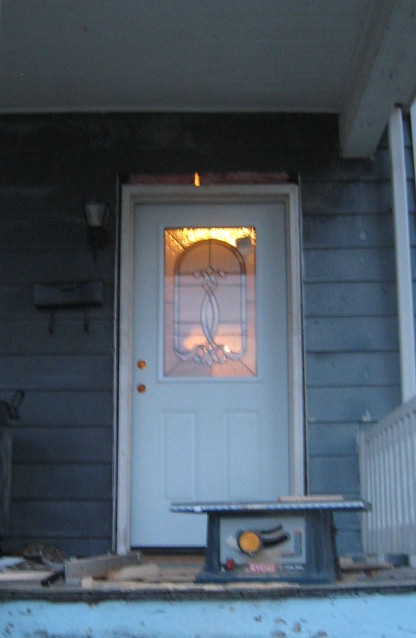
It’s in, but still needs some trim work.
Here is a little bit of detail on the glass.
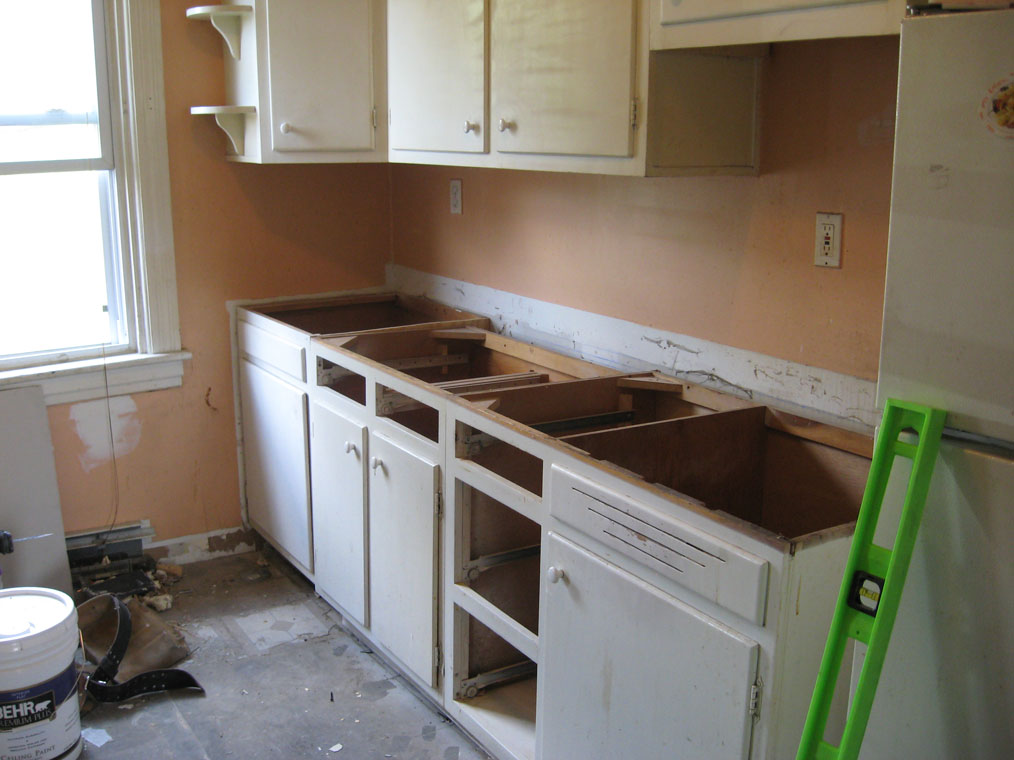
Ron built a few cabinets out of salvaged ones for this side of the kitchen.
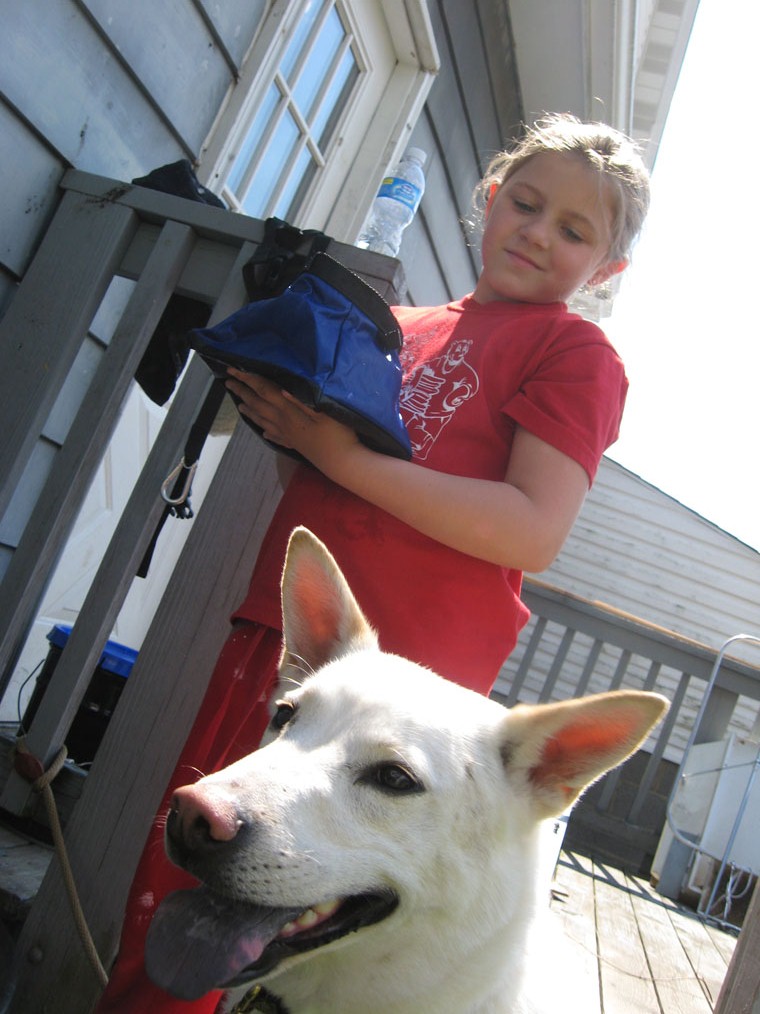
Ella and Scooby Doo came to visit today!
“Zoinks Scoob! It’s pretty hot, you should stay on the porch where it’s shady!”
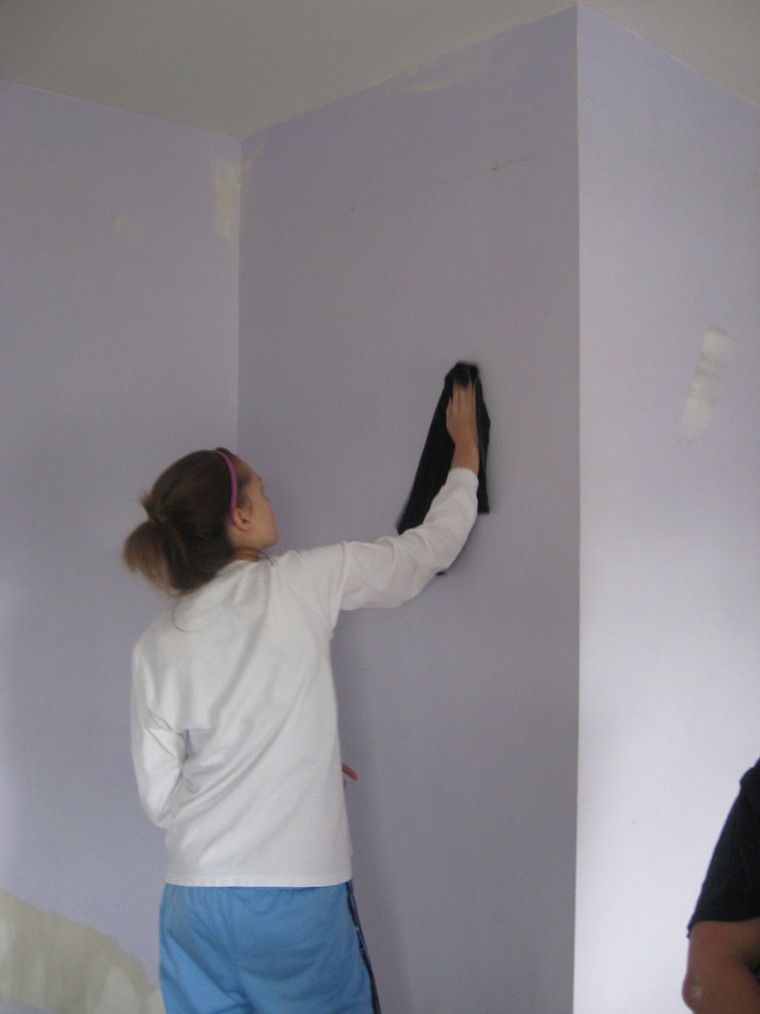
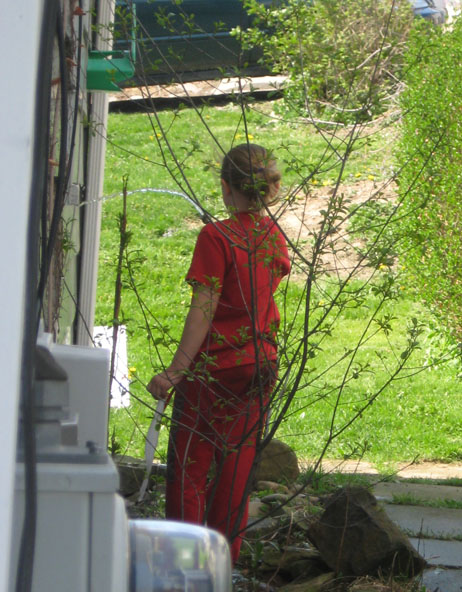
Ella helped by washing a small section of the side of the house, for like 40 minutes.
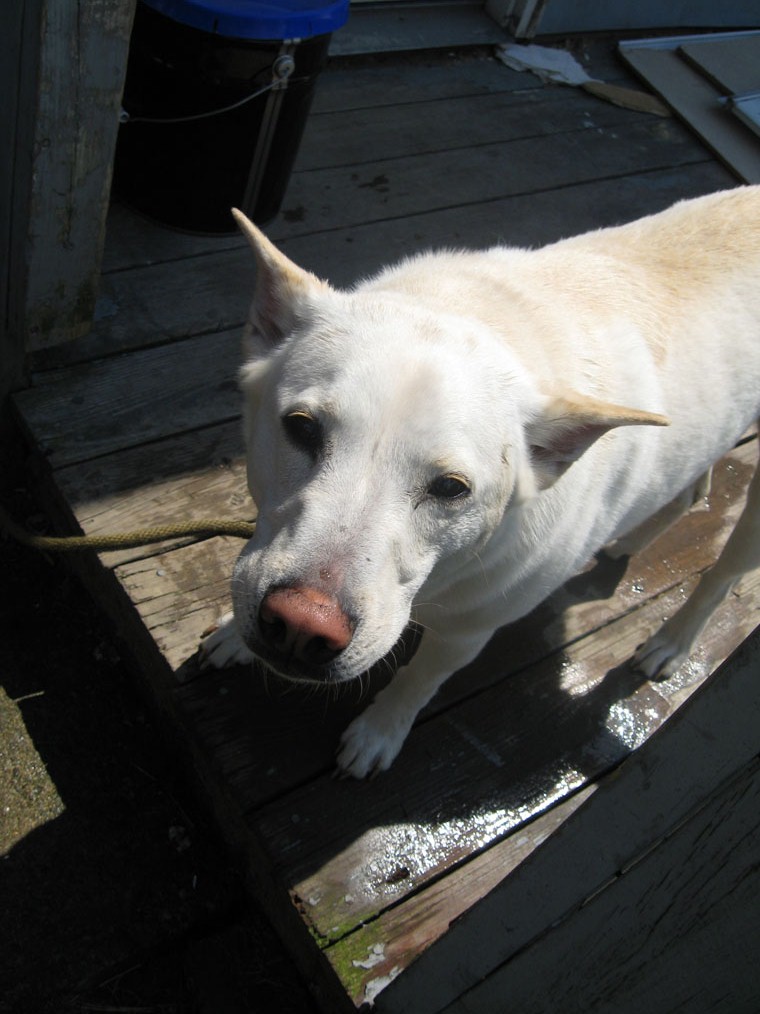
Scooby is a very white dog, to be in such a dirty project.
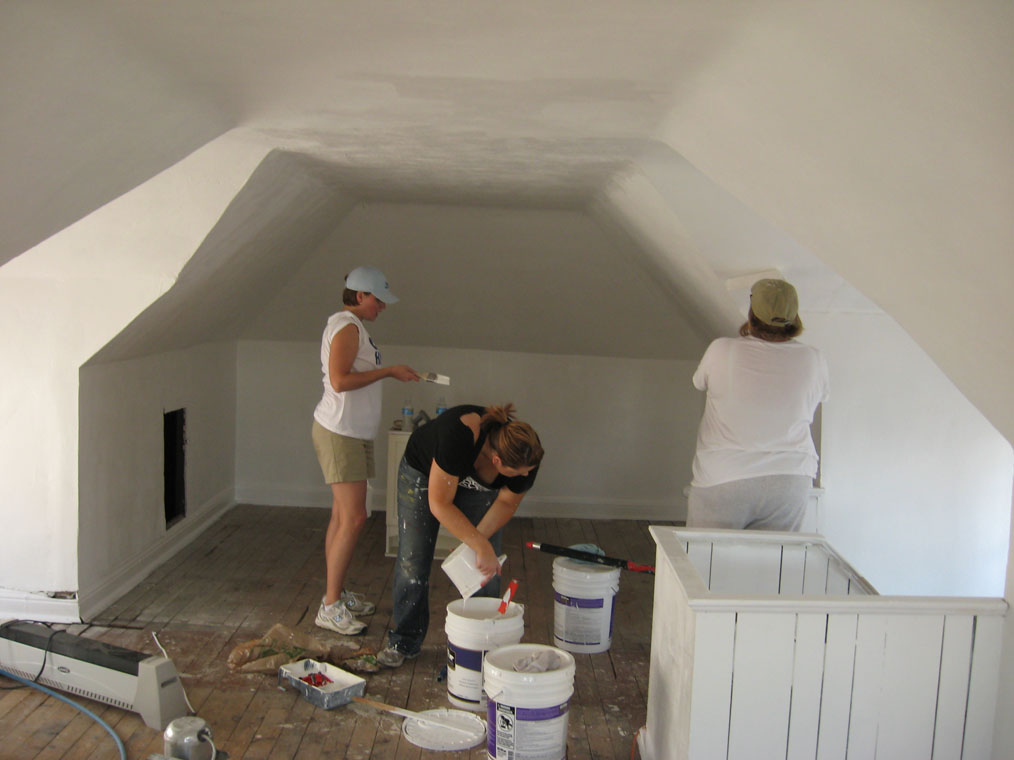
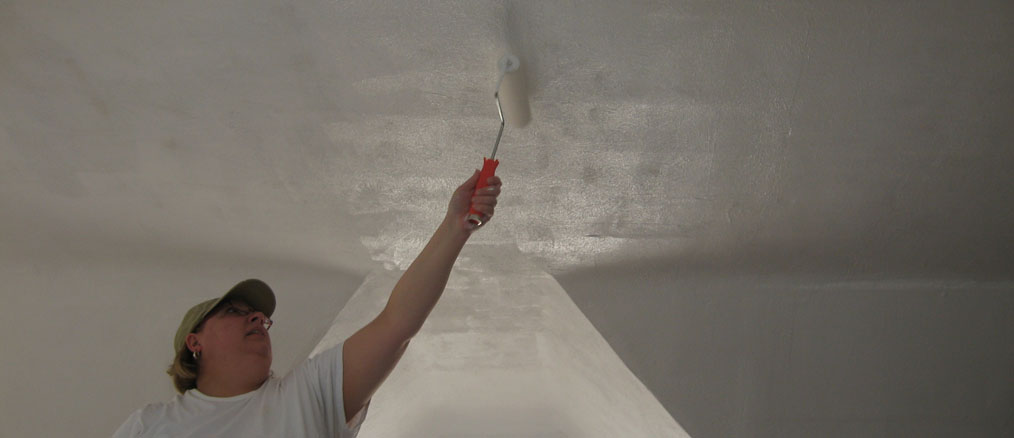
I managed to finish priming the rest of the 3rd floor, so these fine ladies could toss on a layer of ultra white paint.
Sandy rolls paint on the ceiling of the third floor.
Hey! The third floor is white now!
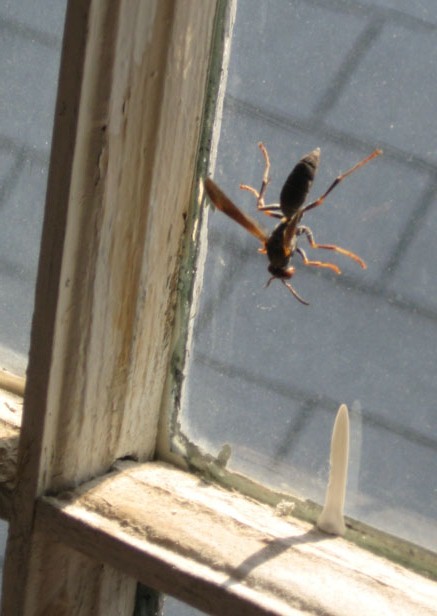
A visitor came to check out the paint, but he was a troublemaker and was escorted out by security.
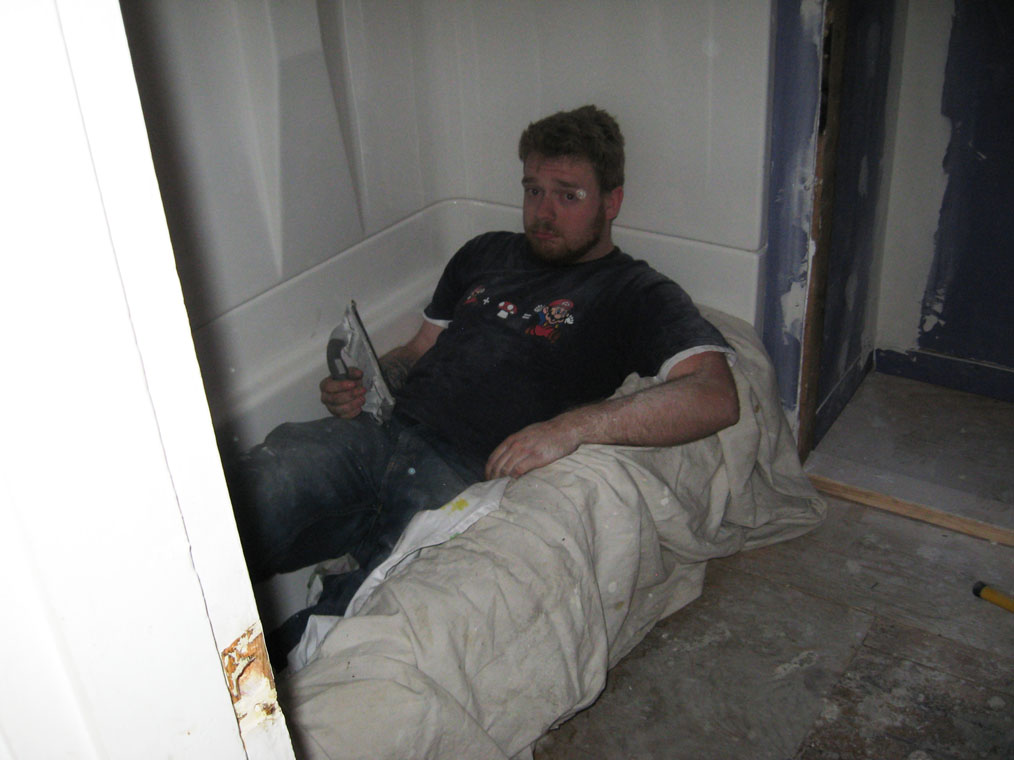
Time for a break, this is hard work.
Karin primed the bathroom today
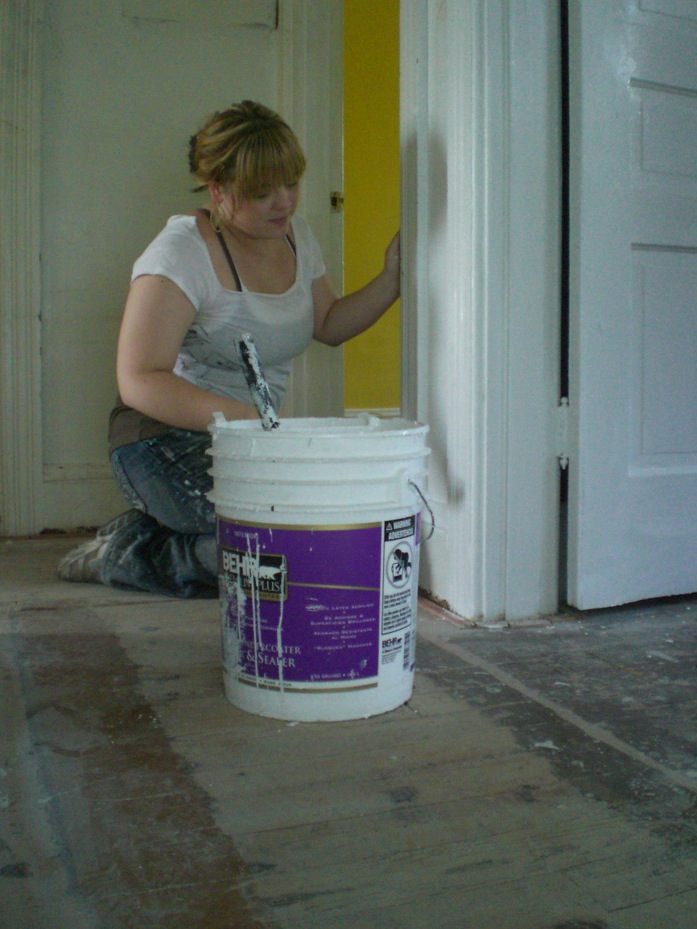
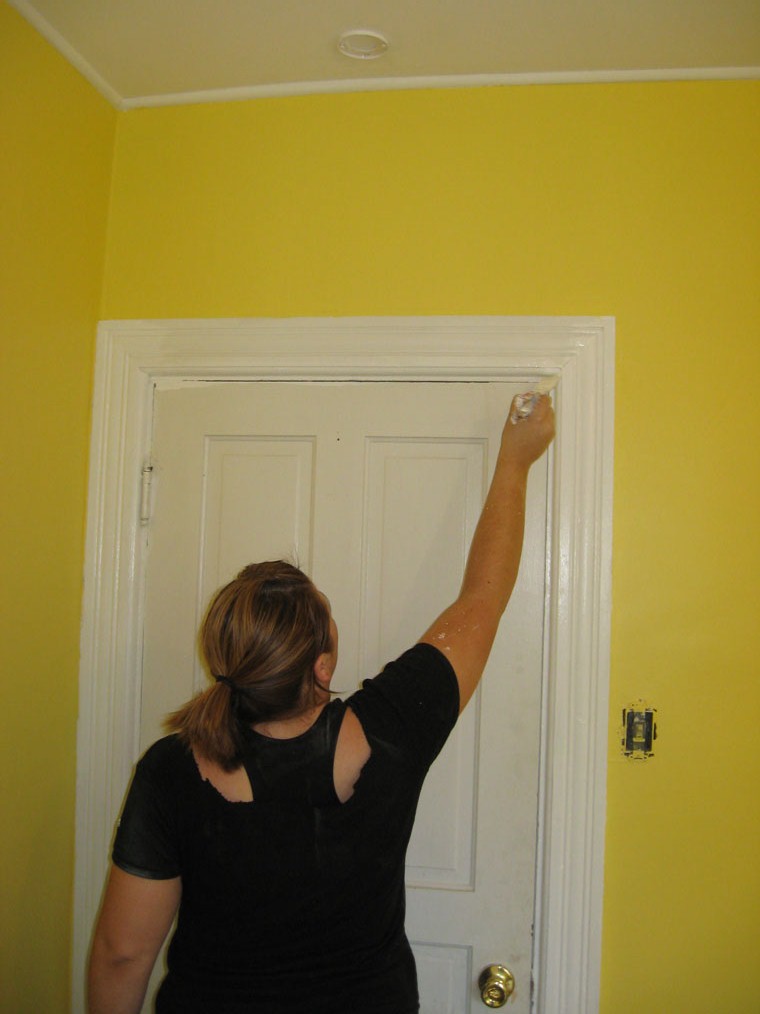
Jessie paints the trim around the door
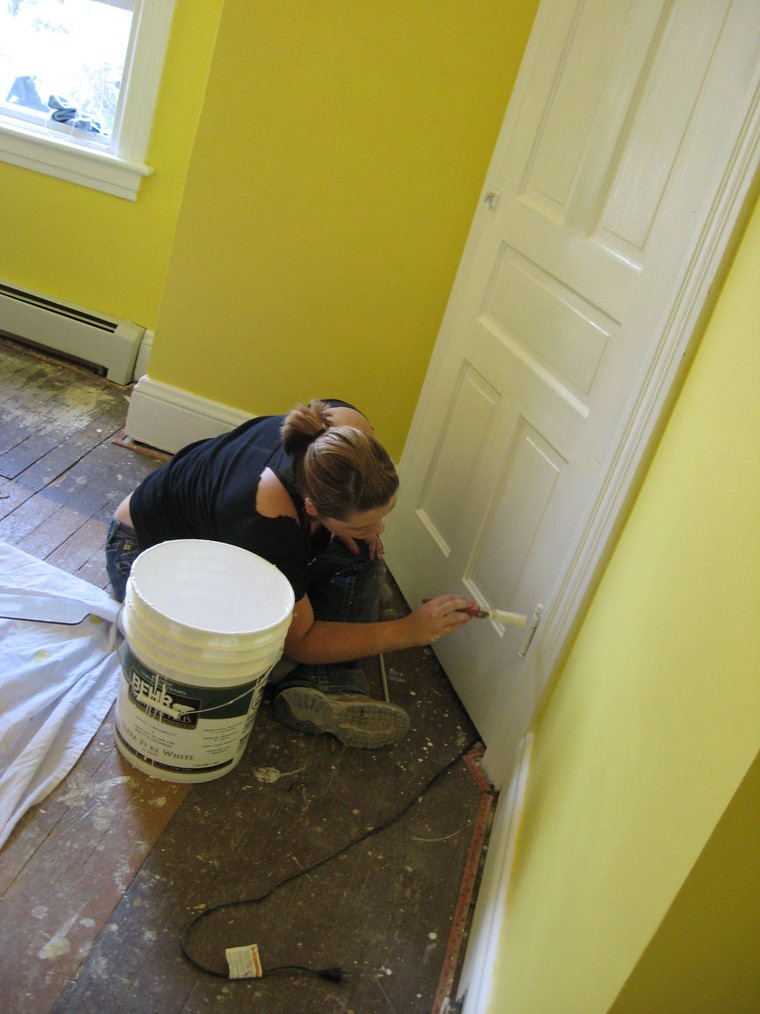
…and the closet door…
Who dripped white paint on the yellow wall???
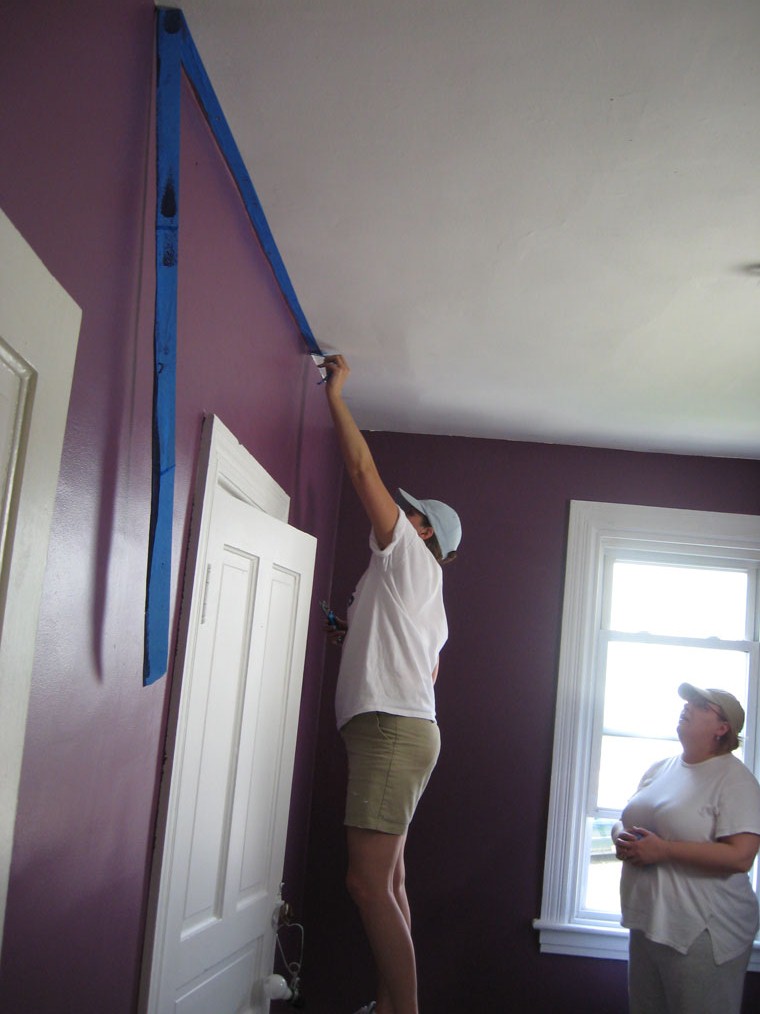
Amy and Sandy removed the masking after they finished the final coat on the purple room.
Sandy collected all the tape so we could reuse it as a fun game.