5holes

Holes.

The weekend of holes.

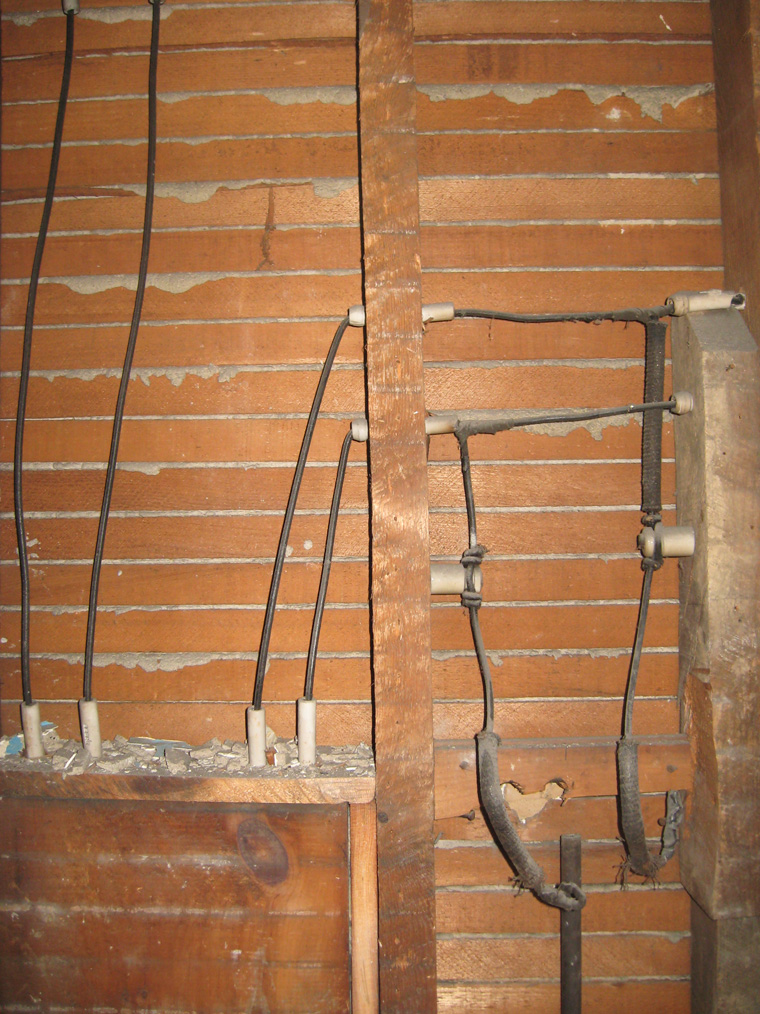
We did wiring and plumbing. There are several areas with giant holes in the floors and walls. The plumber came and started to add new drains and supply lines for the bathroom on the 2nd floor.

1dininghole

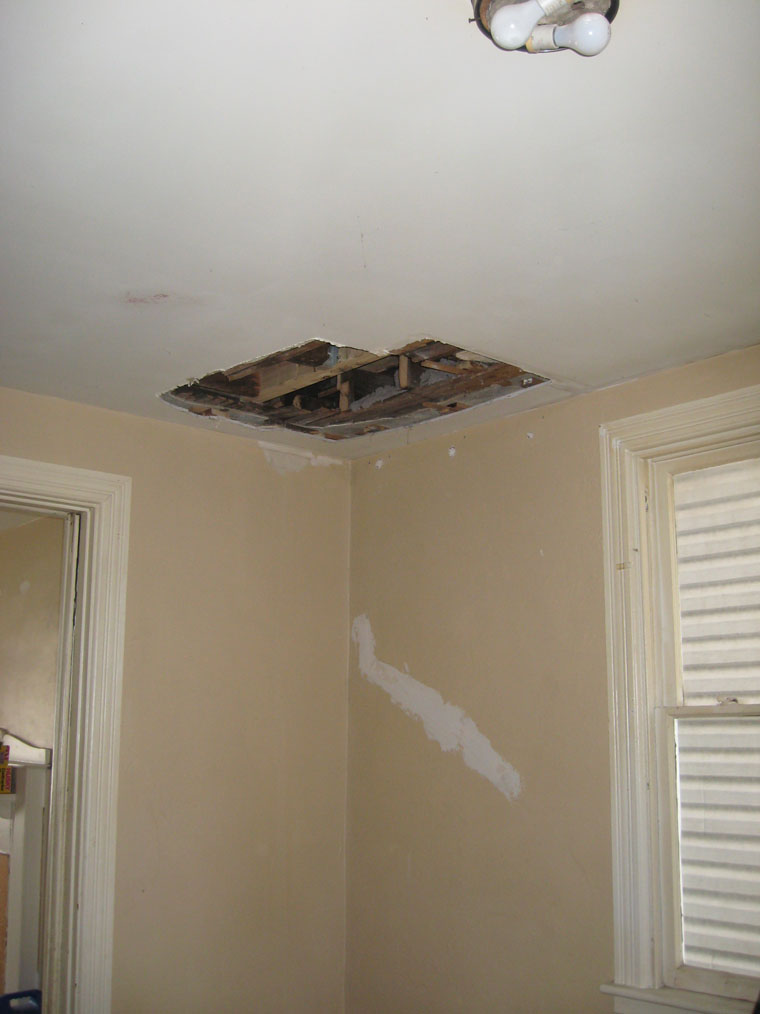
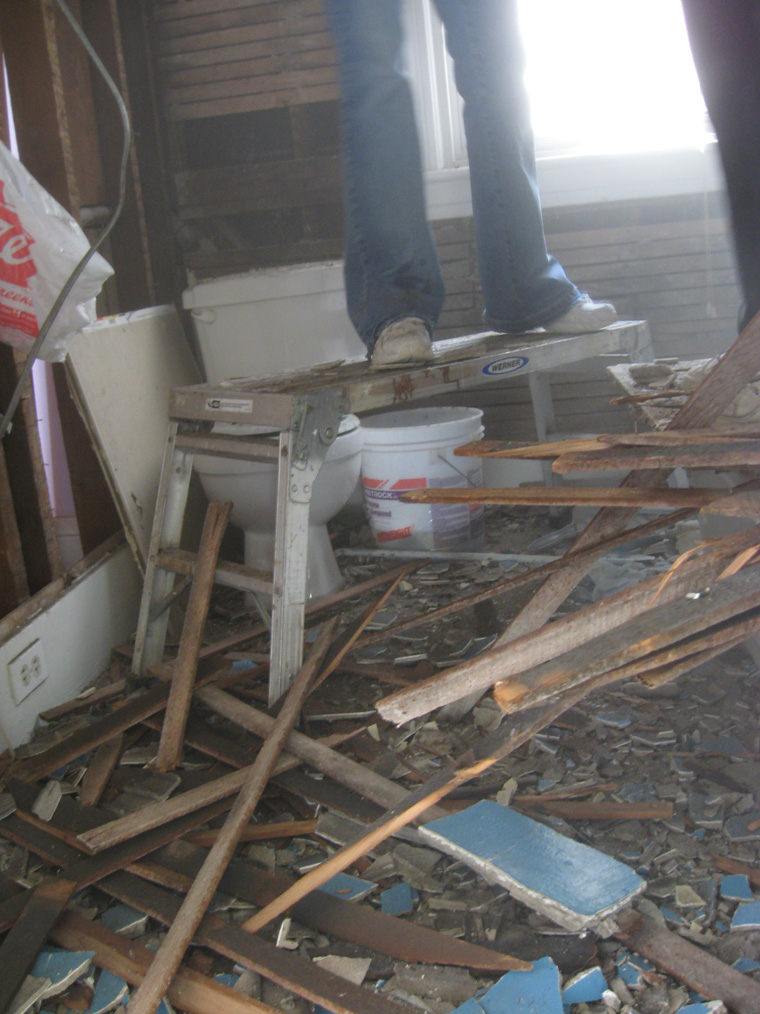
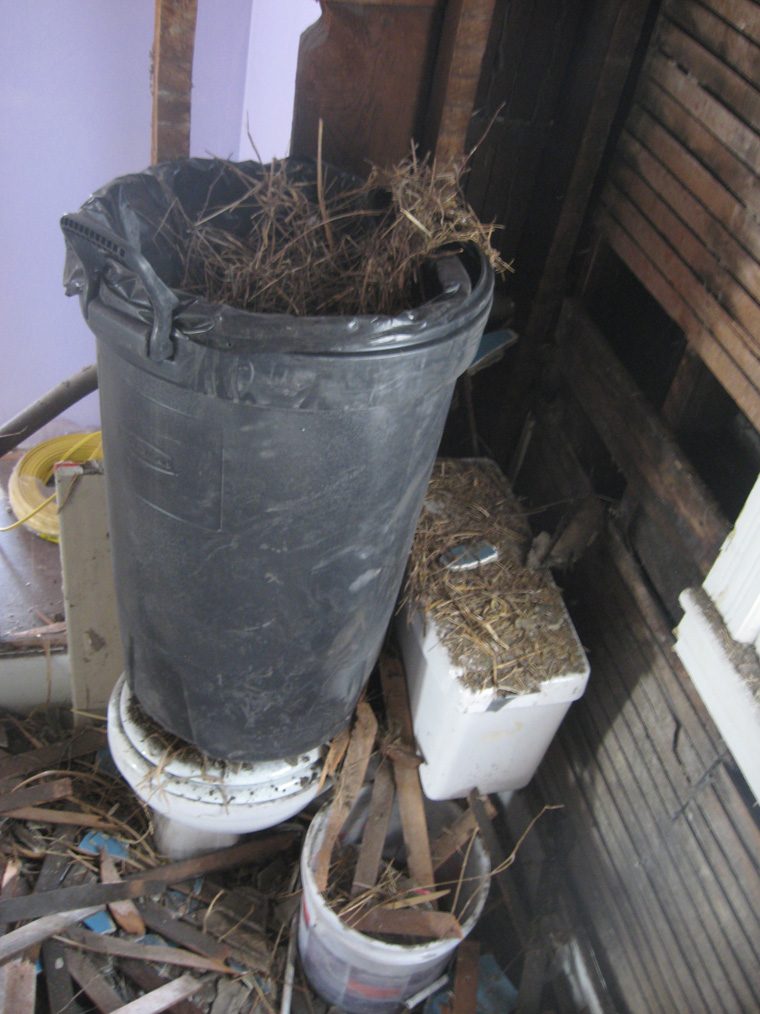
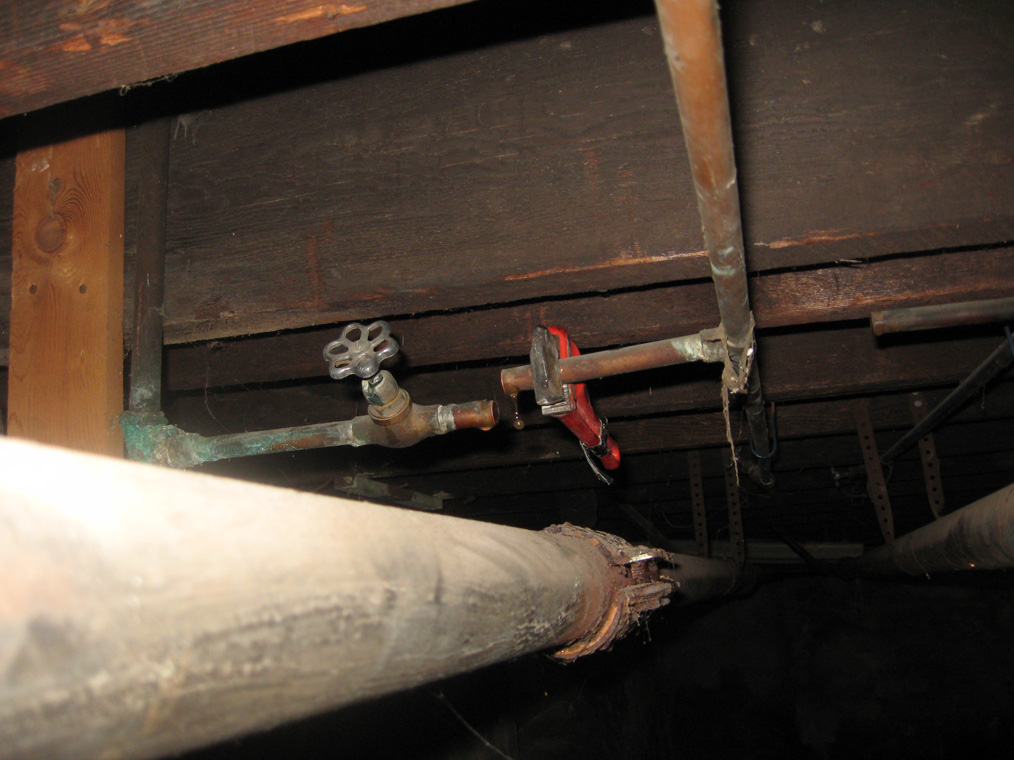
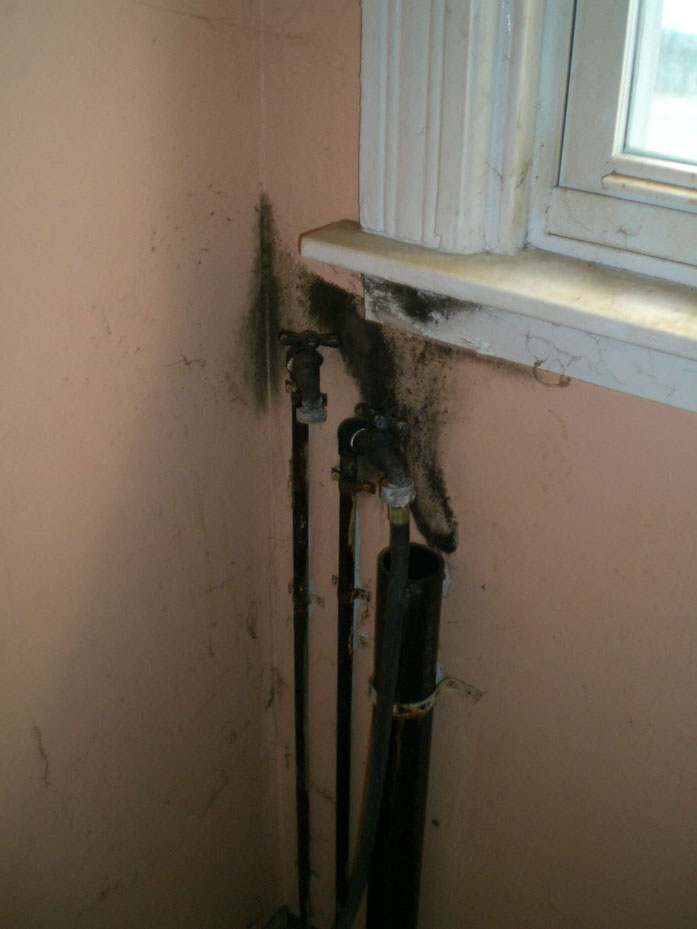
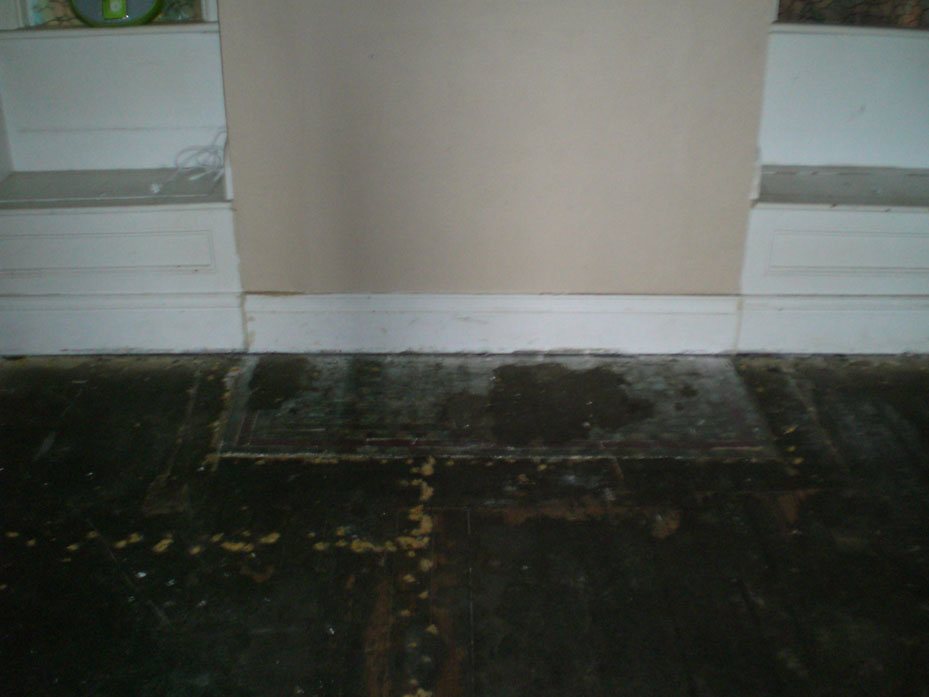
This hole is directly below the bathroom. A leaky box trap caused the ceiling to be wet and basically destroyed it.

1fromdining

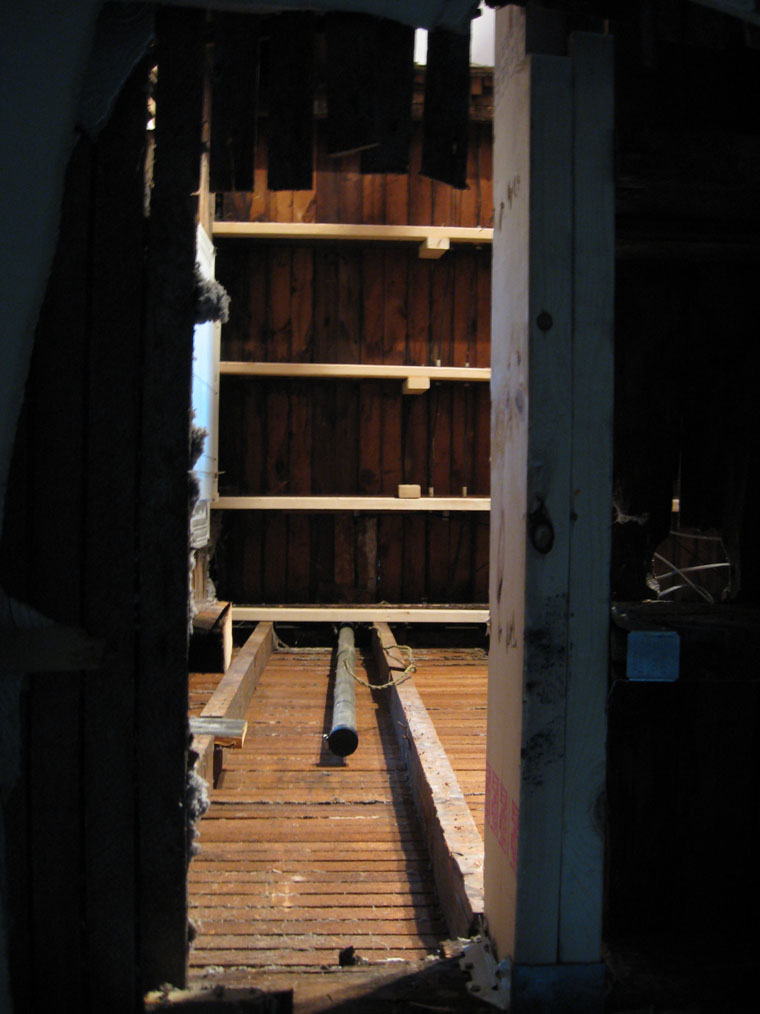
Looking up from the dining room, you’re seeing where the toilet will be. Protect your eyes.

1nicheripped

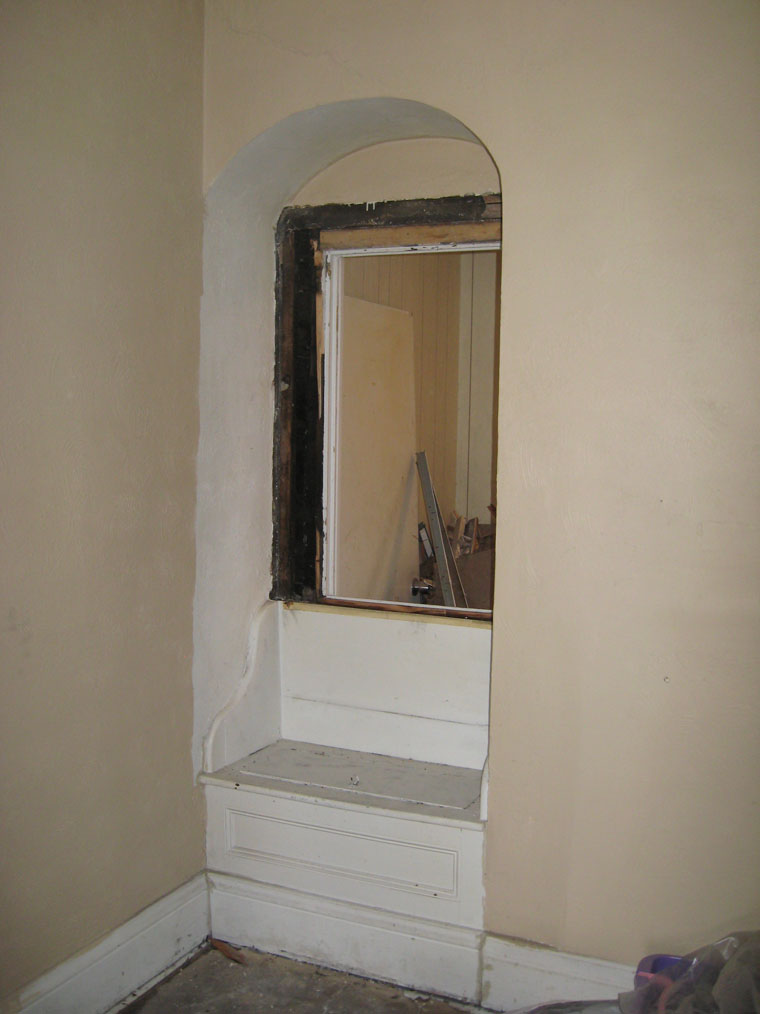
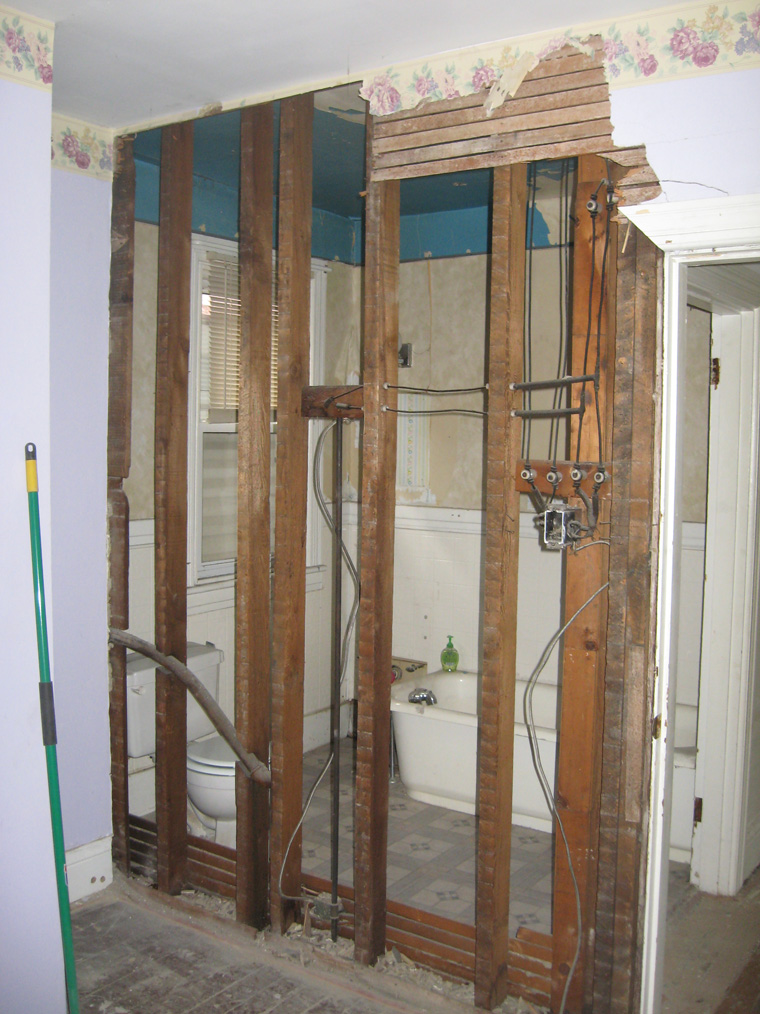
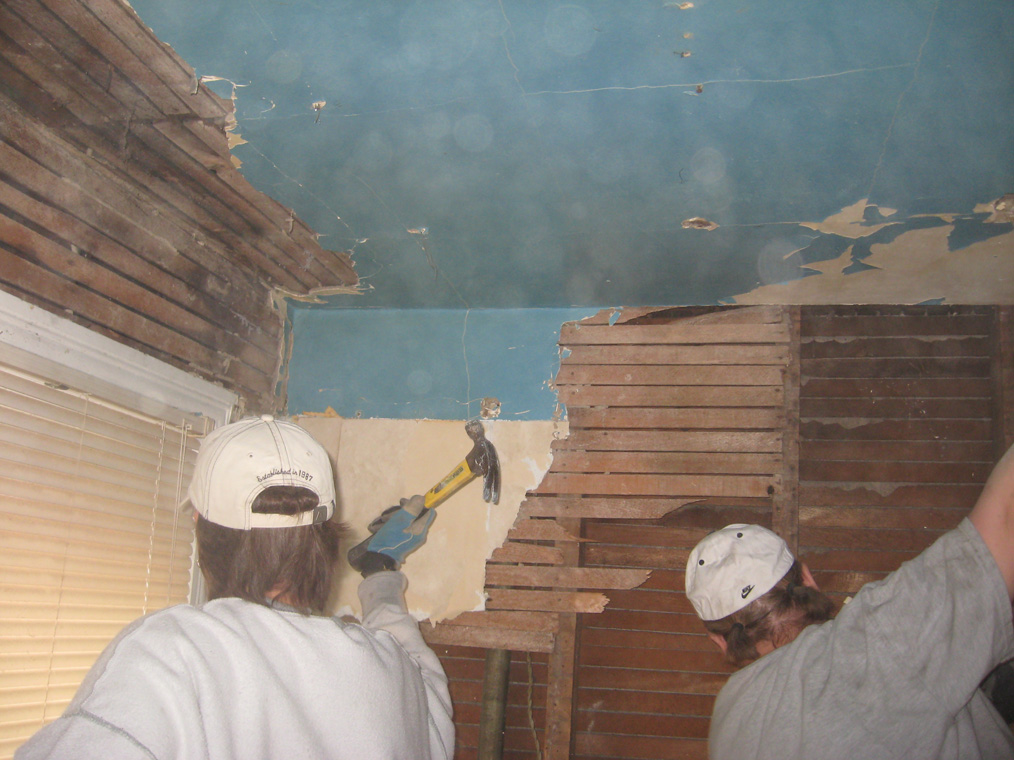
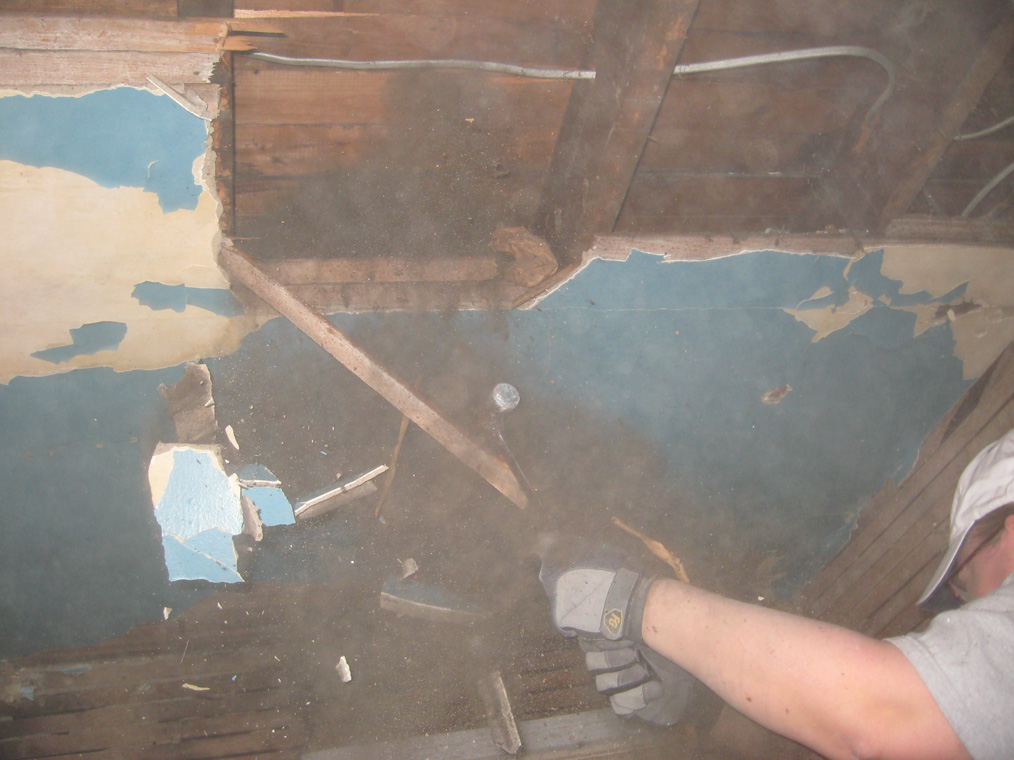
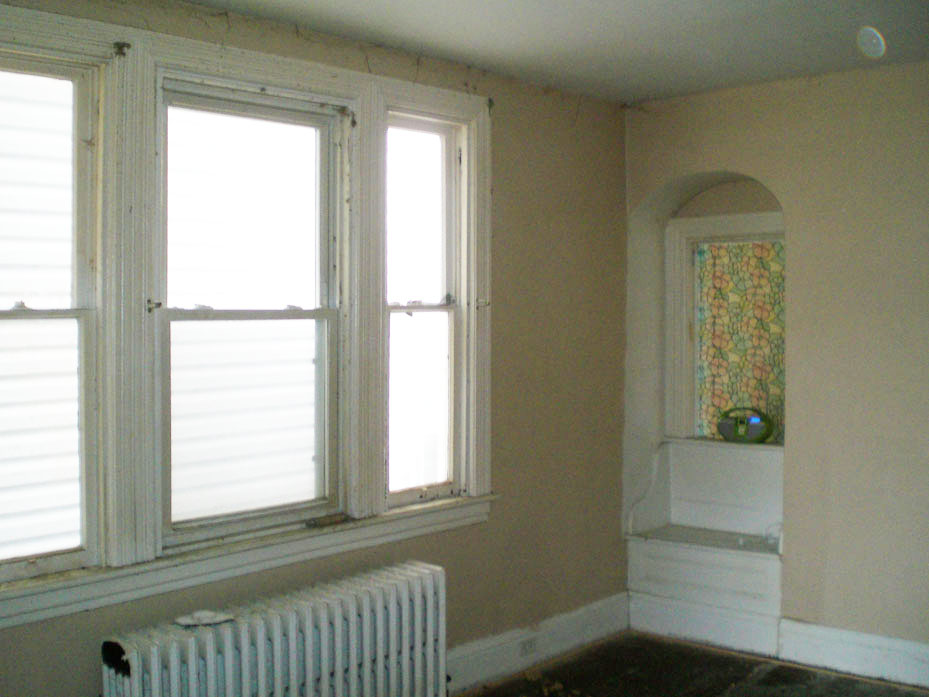
The fake stained glass windows have been removed, soon this will be framed in and drywalled.

1livinghole

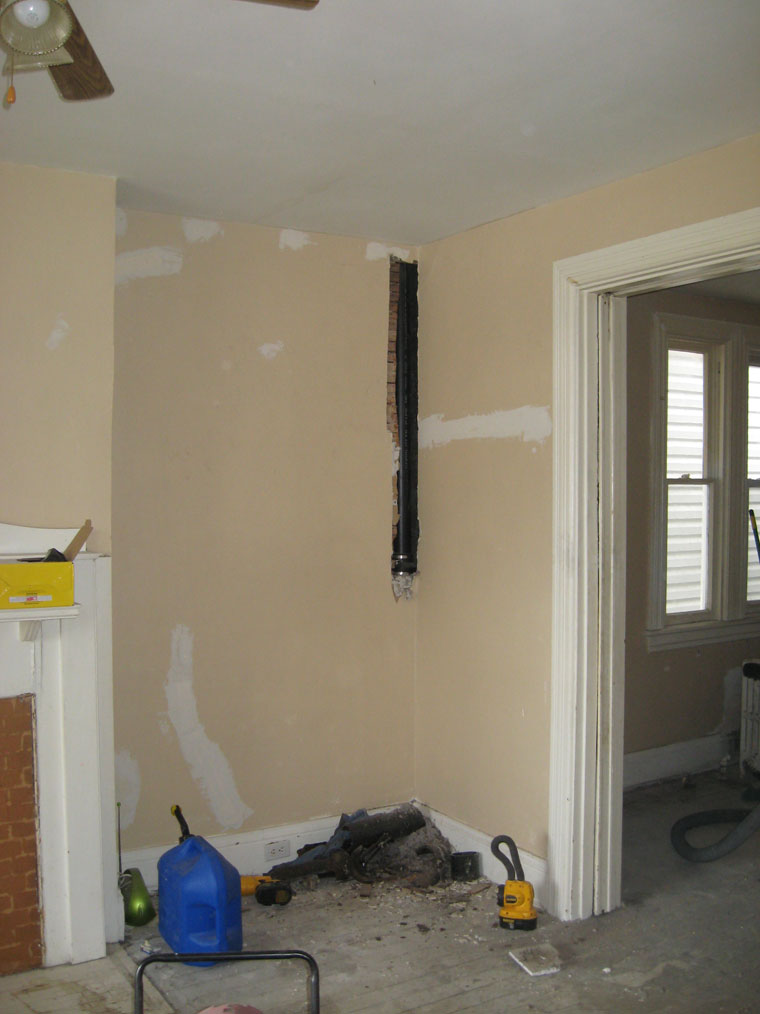
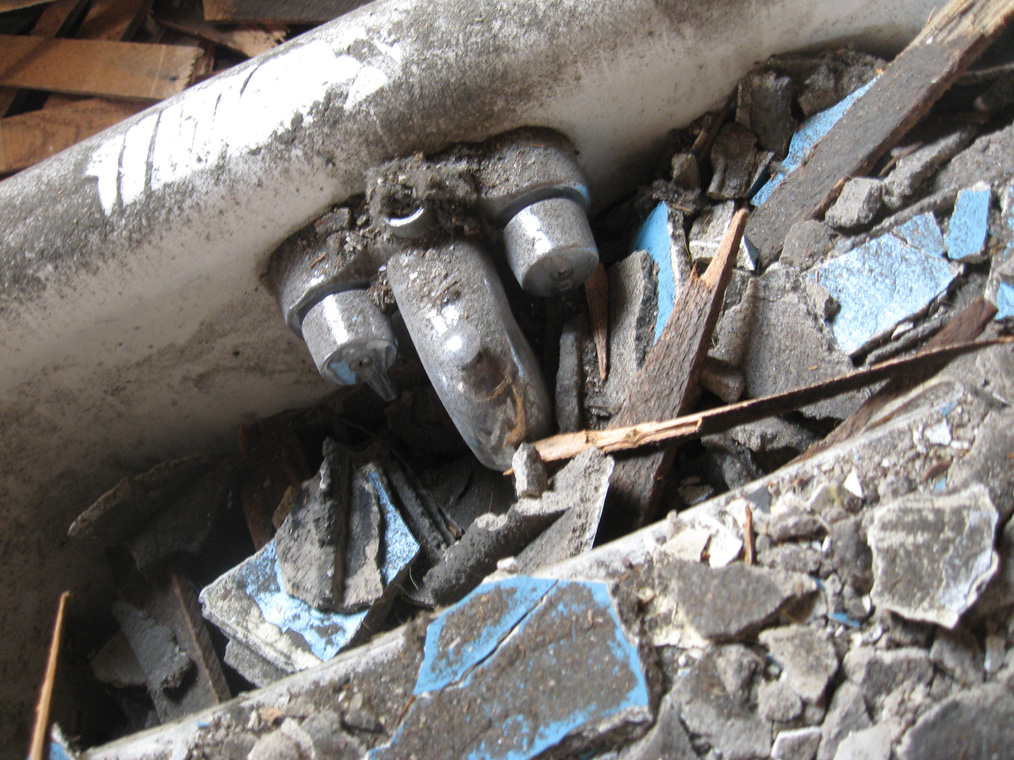
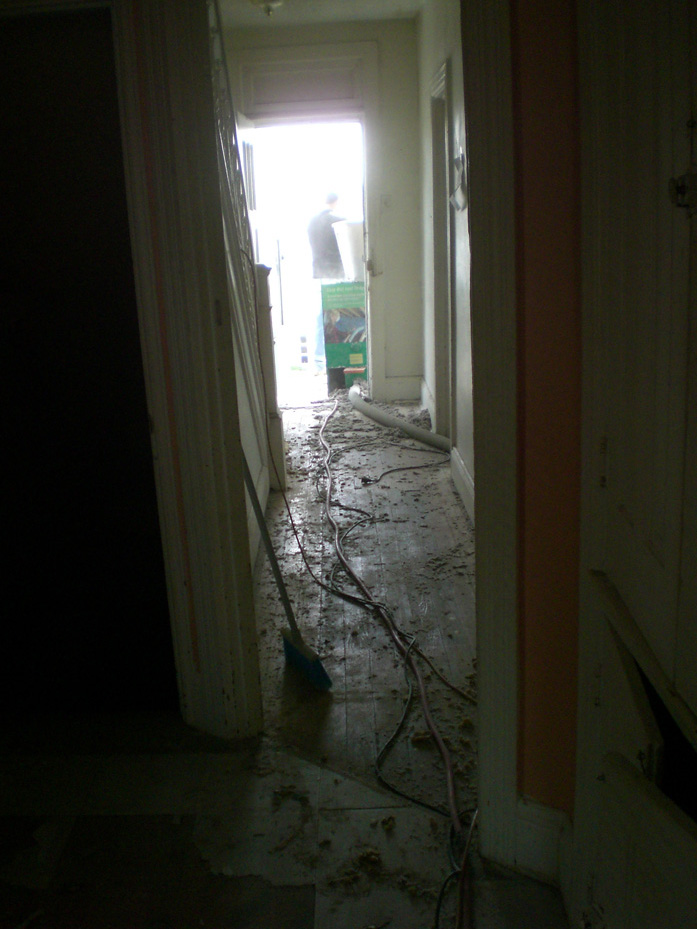
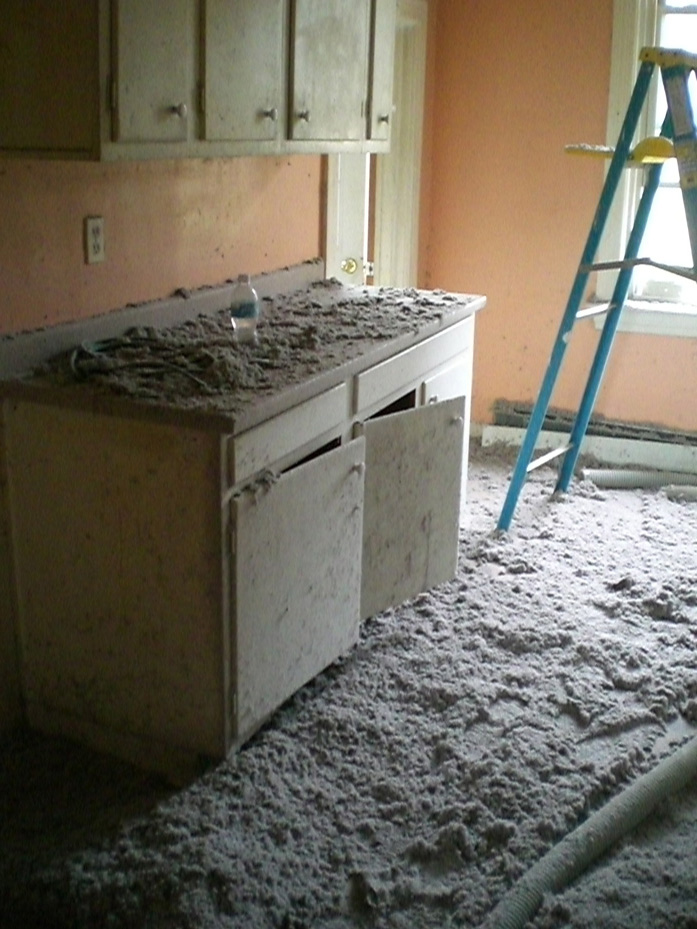
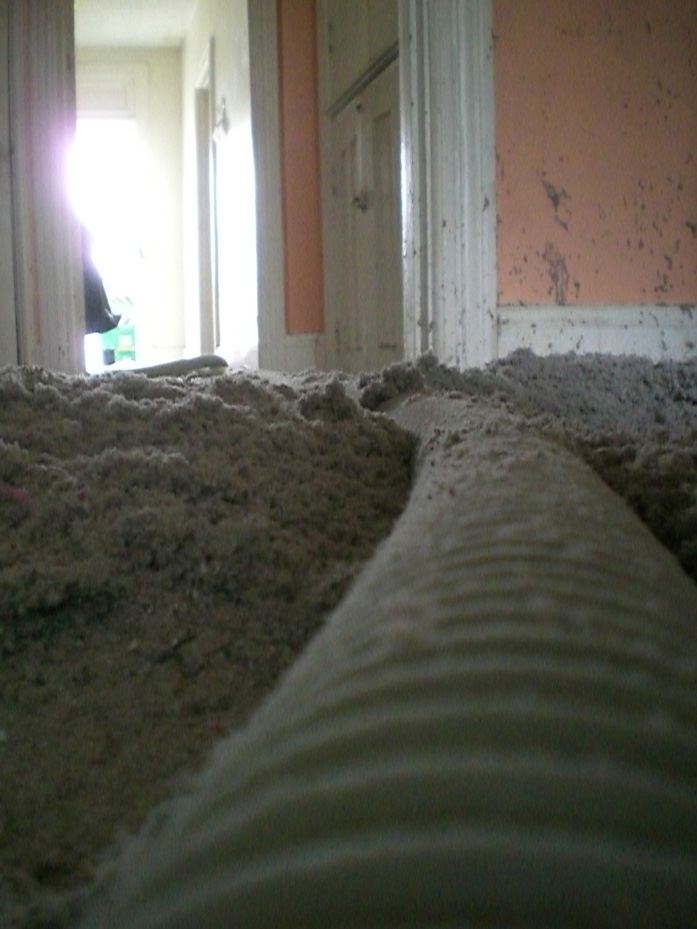
The soil pipe from the bathroom was crumbly. That had to be replaced. The plumber tapped the old pipe with his hammer and most of the pipe crumbled into the living room.

Super. Gross.

2kitchenwall

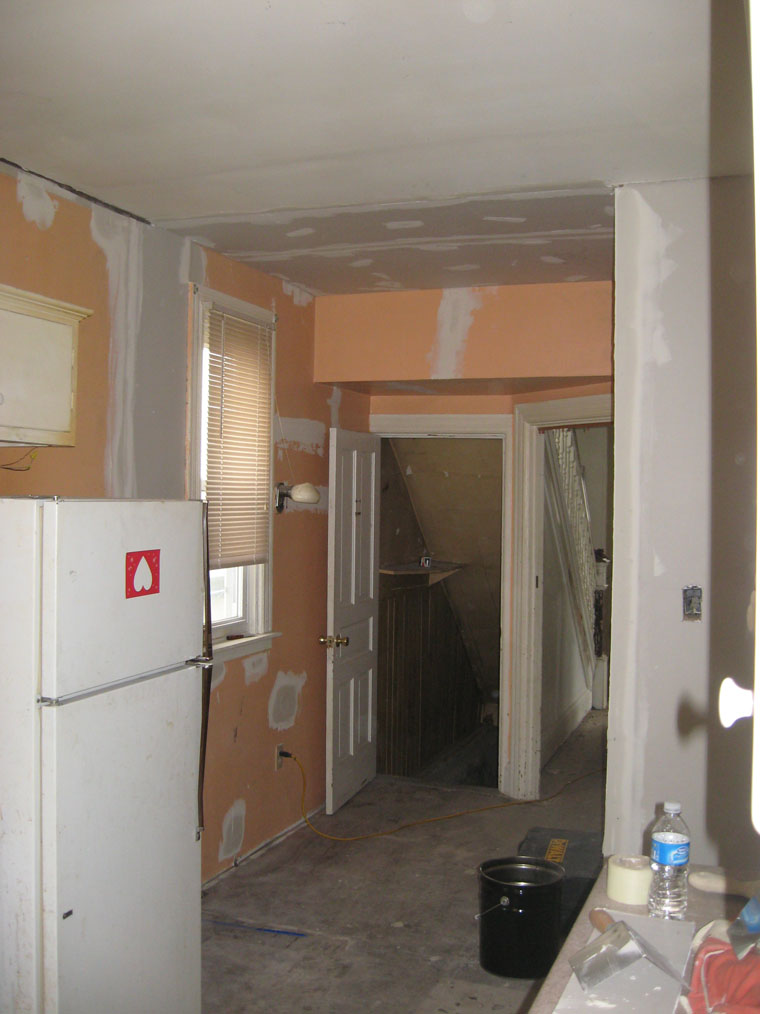
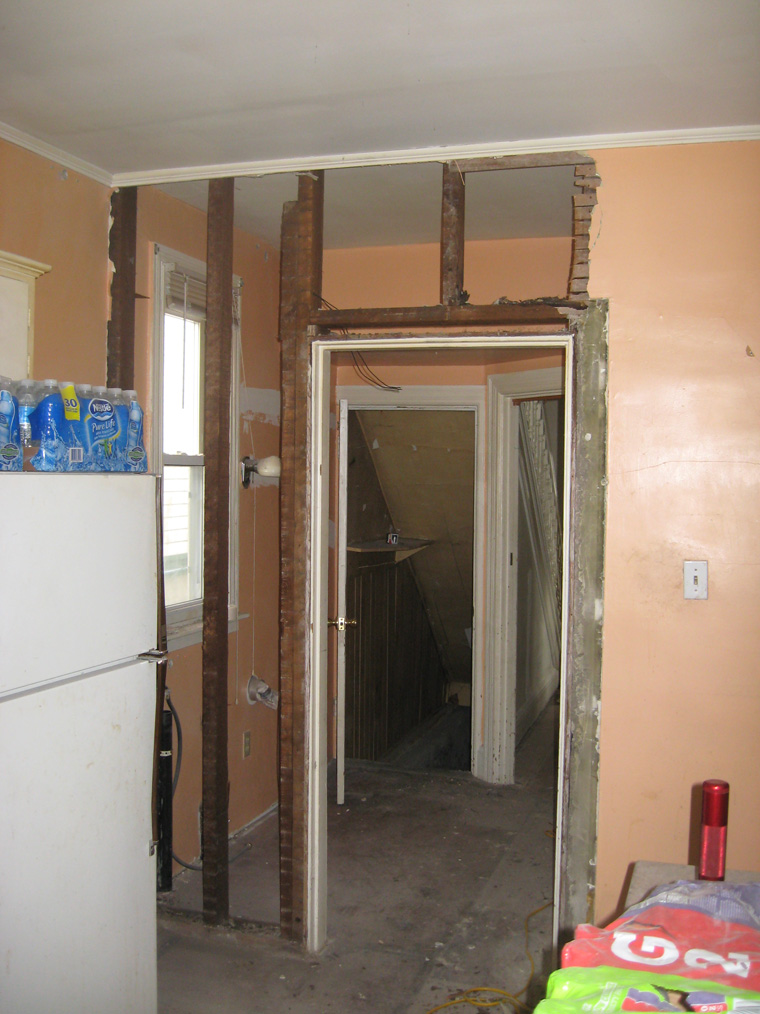
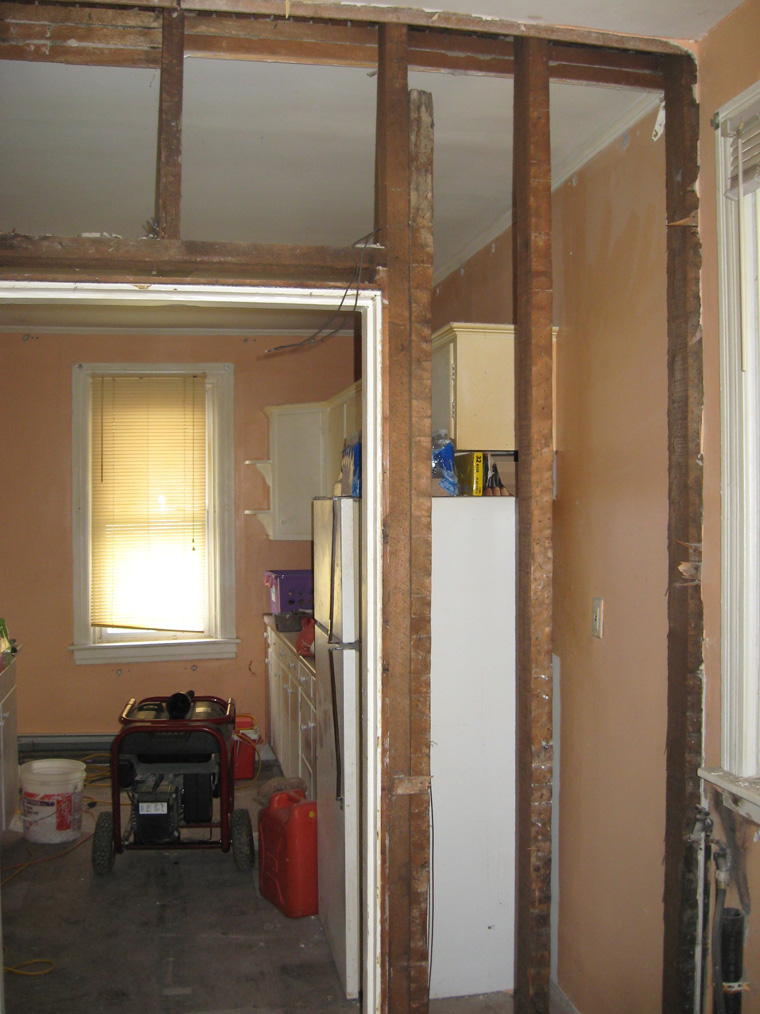
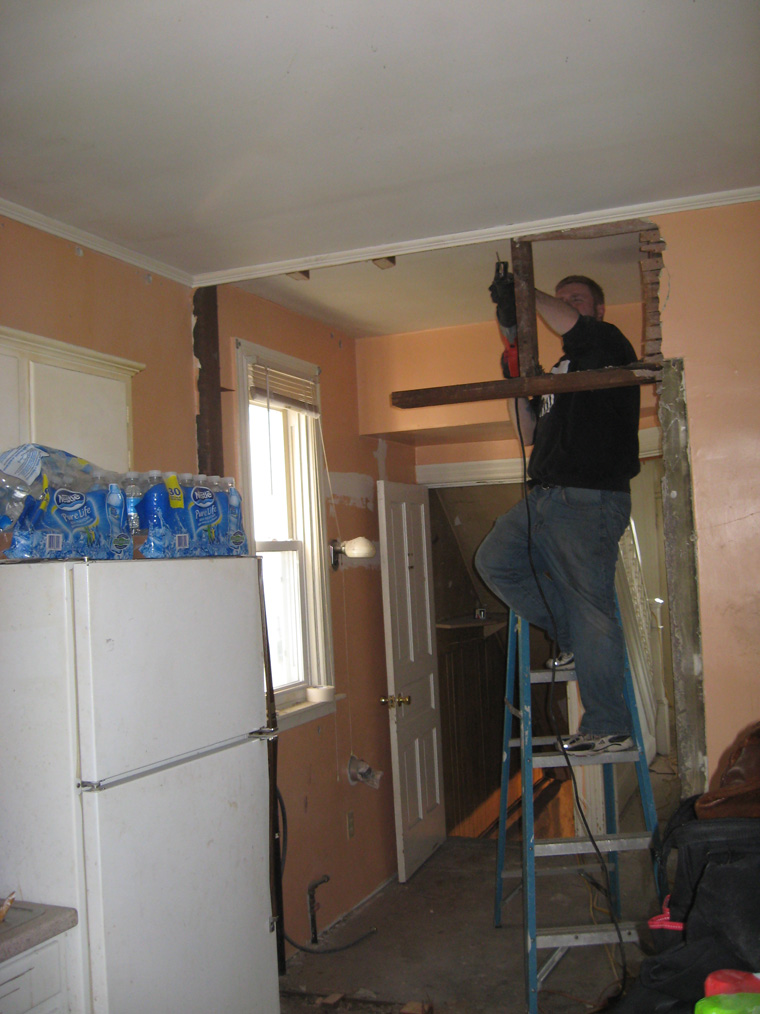
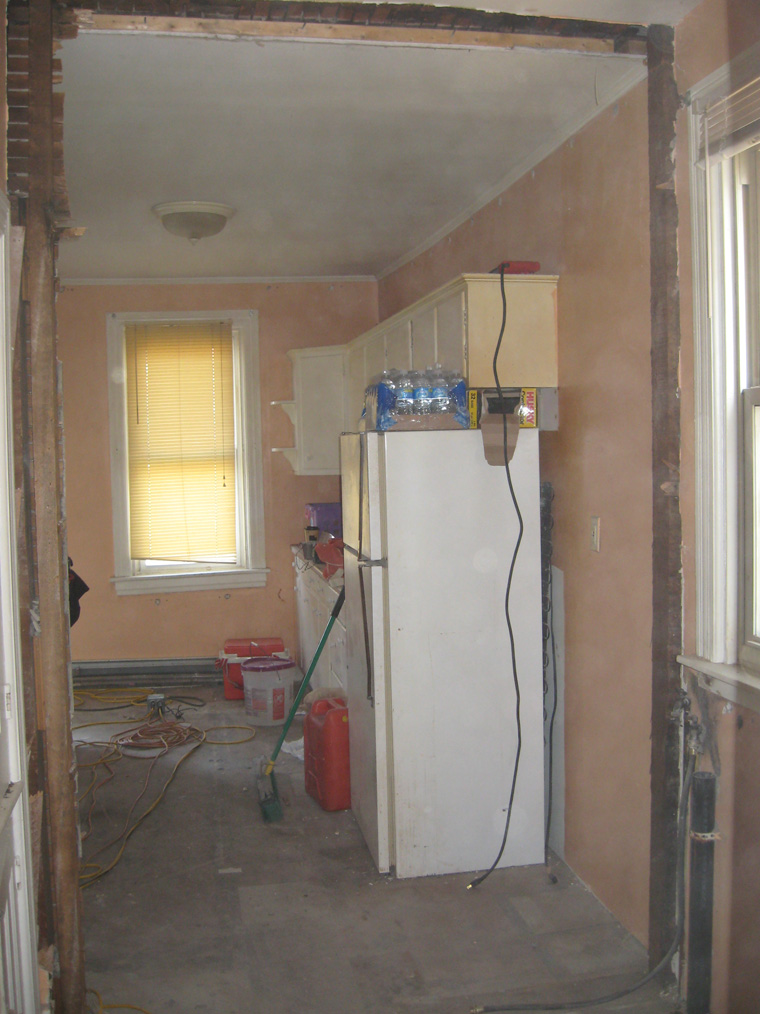
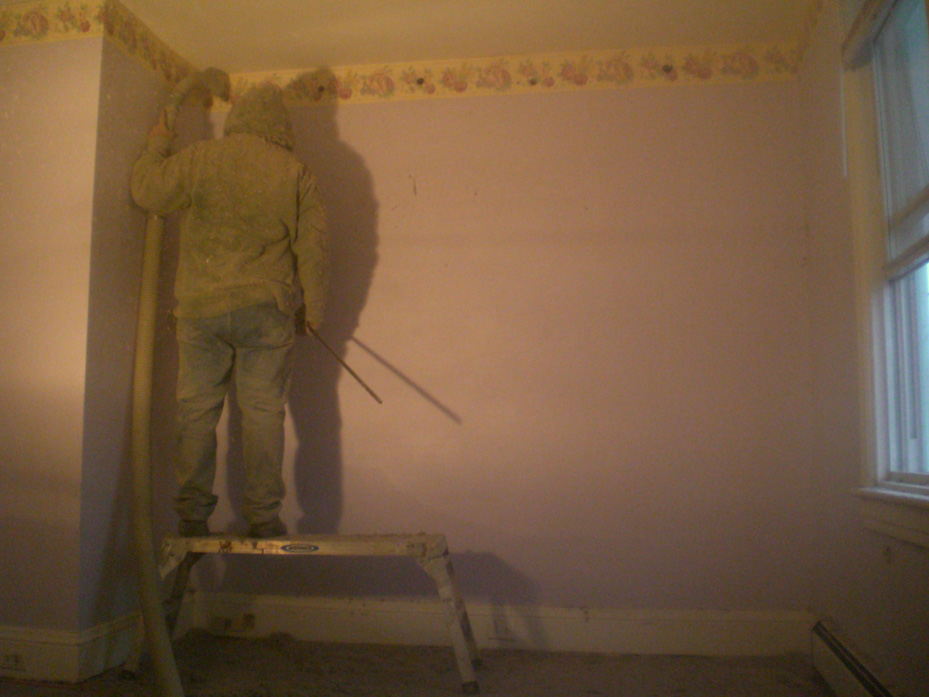
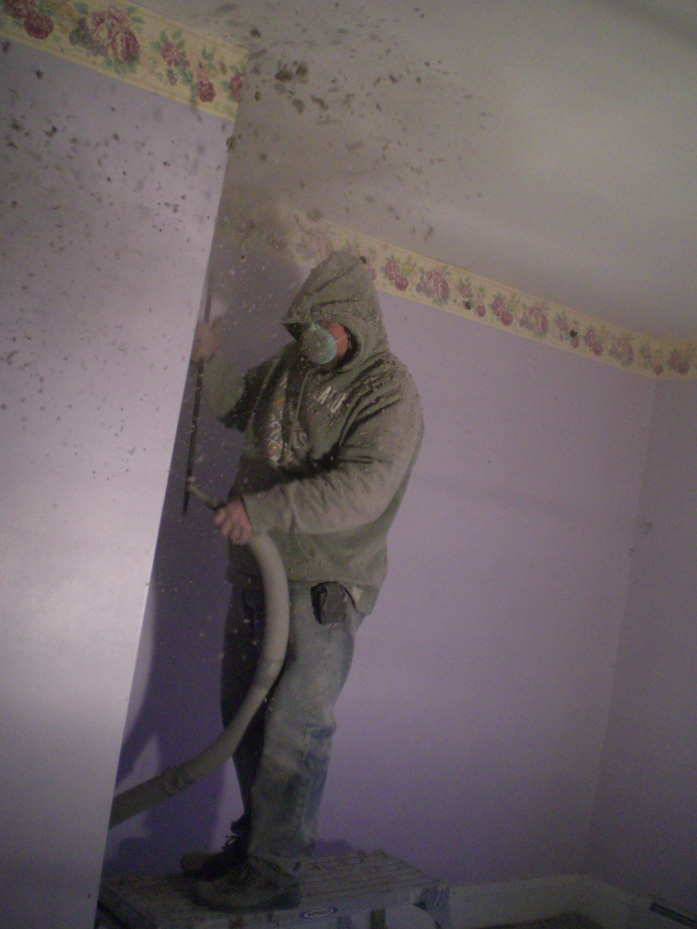
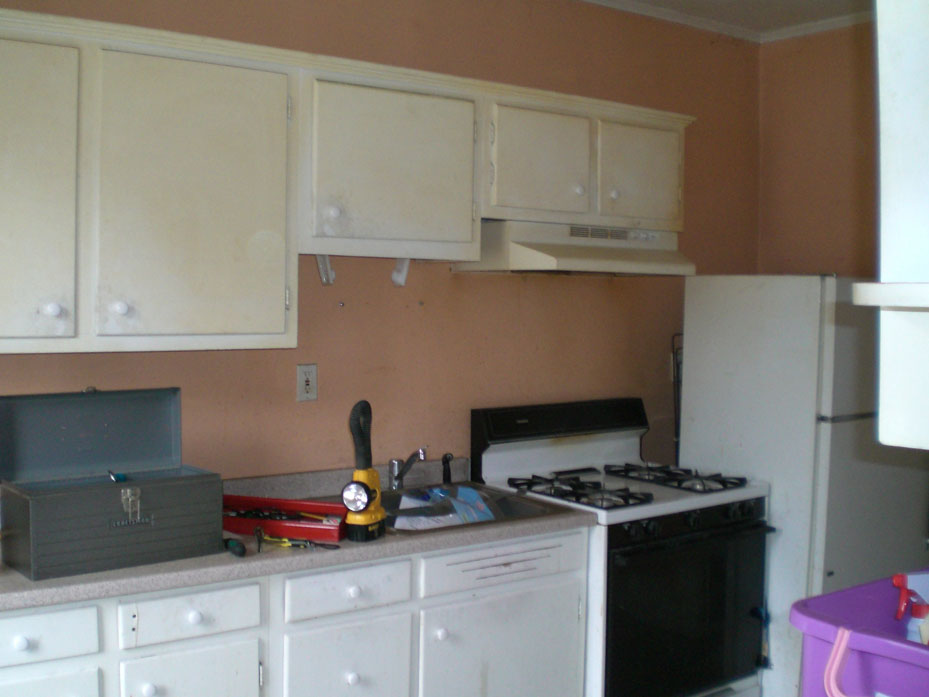
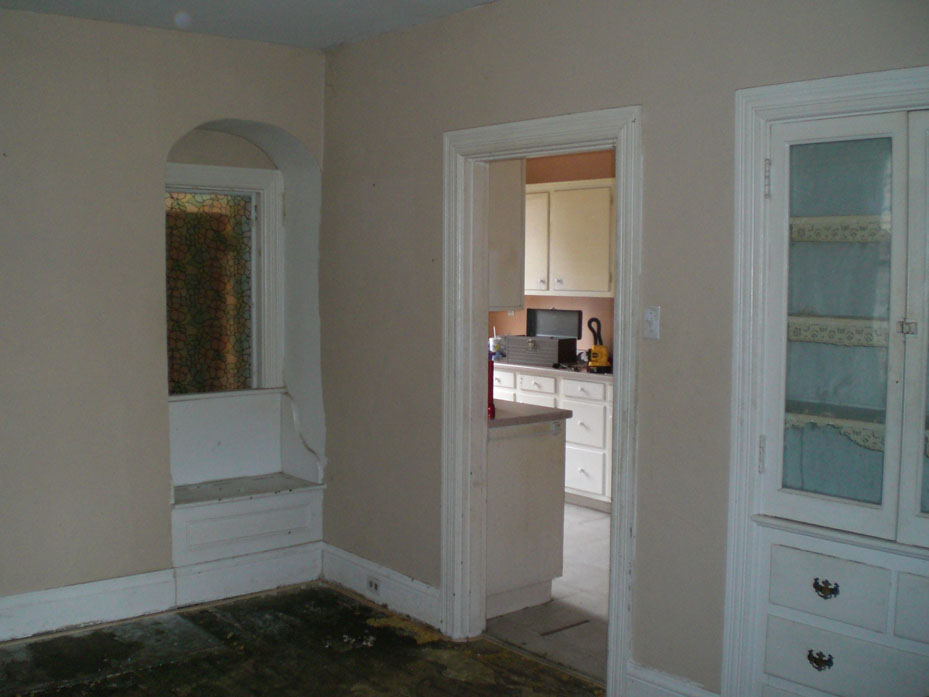
The kitchen wall is down and the drywall is up! Soon all of the mud will be dry and sandable.

3bannister

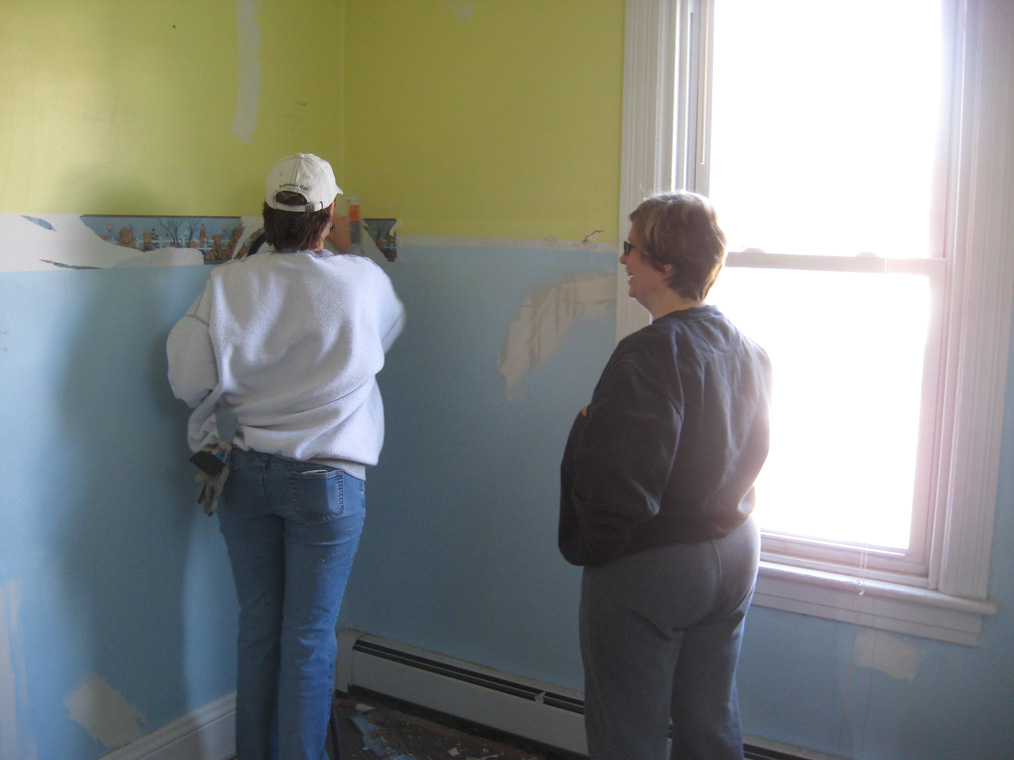
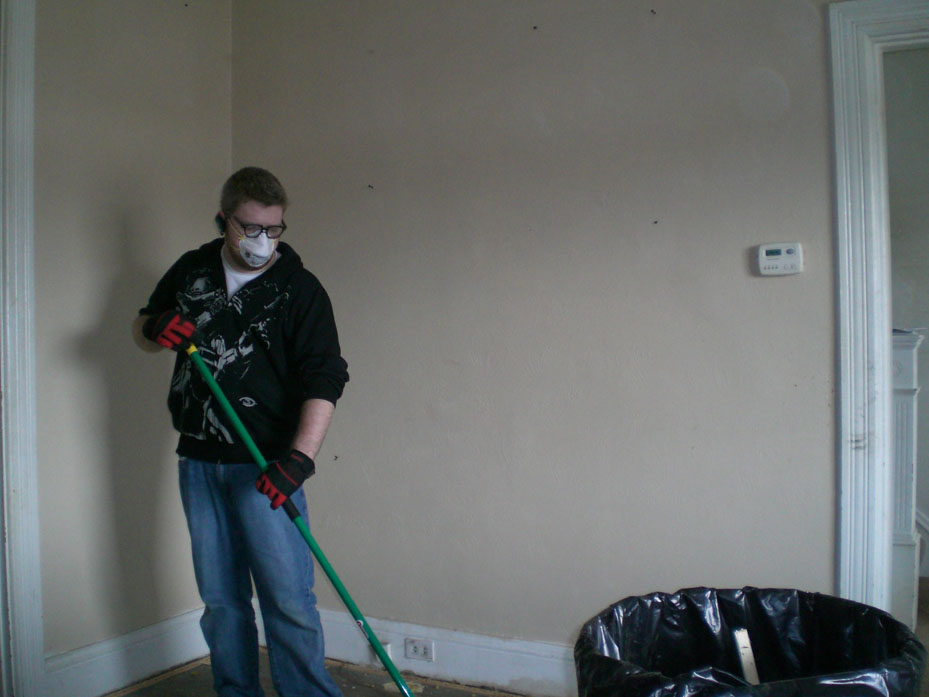
Jess began the tedious process of stripping the 5+ layers of paint from the original woodwork.

3stairway

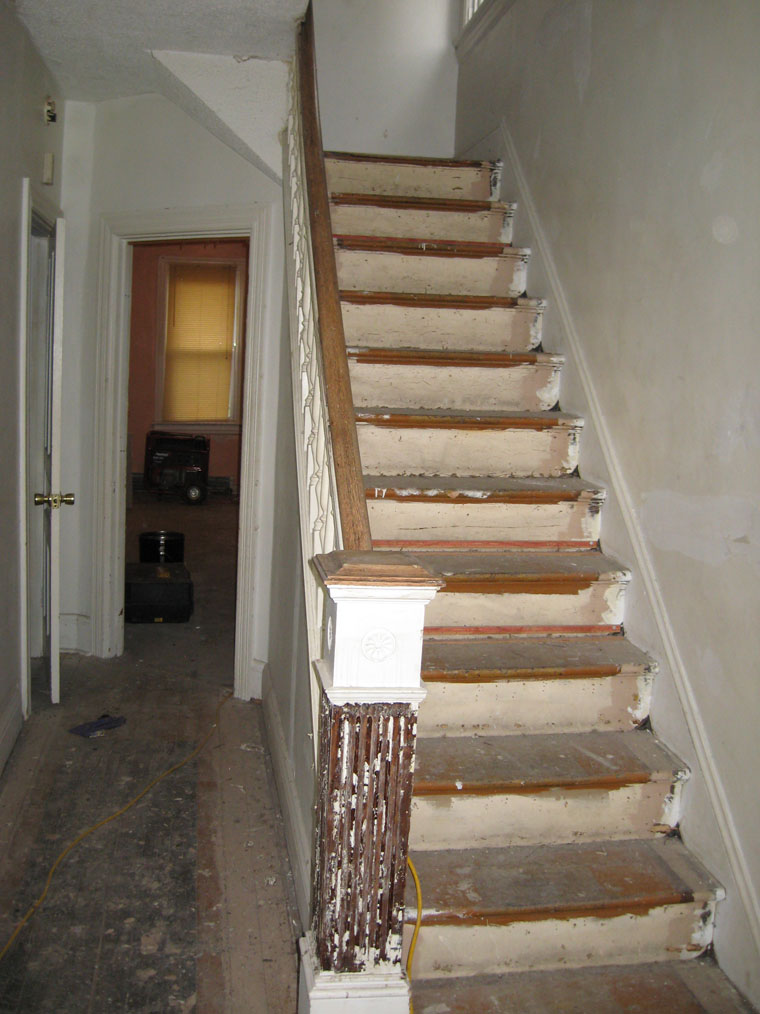
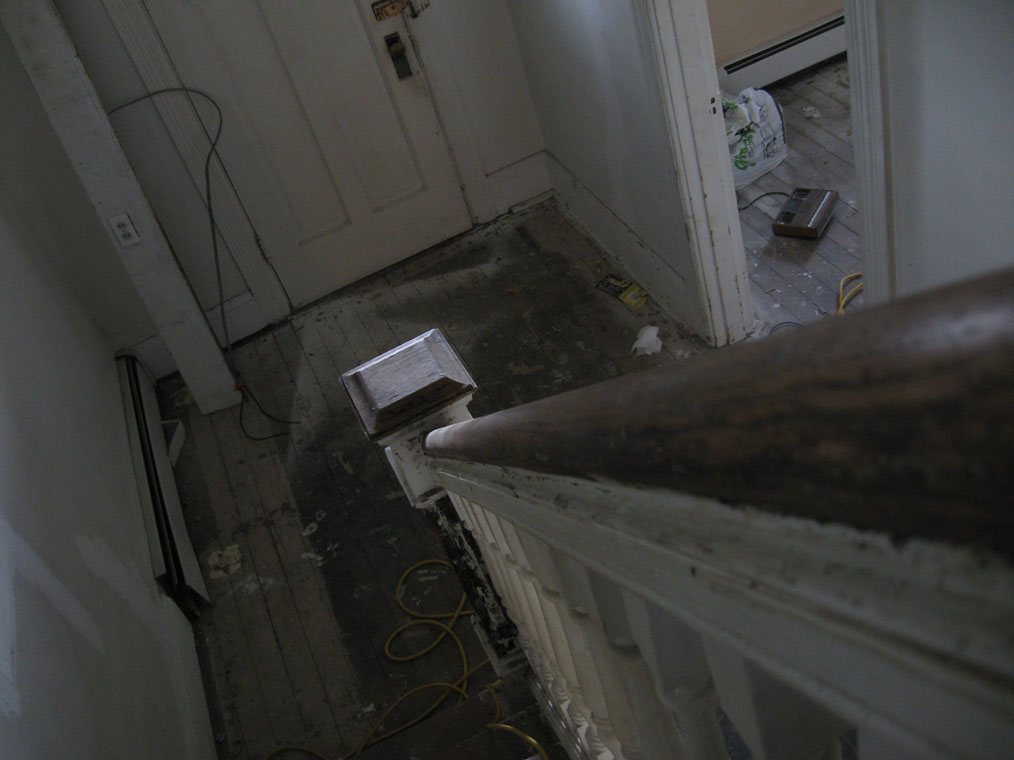
The stairs will be carpet but the railings will be stripped and re-finished

3fan

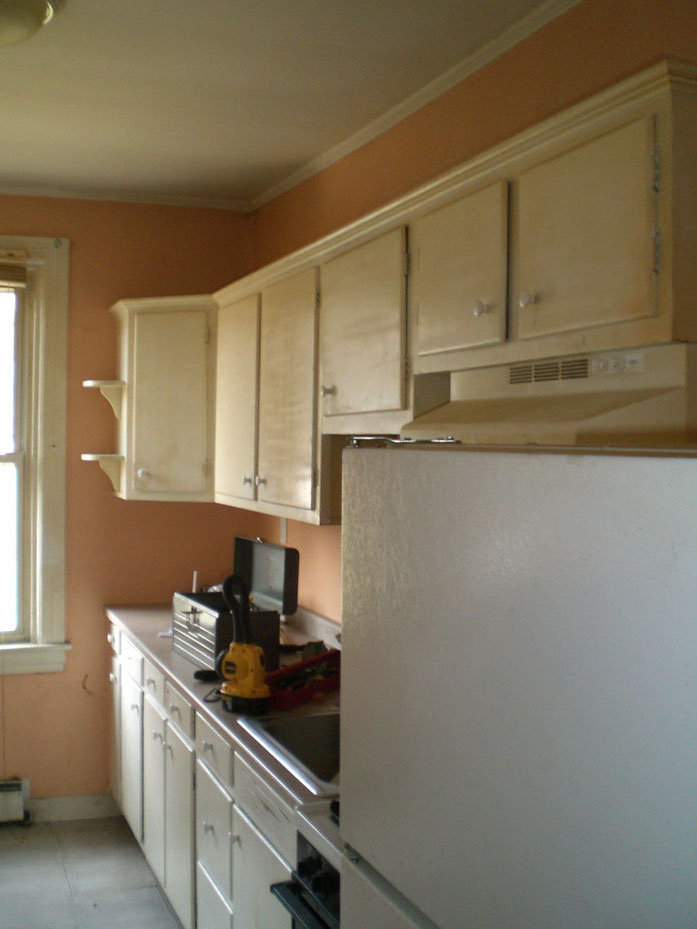
Finally after 3 weeks we have real electricity! The former occupants did not pay the electric bill for several months, which caused the service to be disconnected. They decided to use jumper cables to bypass the box. We spent weeks trying to convince the power company that we were in fact new owners. Oy.

4brokentub

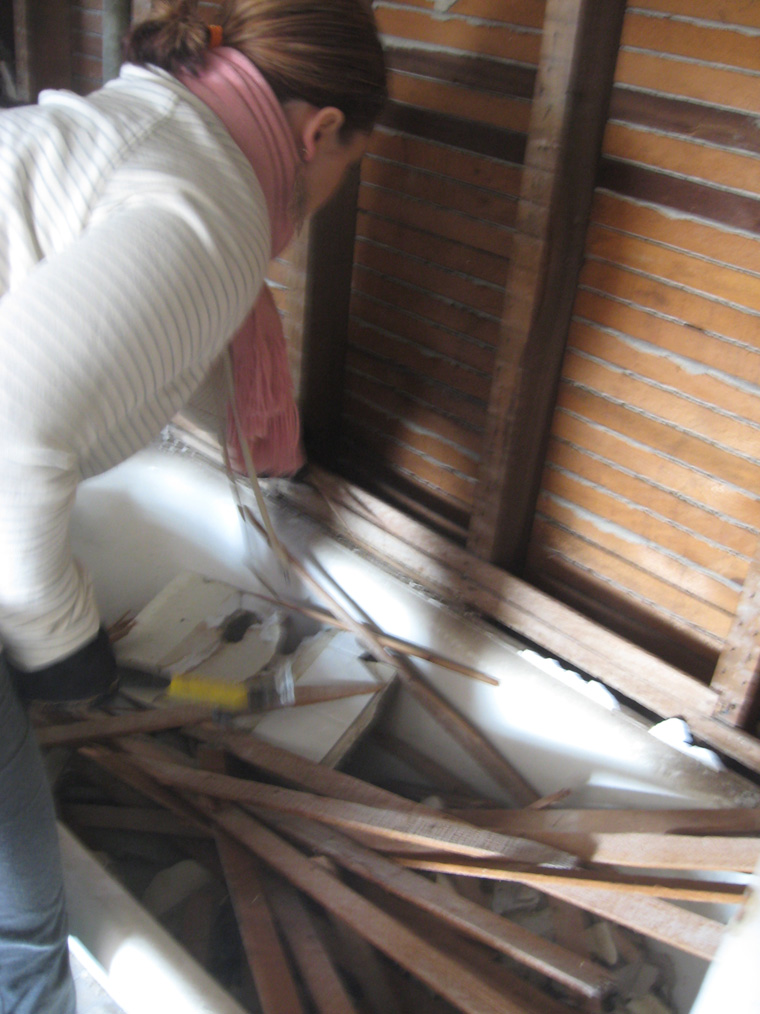
The cast iron tub was nearly impossible to move so I had to break it with a big sledge. Holy moly it was loud.

4holes1

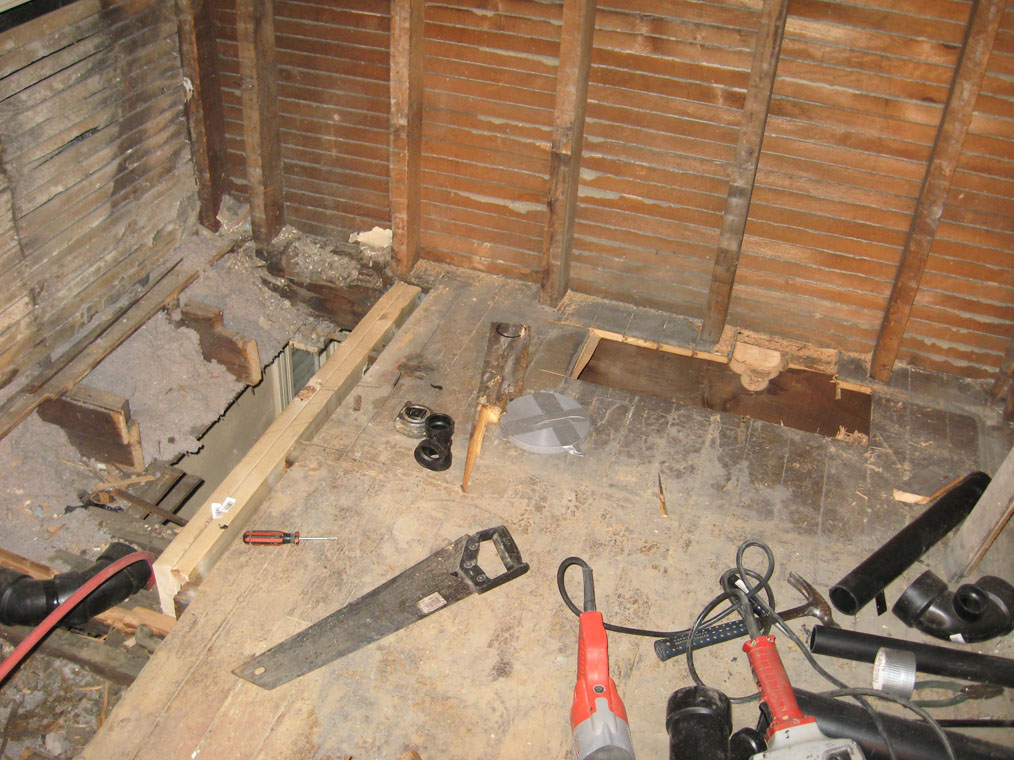
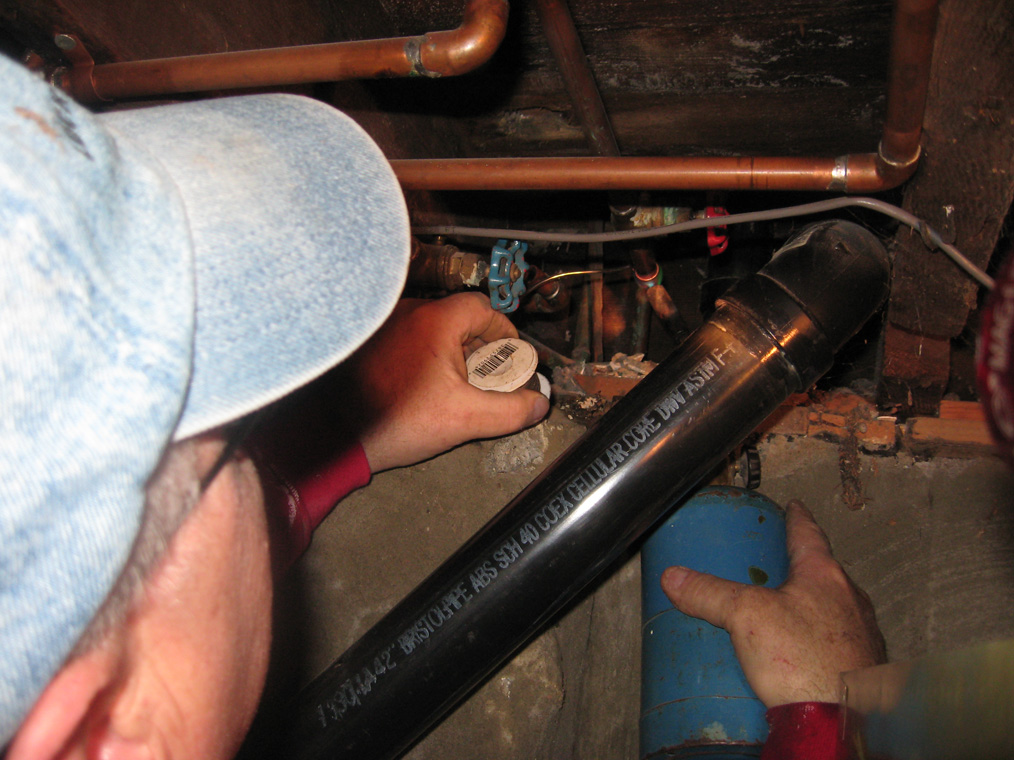
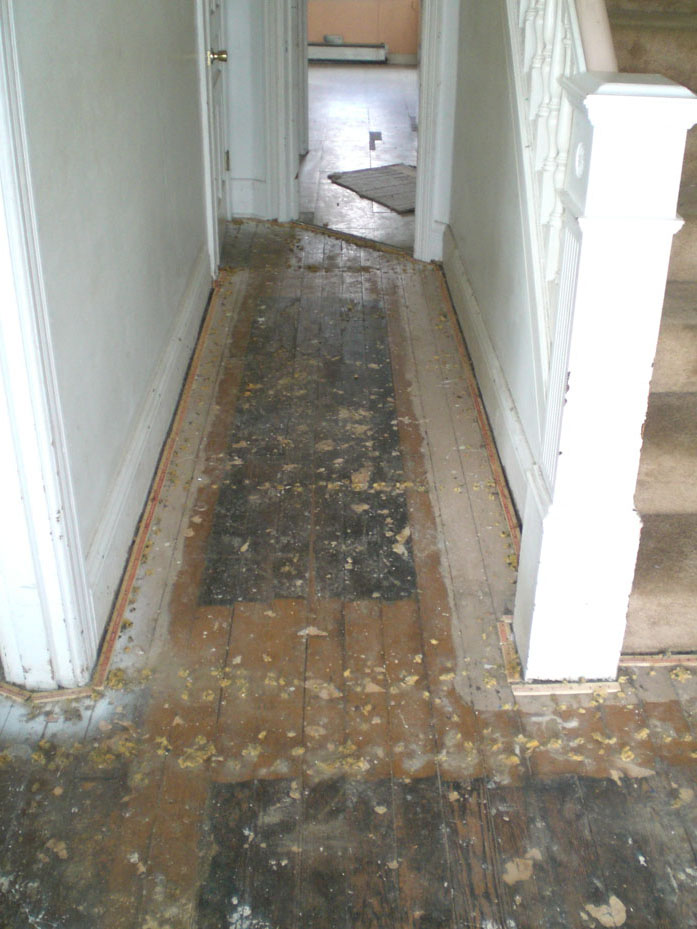
We cut up the floor for new pipes in the bathroom.

4holes2

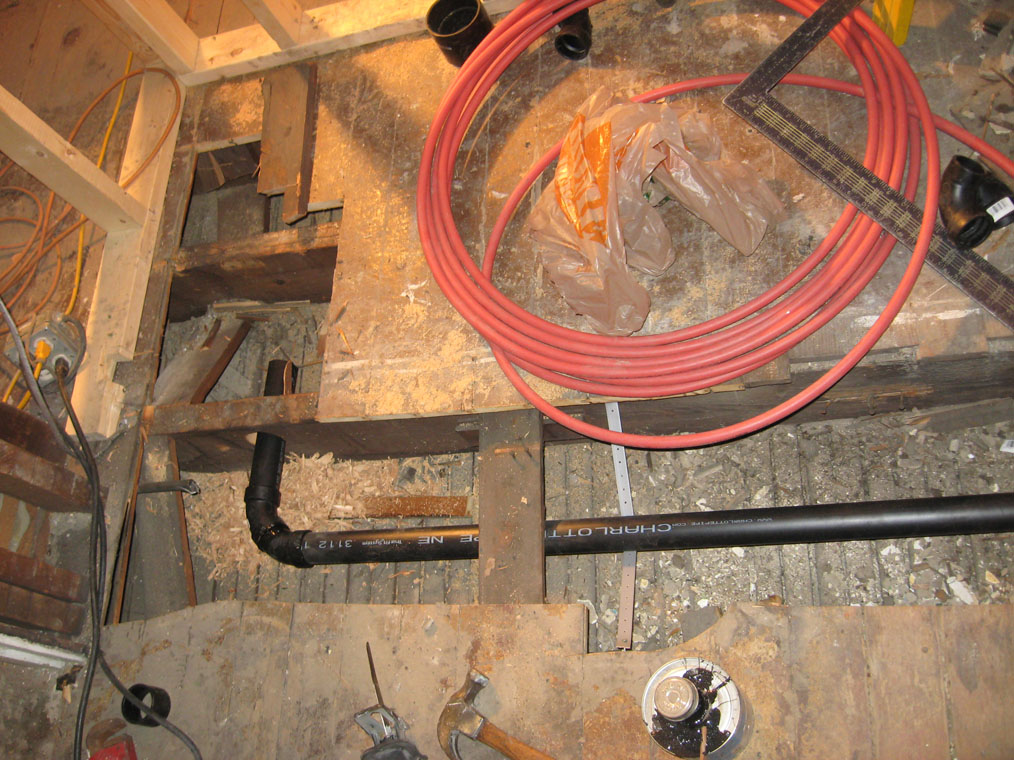
The new tub, the upstairs sink, the new toilet and vanity will all drain in these new lines.

5framebedroom

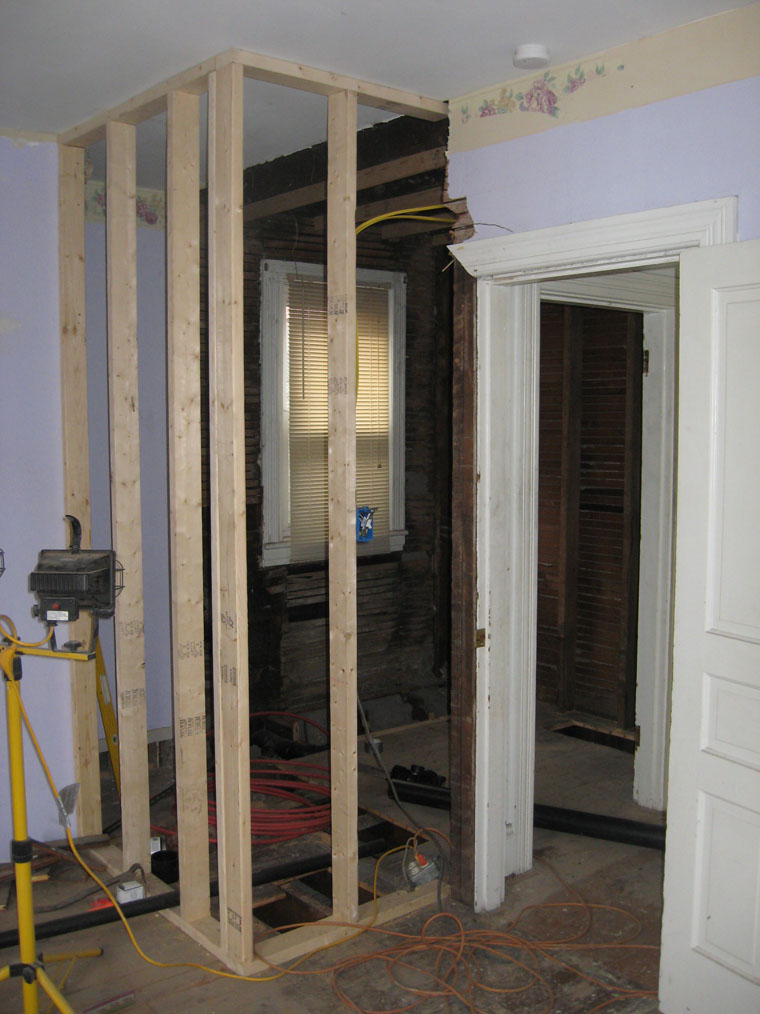
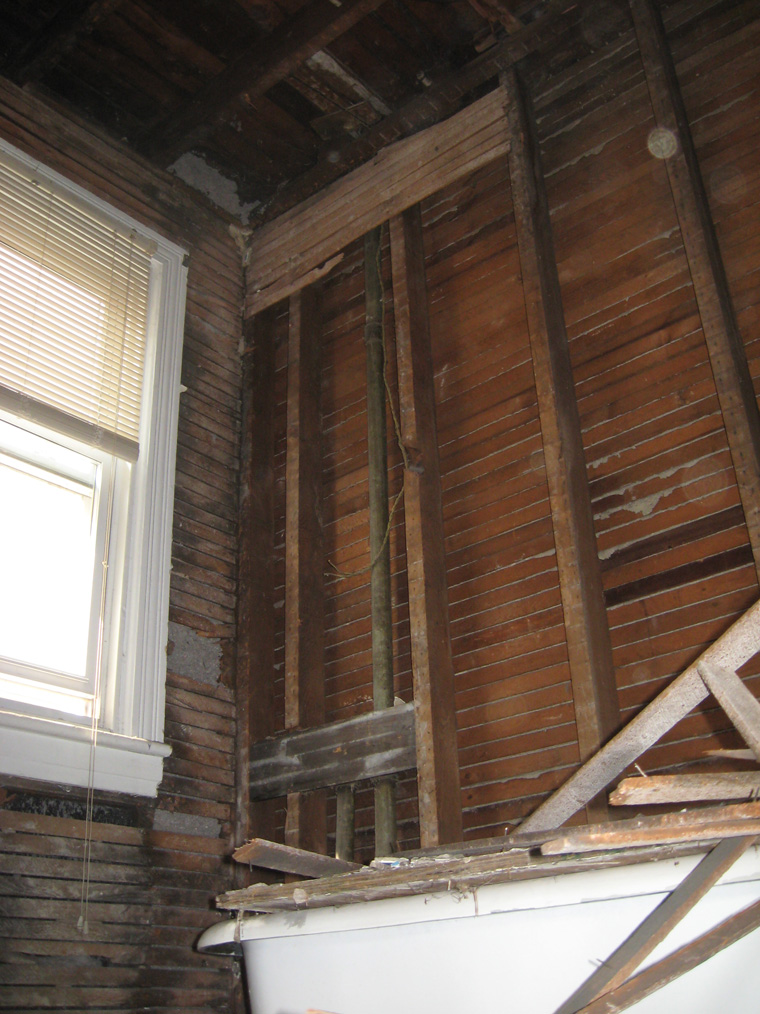
The new wall is framed in and almost ready for drywall, the new tub has to go in first.

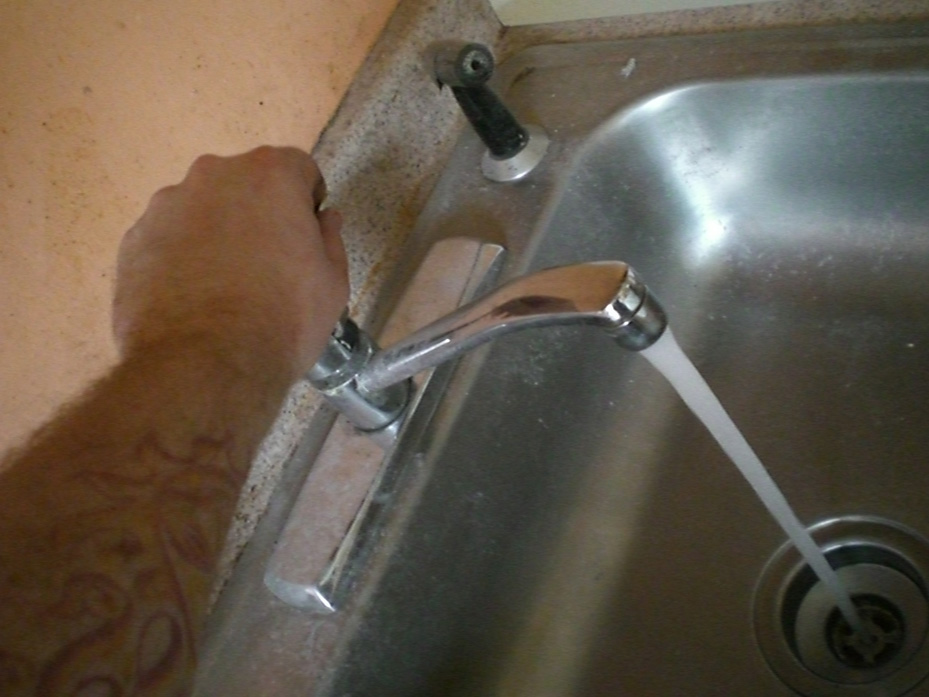
The plumber comes back tomorrow and we’ll hopefully have running water and be ready for fixtures. Drywall should be hung in the bathroom tomorrow.


4destroy

DEMOLITION!

The weekend of destruction is over.

On Saturday, Phil came over and we tore out the plaster and lath in the kitchen, and the wall between the bathroom and master bedroom. Also, the sink, cabinets, lights, trim, and vanity from the bathroom were removed.

On Sunday, we started with a full crew. Jessica, Ron, Sandy, and I began the day. Soon Aunt Amy arrived, then Aunt Lynne and Michaela arrived to help too.

Saturday:

Kitchen

1kitchensticks

Here’s the wall in the kitchen after Phil and I removed the lath and plaster.

1kitchensticks2

Here’s the wall in the kitchen from the front door side.

1kitchencut2

Ron had a big Sawzall which made quick work of the nails and wall studs.

1kitchendown

The kitchen almost doubles in size with the wall removed.

1kitchendown2

We’ll have a nice 12 light door when this construction is done, and it will go in the angled doorway from the foyer to the new larger kitchen.

Master Bedroom/Bathroom

2bedroomside1

From the bedroom to the bathroom. This wall has to get out of the way so the bathroom can expand.

2intobedroom

From the bathroom to the bedroom.

2tub

The old tub, I think we’re going to have to smash the thing to get it out. Too bad.

2dayonedebris

This is how much plaster and lath we tore down and cleaned up at the end of Saturday’s work.

Sunday:

2jessielath

Jess uses her trusty hammer to destroy the wall above the old tub.

2amydestroy

Amy swings her hammer like the wall called her a name she didn’t like.

2sandydestroy

Sandy found the best dirt above the ceiling, also, probably the most danger!

2backofbox

This is the back of the junction box in the hall, we’re going to move it over to this side and install breakers when we pull the new wiring.

2backwall

The last of the bathroom lath.

2dirtybathroom

Wow someone should clean this bathroom.

2floormess

Watch your step!

2nestcan

We found a massive bird’s nest up in the rafters. Yes, you could see daylight.

5tubmess
The bath tub is full of plaster, lath and nails. Maybe we can get it cleaned tomorrow night.

5wires

Here are a few of the old wires in the wall that need to be re-done.

Plumbing

3oldvalve

Some of the old valves for the water pipes were broken, so we had to install new ones.

3ronsoldering

Ron solders caps on the lines we had to cut off that went nowhere.

Wallpaper is the devil.

4amylynnepaper

Amy has a wallpaper steamer thing, that can remove those stupid wallpaper borders really easily!

5michaela

Michaela came over with Lynne so she could help by hanging with Jess and coloring pictures.


Hopefully I’ll have more pictures as things progress. Tomorrow night is more wiring, probably no pictures. We should finally have electricity on Monday or Tuesday.

HOORAY!

Insulation Day

What a MESS!

This weekend of March 15th and 16th 2009 was insulation day. The age of the house (and some probing) indicated that there was no insulation inside the walls. Being that many of the walls needed to be patched and re-painted, we decided on blowing recycled fiber insulation into the walls.

How in the world do people do this with carpet/furniture in their houses?

SATURDAY MARCH 15TH

1mikefeeds

Here is Uncle Mike feeding the green beast that was the blower/hoppper for the dustiest and messiest thing ever: Recycled “green” insulation.

2dustydining1

This is what the entire floor of the house looked like as we fed the walls with this dust.

2dustydining2

Holes were drilled at the top of the outside walls at 1.175 inches in diameter between studs. Then a small air-escape hole was drilled nearby.

3coveredamy

Here, Nick seeks cover in the living room as Aunt Amy covers her mouth and nose to keep from breathing the dust.

4lightattheend

In all of the pictures and documentation of this machine, nowhere does it say how often the nozzles will clog and blow dust all over the room.

5kitchendust

Jessica was at work today, she has NO idea what she’ll walk into when she gets home to see her kitchen.

6footprint

One small step for man, one giant leap towards the completion of this project.

6tubedust

A large mechanical chopper breaks up the loose insulation before a smaller blower chopper forces it into this long tube.

7breathingdust

It took about 10 hours of work to get to this final room. Lights were needed. The house still has no power, so the generator that ran the blower was also running this light tree.

7dustyron1

I was completely covered in this dust as I crawled along the floor and scooped up the wasted insulation, and carried it in a 35 gallon can back to the blower. But, Ron had the worst job.

7dustyron2

The blower nozzle would constantly clog, probably once every 30 seconds. Probably one whole bail of insulation was wasted because of this.

8jessiescraping

While the boys played in the dirt upstairs, The girls worked to remove the horrible linoleum from the kitchen floor. Unfortunately it seemed it was several layers deep in some spots.

SUNDAY MARCH 16th

Not as many pictures for Sunday. Mainly today was Clean-UP from yesterday. But, Ron and I hooked up the plumbing.

8ontheroof

I climbed up on the roof to remove the old satellite dish from the house and noticed exactly how much of yesterday’s insulation had blown out the windows and landed on the roof.

9runningwater

Still no heat or light, but today, Ron and I officially activated the water and plumbing! Here’s some proof!

Monday is a busy day so there won’t be any work done. Tuesday its time to get ready for wiring inspection.

Drywall patching will begin because its warm this week.


Day One: Project Start

Closing time, get to work!

We signed papers yesterday (Monday March 9th 2009), and began renovations on the house shortly after.

It was pretty tough work, so when we ran out of light it was time to quit.

1cabinets1

On the previous post, I forgot to take pictures of the kitchen! Here is a view looking over the fridge.

1cabinets2

These are on the opposite wall in the kitchen, I think we’re going to move the stove onto this wall.

1kitchen1

Here is the gas range, we have to move some things around because our new refrigerator is wider than the current one.

1kitchenpantry

There is a pantry through this door, the basement stairway is on the left, and a built in cabinet is on the right, I don’t have any decent images of this room except one area of damage (shown next)

1moldfaucets

Someone had put a washing machine in this pantry, it really was too small of a room for such a machine, but these faucets are very damaged. They will probably be removed anyhow, and the plaster will need to be replaced. It would appear they tried to torch solder these connections right against the plaster, it’s amazing the house didn’t burn.

2dining2kitchen

Now we’re in the dining room, you see the built in china cabinet from the previous post.  This doorway leads back into the kitchen.

2diningwindow

This is the outside wall of the dining room with the triple window. If you notice the radiator is damaged, it looks like it was frozen and exploded out the side at some point. This will need replaced.

2tilething

I ripped up the carpet and found this tile patch. It appears to have had a wood stove or gas heater here at some point. (update, I found a second chimney in the attic that has been abandoned. There was definitely a small fireplace here at some point.)

3foyerfloor

The floor section starts now, We had hoped to be able to save the original hardwood floors, but it doesn’t look like they’re in great shape. This is the front foyer. We will probably lay ceramic or slate in this area.

3hardwood

This is a close up of the wood, its pretty dry, and there are some splintery gaps, so its probably beyond cleaning and painting. Carpet will probably have to cover the dining room and living room.

3proof

This is photographic proof that I was working. Attention: this was not a faked photo, on a timer, with a tripod, when I was working by myself. (ok, it probably was fake)

4back

This is the back yard, today Ron helped the image by cleaning up all the trash. The neighbors already thanked him. This picture is taken from the parking area.

4chimney

There’s the top of the chimney, and a piece of the flashing is missing. That satellite dish has to go, it’s is on the top of the front porch.

4deck

The deck could use some paint. We may replace it sometime with a brick patio and maybe a brick pizza oven or something. I think it’ll do for the summer.

4frontsteps

These are the front steps, they have a crack in the middle, but seem very sturdy. Perhaps some day when we re-do the front porch we will match the railings.

4side

This is the side of the house, the siding needs some love. We’re going to see which is more economical, painting the siding or recycling it and replacing it with vinyl.

4vines

These vines grow up the side of the house, they might look nice in the summer but I’ll bet its bad for the side of the house.