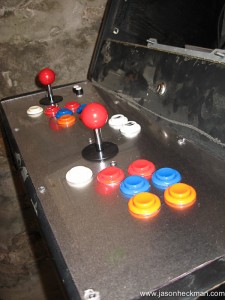
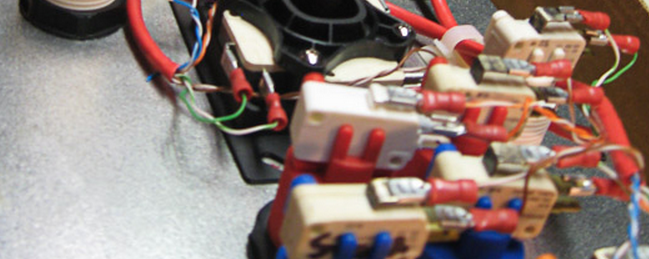
The most important part of this project is the control panel.
While MAME is able to emulate all of the major controllers, like Wheels, pedals, flight sticks, trackballs, spinners, and joysticks.
I’ve decided to build a 2 player fighter/shooter/scroller configuration.
I researched a lot of interface design before drawing this out. The most intuitive I could find was a diagram from Slagcoin

According to Slagcoin “This is a precise diagram of the Sega layout used in Astro City, Blast City (the bottom middle-finger button is .5mm more to the right, and the joystick is in the higher position), Net City, and Versus City cabinets for player 1 or single player. This layout (or an almost identical one) is used in most arcade machines and controllers in Japan. It is very appropriate for quick, comfortable, and precise play. If you have not used a slanted layout like this, feel it; it may surprise you.”
I modified it a bit, I removed the two buttons on the right (button 4 and button 8 on this diagram). I placed a thumb button to the lower left for shift functions or other uses, It feels like the run button on the old MK3Ultimate machines.
Buttons and Joysticks were ordered from Suzo Happ.
The control board surface from primal rage had 4 buttons and a joystick on either player, but this was damaged when the machine was converted to “Big Buck Hunter” so I was forced to have something custom machined.
Upon consulting with a family member at an industrial surfaces company we decided we could pull it off by cutting a large rectangle from the controller surface, and laying a sheet of stainless steel and Plexiglas with the new layout punched on it.
I provided a scale drawing for them to work from:

There are two small buttons on the upper left mapped to Exit a rom and to Select/Start from the MAME menu.
The board is punched after a few weeks and I can begin loading buttons.
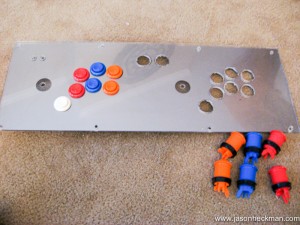
I loaded these buttons so the microswitches will fit in and all point the same direction.
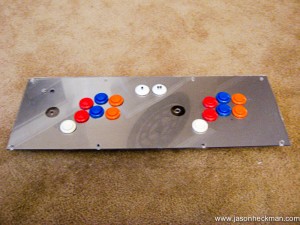
The main pushbuttons are loaded, and I need to cut the holes for the smaller buttons, and the joysticks with a Dremel.
To cut this Plexiglas I used a Dremel tool with a 561 Multi-Purpose cutting bit.
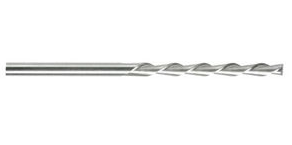
It takes quite a bit of force to hold the bit steady to get a clean edge, but it ultimately worked just fine.
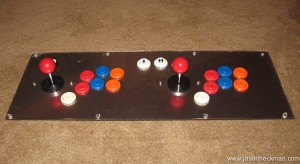
I had to drill 2 holes to mount the joysticks, and they had to be installed sideways to get the mounting plate to clear the shift button. Didn’t think about that being that large when I drew the diagram.
Time to wire this beast.
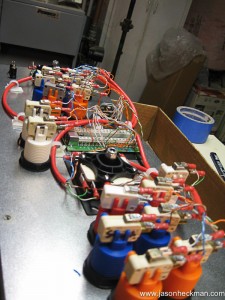
I used cat5e cables and 22-18ga .189 female disconnects to connect to the microswitches
The interface is an Ultimarc I-PAC2 purchased direct from Ultimarc
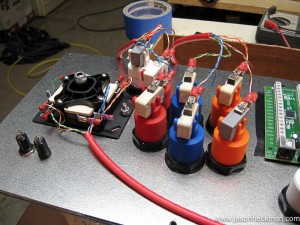
On some of the disconnects, they felt loose, so I was forced to lightly crimp them for a snug fit.
I used the Cat5e solid colors as the positive terminal on the NO (Normally OPEN) setting. and the striped wire to the ground.
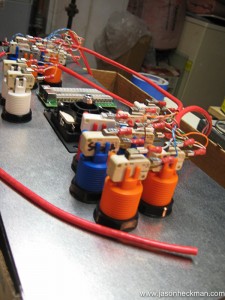
You can see where I mounted the I-Pac, I laid down some electrical tape to insulate the board from the metal, and then used 3m Mounting tape to secure the device.
There’s also a simple radio shack distribution block that handles all of the ground wires, all ground wires go in, and a single jumper takes it back to the I-Pac ground input.

Upon completion I used cable management clips to hold everything tight to the board surface.
I attached the USB cable and plugged in to the Ultimarc software to program the buttons and test.
After all buttons were verified working, I mounted the beast back into the large metal control board door in the cabinet.
